Finding Stillness in Motion
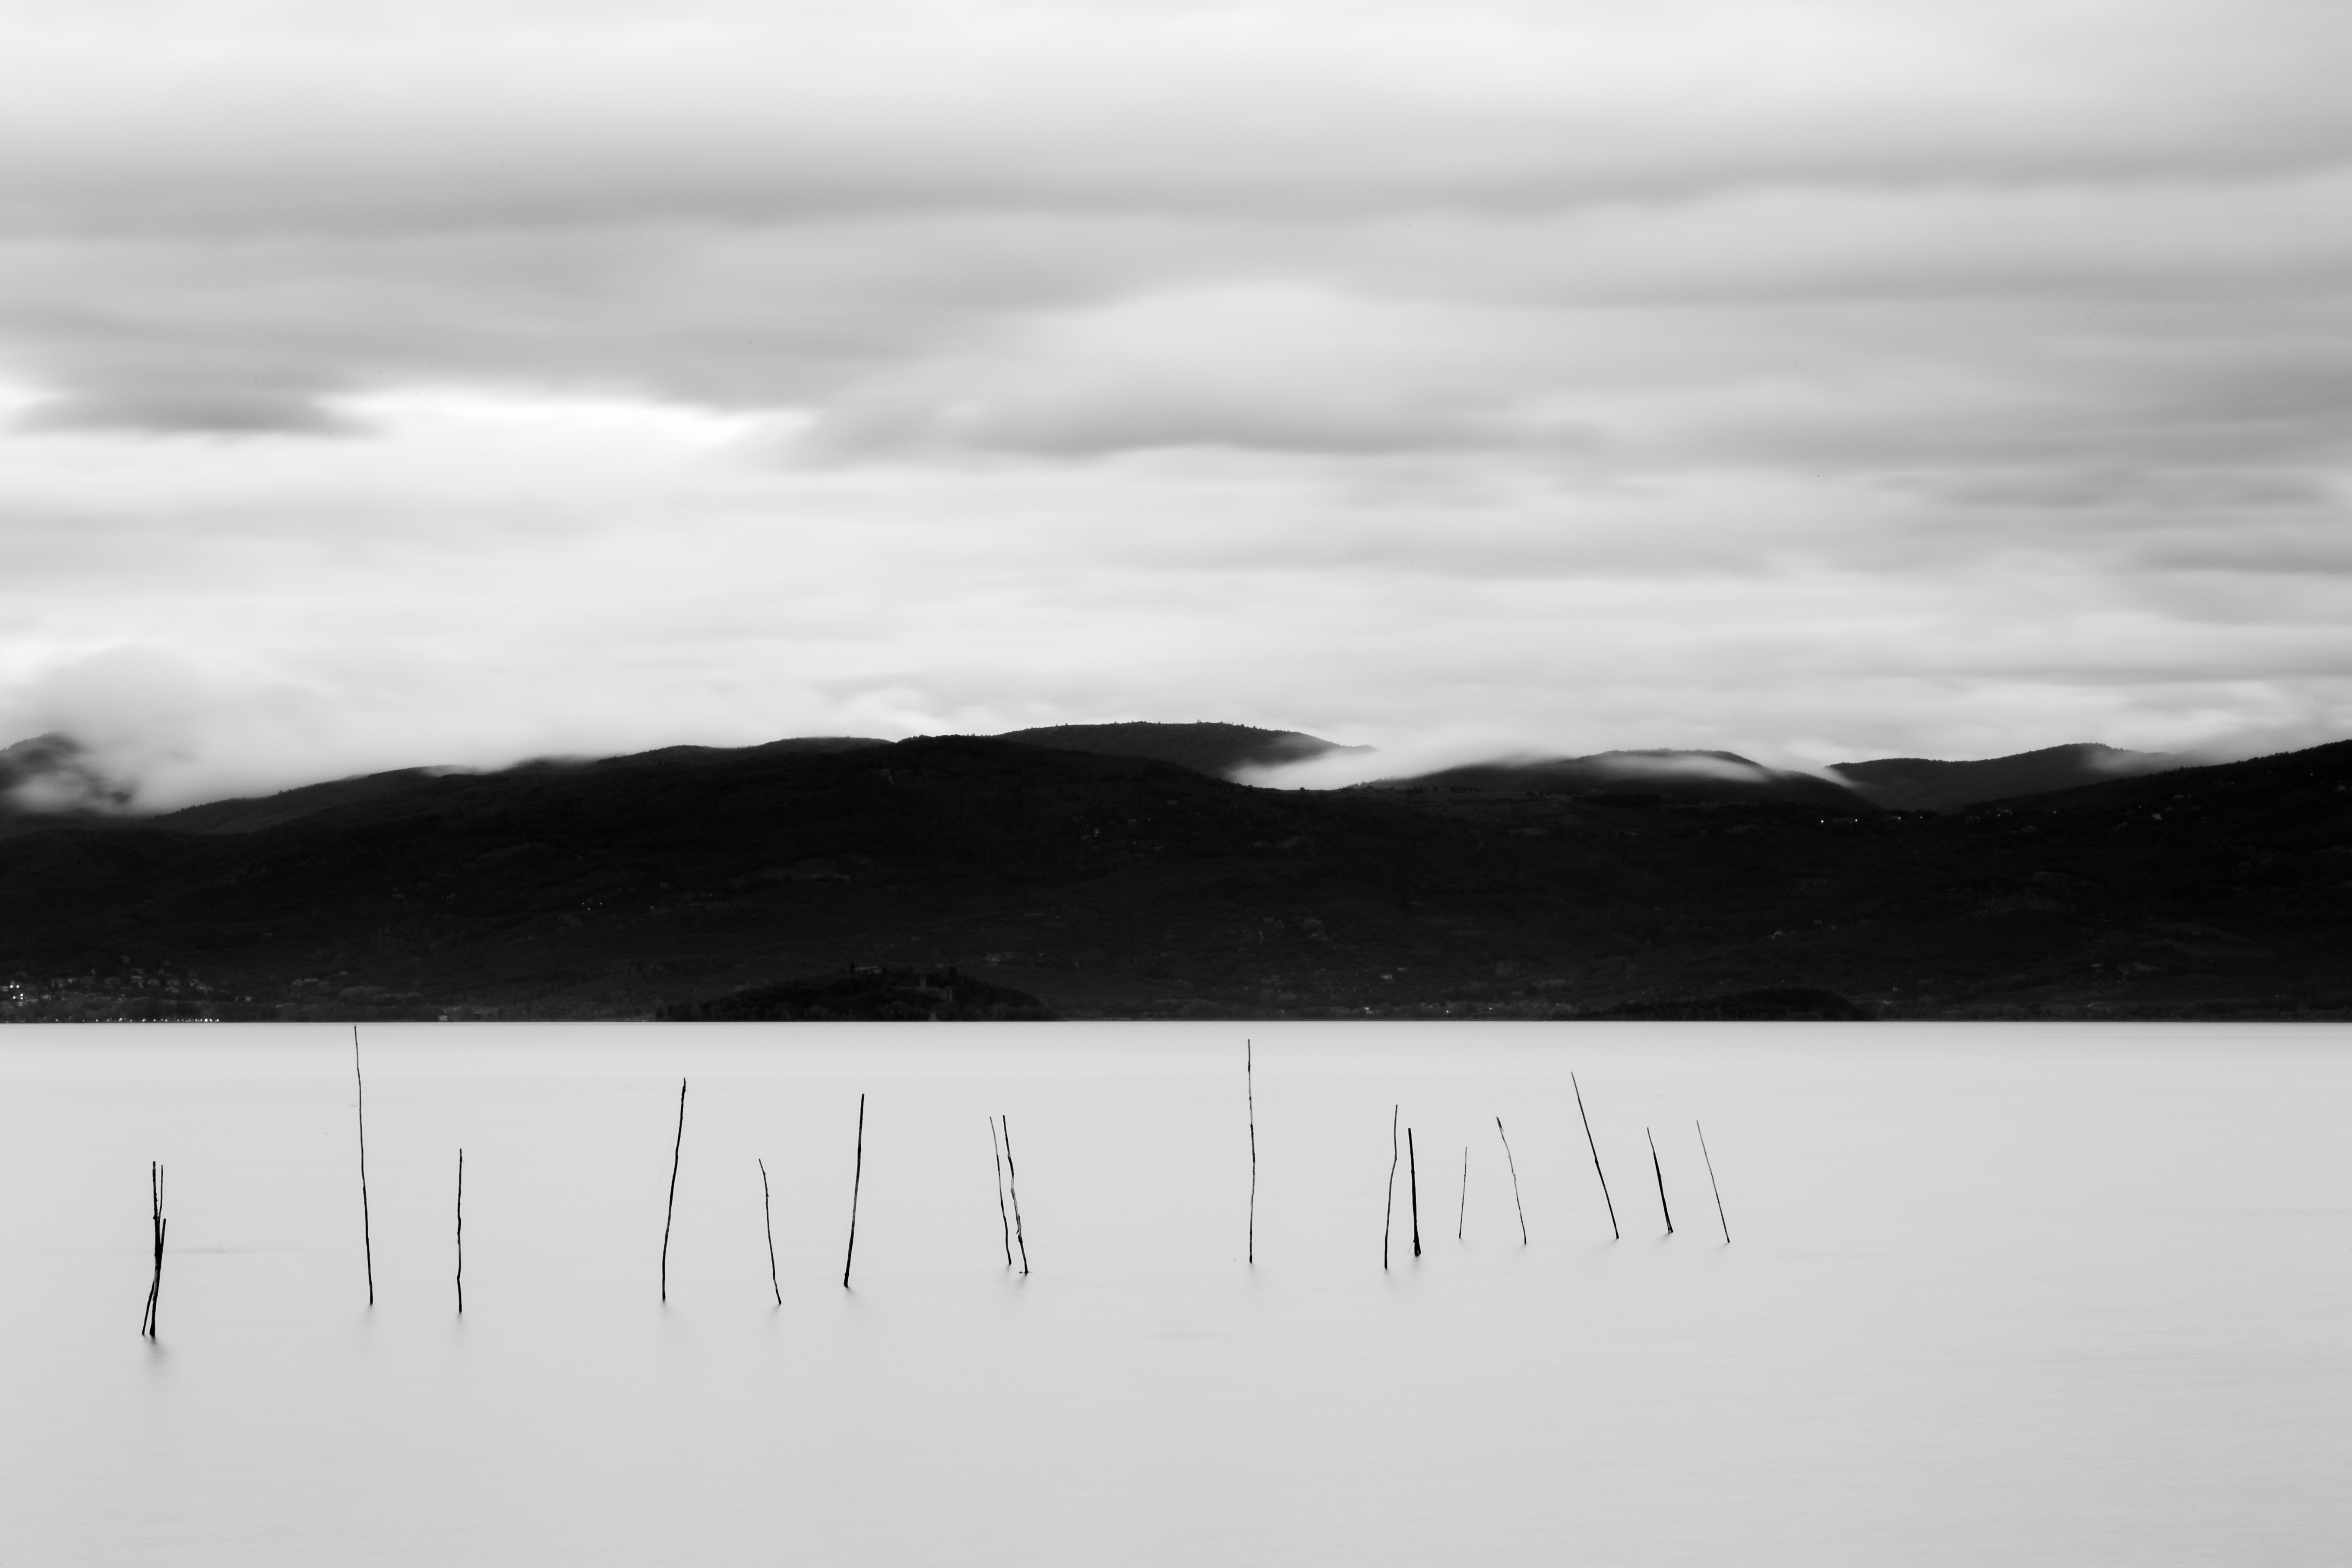
I’ve stood at the edge of a rushing river at dawn, tripod planted firmly in the cold sand, and watched the world transform through my viewfinder. Long exposure photography does something remarkable—it shows us what our eyes cannot perceive. Moving water becomes silk. Clouds drift like breath across the frame. The chaos of a crowded scene vanishes, leaving only solitude.
The first time I deliberately slowed my shutter speed, I wasn’t sure what to expect. I’d read about it, certainly, but understanding long exposure and feeling it in the field are entirely different. That moment when you review the image and see the landscape reimagined—softer, dreamlike, almost ethereal—changes how you see the world through a camera lens.
Understanding Exposure Time
Long exposure simply means keeping your shutter open longer than normal. Rather than a fraction of a second, you’re working in seconds or even minutes. This extended time allows movement within your frame to blur and blend, creating a painterly effect.
The duration matters. A one-second exposure will render moving water differently than five seconds. Ten seconds produces something entirely different again. I typically start with a 2-4 second exposure when photographing flowing water—long enough to show movement without completely eliminating texture, short enough that I can work without heavy filters in many lighting conditions.
For truly dramatic effects—milky water, motion-blurred clouds—I push toward 15-30 seconds. But this requires additional equipment and planning.
The Essential Tool: Neutral Density Filters
Here’s where most photographers hit a wall: shooting long exposures in daylight is nearly impossible without a neutral density (ND) filter. During the day, even at f/16 and ISO 100, your shutter speed will be too fast to achieve the effect you’re after.
I keep two filters in my bag: a 6-stop and a 10-stop ND. The 6-stop gives me roughly 1-4 seconds in typical midday light—perfect for waterfalls and stream work. The 10-stop extends this to 15-30 seconds, ideal for flattening skies and creating that surreal quality.
A quality filter makes a genuine difference. Cheap ND filters introduce color casts and reduce sharpness. I’ve learned this through experience—and through some frustrating field sessions early in my practice. Invest in a reputable brand.
The Technical Steps
When I’m setting up for a long exposure, my sequence is deliberate:
-
Mount your camera on a sturdy tripod. Even tiny vibrations ruin long exposures. I test stability by tapping the camera gently; if it’s still moving, I adjust.
-
Frame your composition and focus manually before attaching the filter. Autofocus struggles with ND filters.
-
Set your aperture to f/8-f/16 for good depth of field and to extend exposure time without excessive noise.
-
Use ISO 100 (or your camera’s lowest native ISO).
-
Attach your ND filter carefully. I’ve recovered filters from streams after careless handling.
-
Take a test shot without the filter to check exposure, then calculate the adjustment. Most ND filter packages include exposure adjustment charts.
The Waiting Game
This is the contemplative part—the part I love. Once you’ve set your shutter speed to, say, 20 seconds, you press the shutter and then wait. Stand there. Breathe. Watch the landscape. Think about what you’re capturing—time itself, rendered visible.
Sometimes the result exceeds your expectation. Sometimes it falls short, and you adjust and try again. But you’re always learning, always seeing.
Comments (2)
This is exactly what I needed today. Been struggling with this for weeks.
Just subscribed. If the rest of your content is this good, I'm in.
Leave a Comment