I have stood in the dark next to my truck more times than I can count, thermos in one hand, phone in the other, watching a sky that was supposed to deliver something extraordinary do absolutely nothing. And I have also stood in places so lit up with color that my hands were shaking on the tripod. The difference between those two experiences almost never comes down to fortune. It comes down to whether I read the conditions correctly before I left the house. That is exactly why William Patino’s tutorial on forecasting, capturing, and editing sunsets stopped me mid-scroll. In this William Patino tutorial, filmed out on a lake in Fiordland, New Zealand, he walks through the complete process he used to predict, position for, and then process a genuinely remarkable sunset. Watch the full tutorial on YouTube before or after reading this breakdown.
What struck me most watching it was how much his philosophy mirrors something a mentor told me early in my career: the mountain doesn’t care about your schedule. You can want a great shot as badly as you want, but if you haven’t done the reading beforehand, wanting doesn’t matter. Patino’s workflow is built entirely around eliminating as much guesswork as possible before the shutter ever fires. The result is that when luck does seem to show up, it’s actually preparation wearing a disguise.
Step 1: Watch the Sky Days in Advance, Not Hours
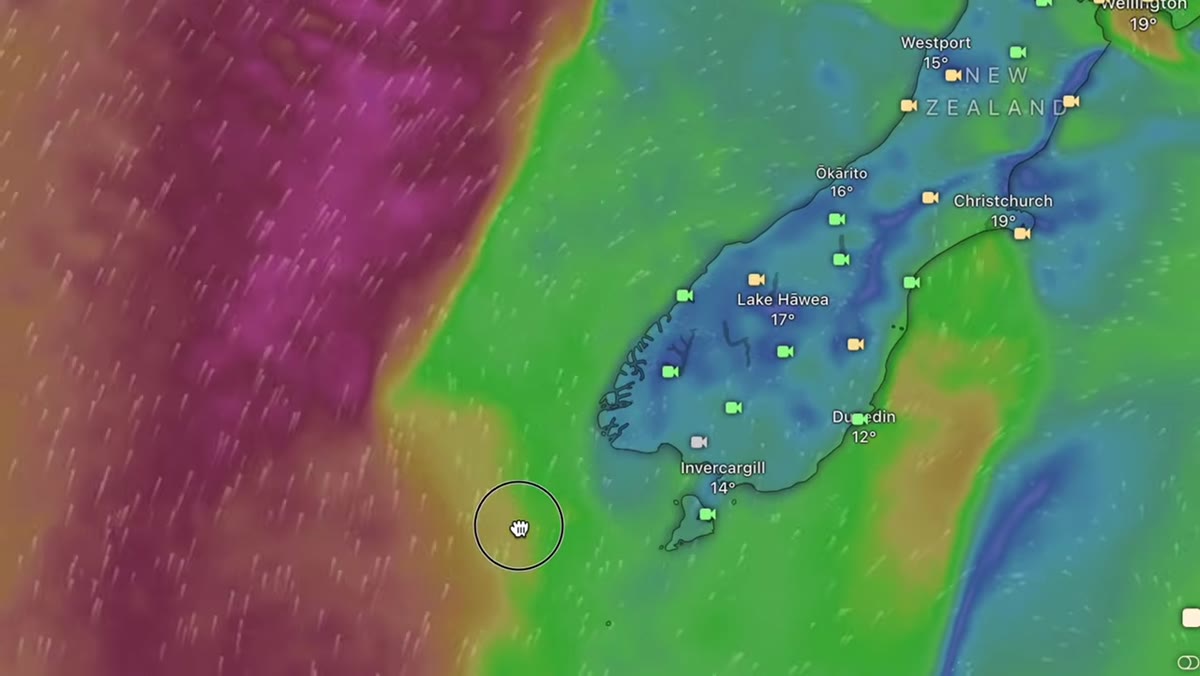 Photographer scanning the sky and monitoring weather conditions
The first and most important habit Patino demonstrates is monitoring sky conditions over multiple days rather than checking a forecast the afternoon of a shoot. He is specifically looking for a particular atmospheric setup: a heavy cloud layer building overhead combined with a clear or thinning band along the western horizon. That gap near the horizon is what allows sunset light to travel under the cloud deck and illuminate it from below, which is what creates those saturated pink and orange skies. Without that gap, you either get a clear sky with soft but unmemorable color, or a fully overcast sky that kills the light entirely. The window in between is the target.
Photographer scanning the sky and monitoring weather conditions
The first and most important habit Patino demonstrates is monitoring sky conditions over multiple days rather than checking a forecast the afternoon of a shoot. He is specifically looking for a particular atmospheric setup: a heavy cloud layer building overhead combined with a clear or thinning band along the western horizon. That gap near the horizon is what allows sunset light to travel under the cloud deck and illuminate it from below, which is what creates those saturated pink and orange skies. Without that gap, you either get a clear sky with soft but unmemorable color, or a fully overcast sky that kills the light entirely. The window in between is the target.
Step 2: Use Satellite Imagery to Confirm the Clearing
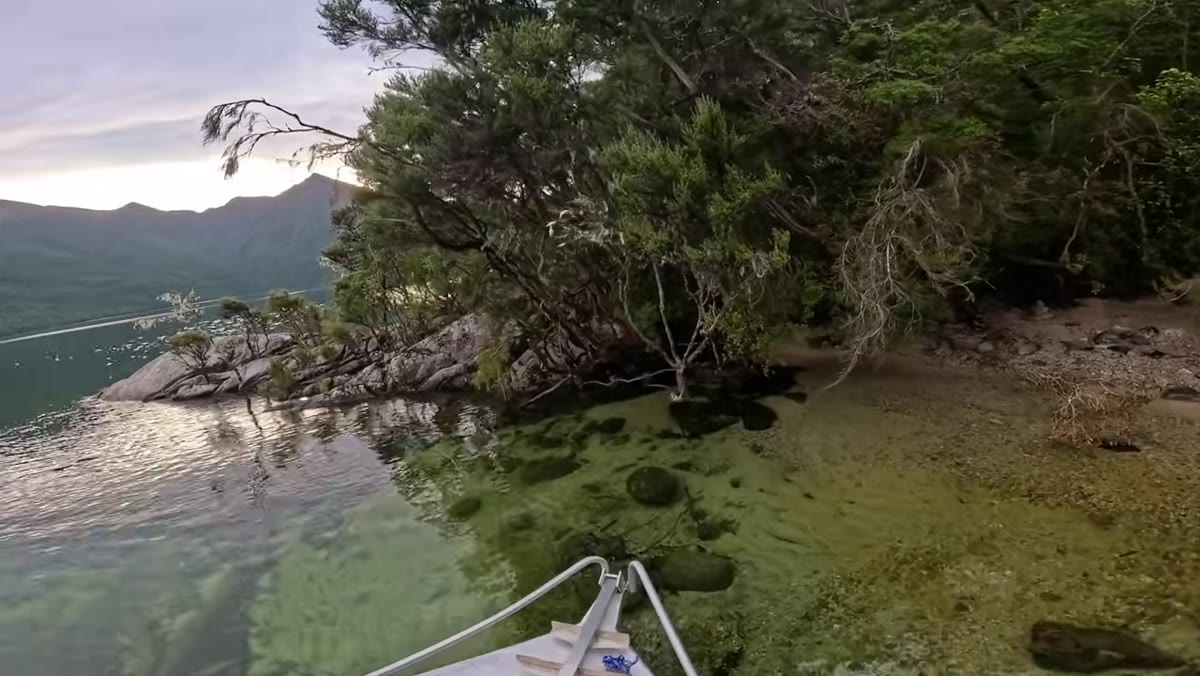 Checking satellite imagery for cloud gaps on the western horizon
Once Patino has a sense of the pattern developing, he pulls up satellite imagery to confirm whether that clearing on the horizon is actually there. He looks west, or southwest depending on the season, and traces the edge of the cloud system. This isn’t complicated meteorology. Free tools like Windy, Zoom Earth, or even the radar view inside Weather Underground give you enough visual information to make a confident call. What you’re looking for is a distinct boundary between dense cloud above and open sky near the horizon. If that band is 10 to 30 degrees wide as the sun approaches it, you are in business. Narrower than that and you risk the sun dipping behind cloud before it can paint anything. Wider and the sky overhead may not have enough texture to catch the light.
Checking satellite imagery for cloud gaps on the western horizon
Once Patino has a sense of the pattern developing, he pulls up satellite imagery to confirm whether that clearing on the horizon is actually there. He looks west, or southwest depending on the season, and traces the edge of the cloud system. This isn’t complicated meteorology. Free tools like Windy, Zoom Earth, or even the radar view inside Weather Underground give you enough visual information to make a confident call. What you’re looking for is a distinct boundary between dense cloud above and open sky near the horizon. If that band is 10 to 30 degrees wide as the sun approaches it, you are in business. Narrower than that and you risk the sun dipping behind cloud before it can paint anything. Wider and the sky overhead may not have enough texture to catch the light.
Step 3: Position Yourself to Face the Best Light
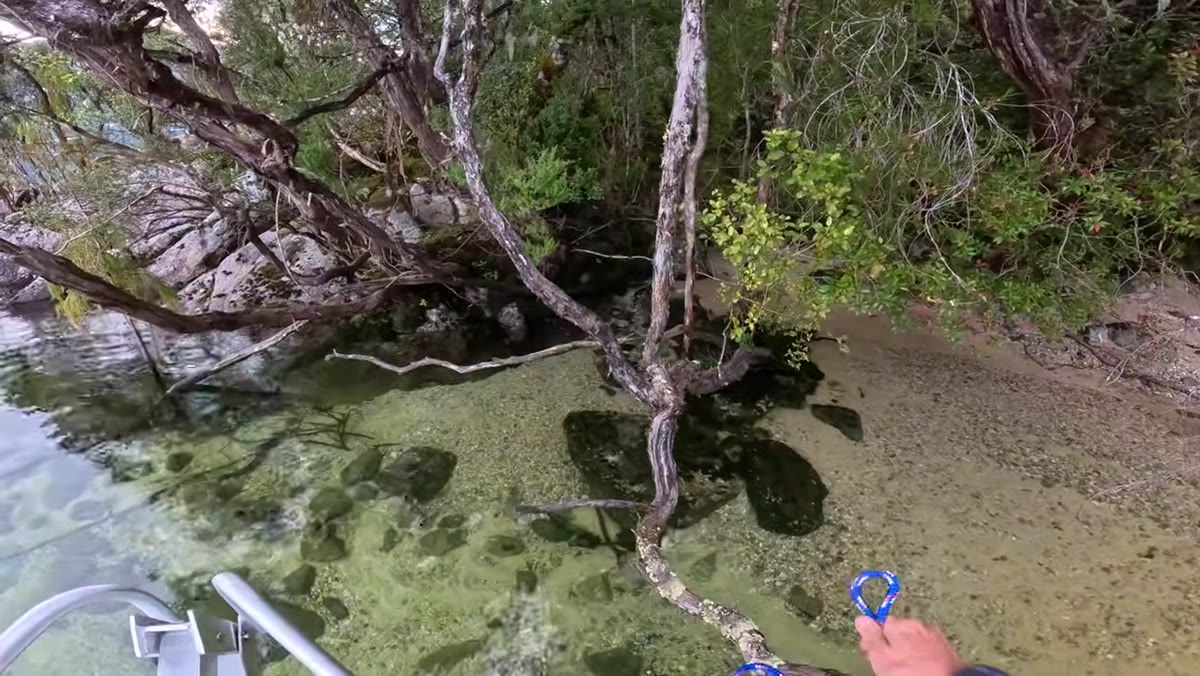 Navigating the boat to find the ideal angle toward the western sky
Forecasting gets you to the general area. Positioning is what separates a good frame from a great one. Patino is shooting from a boat on a large lake, which gives him the flexibility to move laterally and find the angle that places the strongest light directly in front of him. On land, this same principle applies: once you know roughly where the light will come from, walk the location looking for a foreground that works in that specific direction. He wants the color behind the mountains, the mountains reflected in the still water, and some textural vegetation in the near foreground to give the eye something to move through. He is building the composition in layers. Foreground interest, midground subject, background sky, and its reflection below. Each layer needs to earn its place.
Navigating the boat to find the ideal angle toward the western sky
Forecasting gets you to the general area. Positioning is what separates a good frame from a great one. Patino is shooting from a boat on a large lake, which gives him the flexibility to move laterally and find the angle that places the strongest light directly in front of him. On land, this same principle applies: once you know roughly where the light will come from, walk the location looking for a foreground that works in that specific direction. He wants the color behind the mountains, the mountains reflected in the still water, and some textural vegetation in the near foreground to give the eye something to move through. He is building the composition in layers. Foreground interest, midground subject, background sky, and its reflection below. Each layer needs to earn its place.
Step 4: Let the Scene Develop Before Committing to a Lens
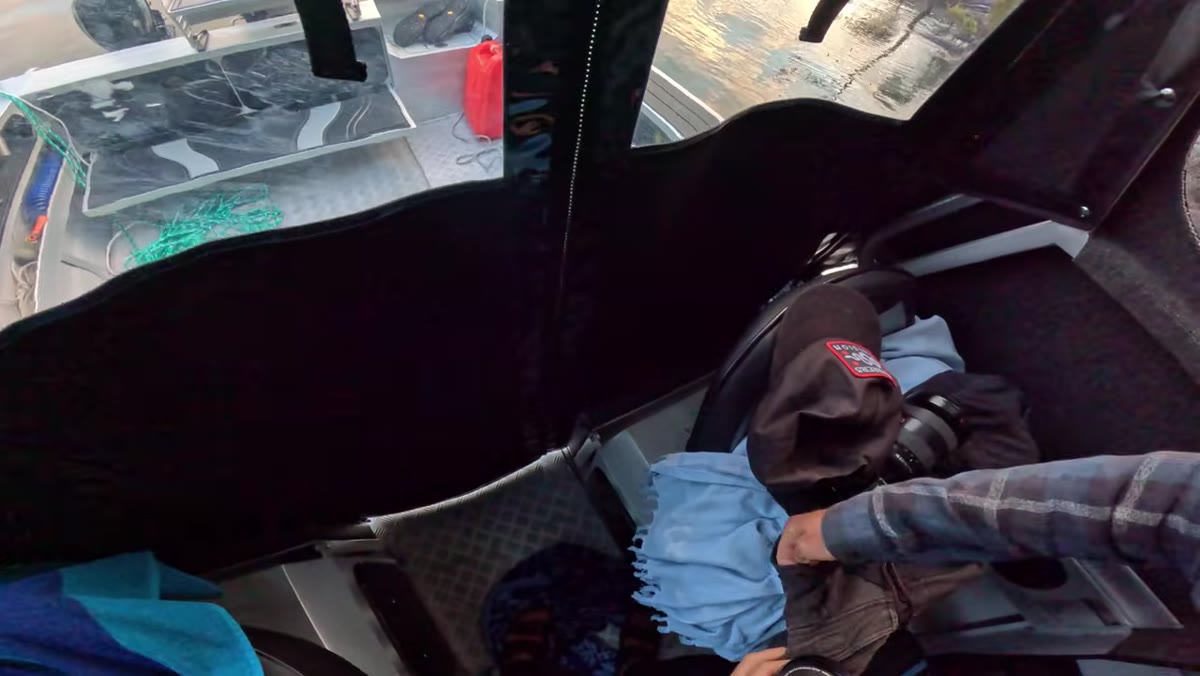 Cloud thinning before building back up over the lake
One of the most honest moments in the tutorial is when Patino admits he got discouraged mid-shoot as the clouds started burning off. The sky was clearing too much, losing the density that makes those conditions so dramatic. He kept watching. The clouds built back up. This is a patience problem that every landscape photographer faces, and the instinct to either pack up early or start firing frames out of anxiety is one that will cost you shots. His advice, implicit in how he describes it, is to stay present and keep reading the sky in real time rather than locking into your first read of the scene. The conditions he ended up with were more dramatic than what he started with.
Cloud thinning before building back up over the lake
One of the most honest moments in the tutorial is when Patino admits he got discouraged mid-shoot as the clouds started burning off. The sky was clearing too much, losing the density that makes those conditions so dramatic. He kept watching. The clouds built back up. This is a patience problem that every landscape photographer faces, and the instinct to either pack up early or start firing frames out of anxiety is one that will cost you shots. His advice, implicit in how he describes it, is to stay present and keep reading the sky in real time rather than locking into your first read of the scene. The conditions he ended up with were more dramatic than what he started with.
Step 5: Go Wider Than You Think You Need To
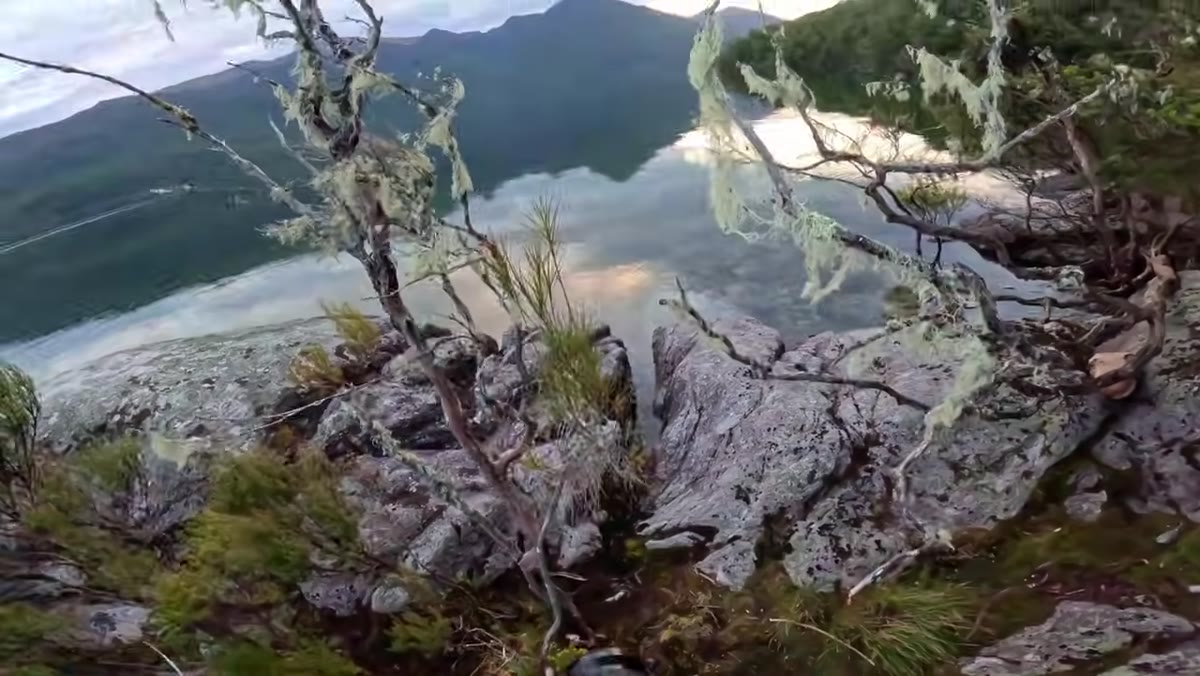 Switching from 16-35mm to 10mm prime lens on location
Once Patino commits to his position on a small stone outcropping with hanging lichen in the trees nearby, he reaches for a 16 to 35mm and realizes almost immediately it isn’t wide enough. He switches to a 10mm prime. The reason matters: at that focal length, he can include the overhanging vegetation at the top of the frame, which frames the scene and adds depth. He also picks up more sky and more of the lake’s reflection. The tradeoff, which he names directly, is that distant subjects shrink. The mountains get smaller. But this scene isn’t primarily about the mountains. It’s about the light filling the entire sky and doubling itself in the water below. The lens choice has to serve the story of the shot, not just the subject.
Switching from 16-35mm to 10mm prime lens on location
Once Patino commits to his position on a small stone outcropping with hanging lichen in the trees nearby, he reaches for a 16 to 35mm and realizes almost immediately it isn’t wide enough. He switches to a 10mm prime. The reason matters: at that focal length, he can include the overhanging vegetation at the top of the frame, which frames the scene and adds depth. He also picks up more sky and more of the lake’s reflection. The tradeoff, which he names directly, is that distant subjects shrink. The mountains get smaller. But this scene isn’t primarily about the mountains. It’s about the light filling the entire sky and doubling itself in the water below. The lens choice has to serve the story of the shot, not just the subject.
Step 6: Time Your Key Frames for the Transition Moment
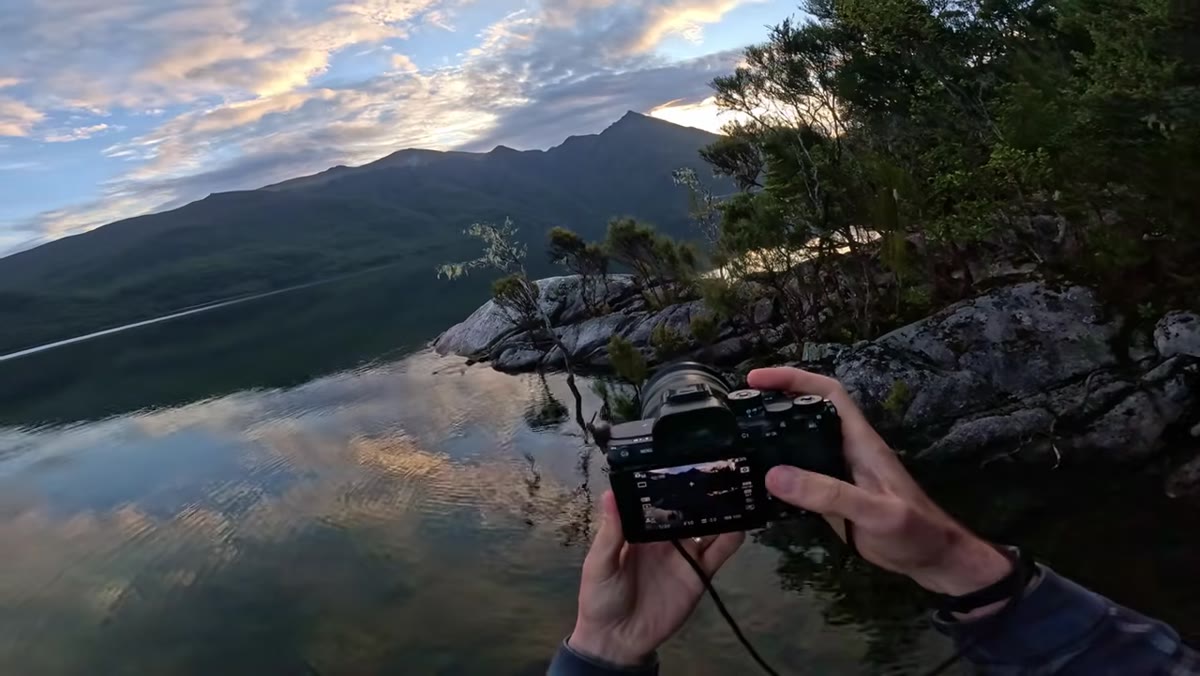 Golden glow intensifying as sun drops lower toward horizon
Patino begins shooting while the light is still golden, but he knows the best color comes during a specific window: after the sun dips low enough that its light starts refracting toward the red and pink end of the spectrum, but before it disappears entirely behind the horizon or into the lower cloud layer. He describes this as waiting for the pink, orange, and red to come through. In practice this window can be as short as four or five minutes. He shoots frames during the gold phase to have options, but he is conserving his focus and his best compositions for the transition. Shoot the lead-up, but don’t exhaust your attention before the peak arrives.
Golden glow intensifying as sun drops lower toward horizon
Patino begins shooting while the light is still golden, but he knows the best color comes during a specific window: after the sun dips low enough that its light starts refracting toward the red and pink end of the spectrum, but before it disappears entirely behind the horizon or into the lower cloud layer. He describes this as waiting for the pink, orange, and red to come through. In practice this window can be as short as four or five minutes. He shoots frames during the gold phase to have options, but he is conserving his focus and his best compositions for the transition. Shoot the lead-up, but don’t exhaust your attention before the peak arrives.
A Note From My Own Experience: The Reflection Multiplier
I have shot dozens of locations with still water, and the one thing I’d add to Patino’s breakdown is this: a calm surface doesn’t just double your color, it also doubles your exposure latitude problems. The sky and its reflection often have more contrast than your sensor can handle in a single frame. I bracket two to three exposures at peak color, one exposed for the sky and one for the reflection, and blend them in Lightroom or Photoshop afterward. If you try to expose for both in a single frame you will often sacrifice the best part of one or the other. The reflection is not a bonus. Treat it as a second subject with its own exposure needs.
The single most transferable idea from this entire tutorial is the simplest one: great sunset photography is forecasting work dressed up as field work. The hour you spend watching satellite imagery and cloud patterns the day before is worth more than any piece of gear you could bring to the location. Study the sky before it performs.
Watch the full tutorial on YouTube to see Patino’s raw file processing walkthrough, which covers how he handles the tonal and color work in post to match what he saw in the field.
Comments
Leave a Comment