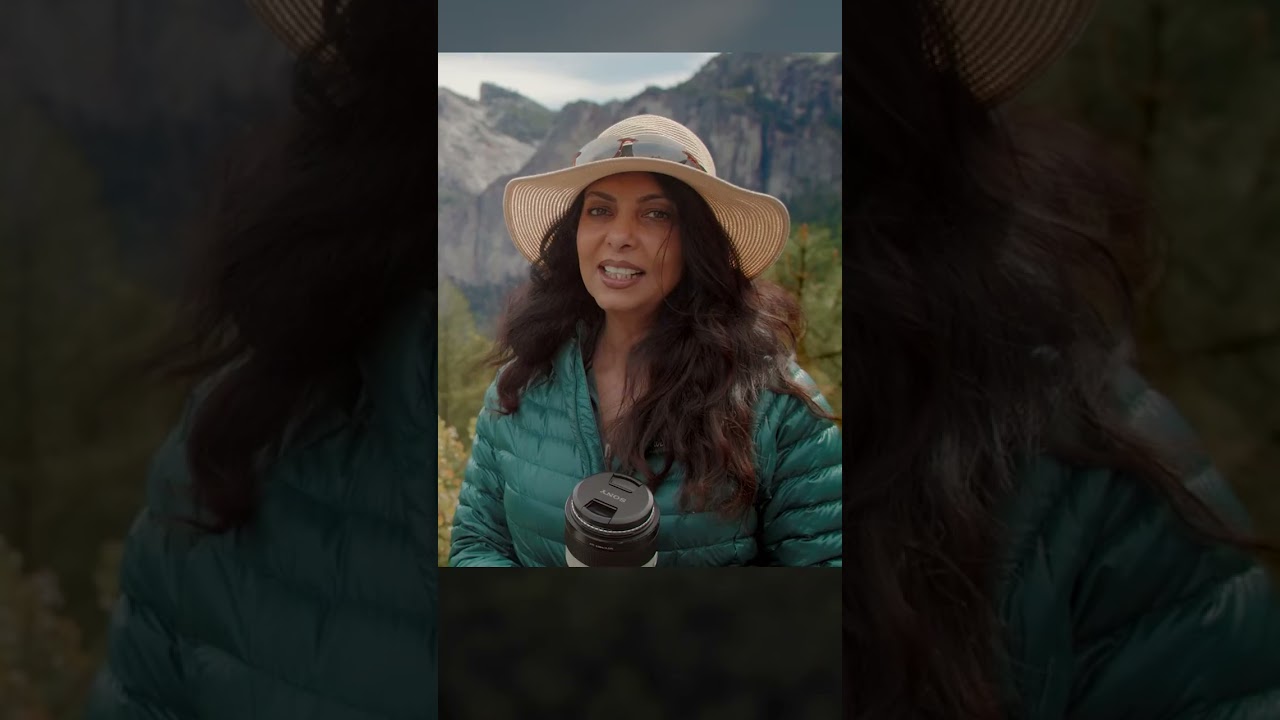
There’s a trap I fell into early in my career, and I still see it happen with photographers in my workshops. You arrive at a famous location, shoot the obvious composition with the lens already on your camera, and leave thinking you’ve covered it. One frame, one focal length, one version of a place that millions of people have already photographed. It’s not a bad shot. It’s just an incomplete one.
That’s why a recent KelbyOne tutorial featuring photographer Sapna Reddy stopped me mid-scroll. Shot at Tunnel View in Yosemite, one of the most photographed overlooks in North America, Reddy makes a point so simple it sounds obvious but almost nobody actually practices it in the field: bring every lens you own, because every focal length gives you a genuinely different photograph. Watch the full tutorial on YouTube before or after reading through this breakdown.
The lesson here isn’t about Yosemite specifically. It’s about a mindset shift that changes how you plan and execute any shoot. Once you start thinking of a location as a set of potential images rather than a single composition, your keeper rate at familiar spots goes up significantly.
Step 1: Arrive With a Full Lens Kit, Not Just a Favorite
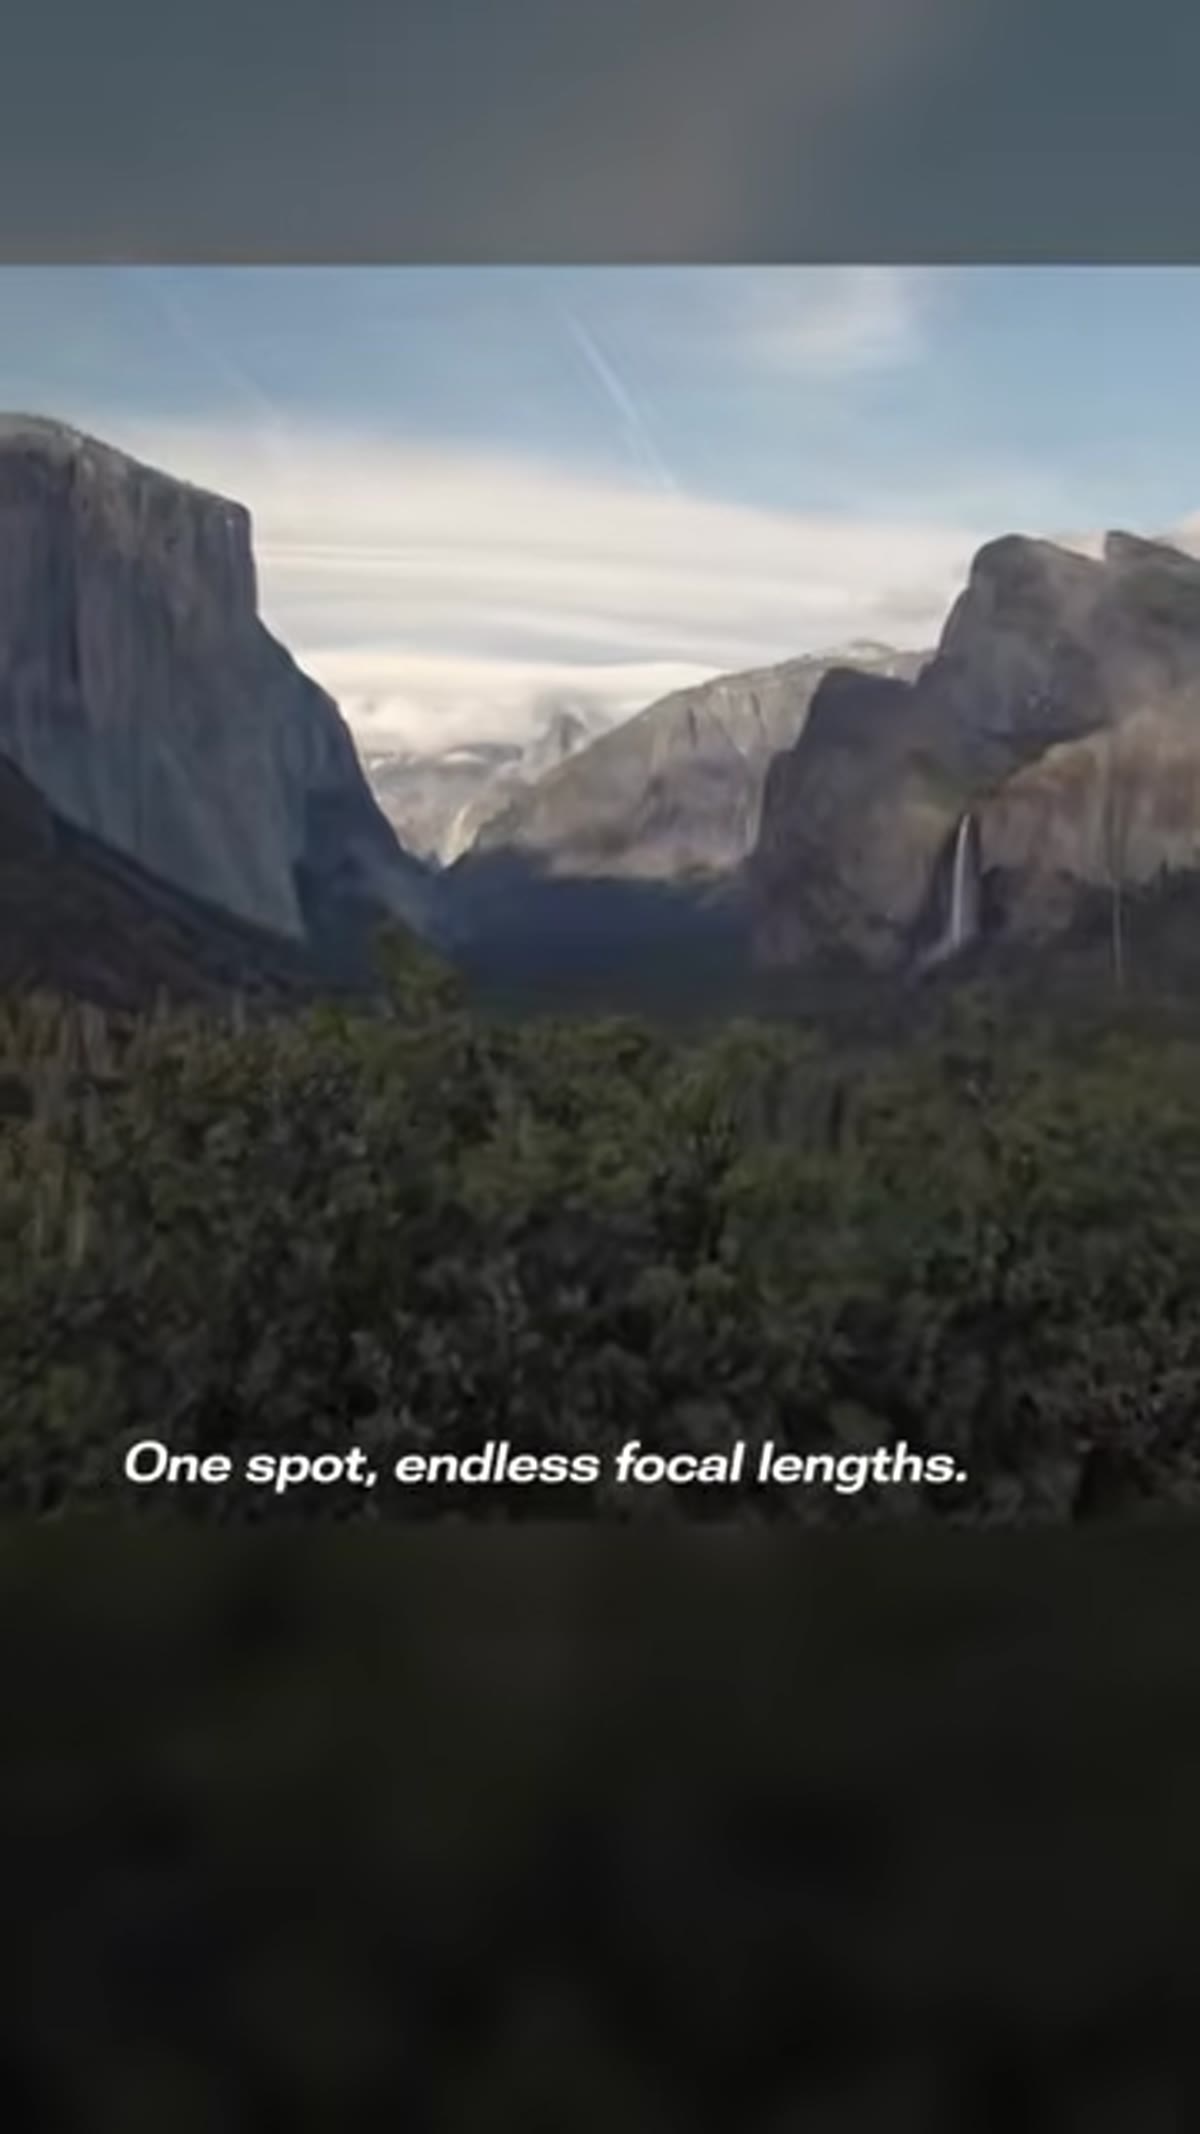 Tunnel View overlook, sweeping valley visible in background
Most landscape photographers have a go-to lens. Mine spent years being a 24-70mm. It’s versatile, sharp, and comfortable. But comfort is the enemy of range. Reddy’s core recommendation for Tunnel View applies to any location with depth and layered subjects: bring your wide, your mid-range, and your telephoto, and plan to use all three.
Tunnel View overlook, sweeping valley visible in background
Most landscape photographers have a go-to lens. Mine spent years being a 24-70mm. It’s versatile, sharp, and comfortable. But comfort is the enemy of range. Reddy’s core recommendation for Tunnel View applies to any location with depth and layered subjects: bring your wide, your mid-range, and your telephoto, and plan to use all three.
Before you set up, walk the overlook or viewpoint without the camera. What’s in the foreground? What’s in the middle distance? What’s at the far end of the scene? Each of those zones tends to reward a different focal length, and knowing that before you start shooting keeps you from packing up too early.
Step 2: Start Wide to Establish the Grand Scene
 Wide angle view capturing full valley, El Capitan and Bridalveil Fall visible
The wide-angle lens earns its place at a location like Tunnel View by doing what it’s built to do: pull everything in. The valley floor, the granite walls on both sides, the sky, the waterfall in the distance. This is the establishing shot, the one that tells the viewer where they are and gives the scene a sense of scale.
Wide angle view capturing full valley, El Capitan and Bridalveil Fall visible
The wide-angle lens earns its place at a location like Tunnel View by doing what it’s built to do: pull everything in. The valley floor, the granite walls on both sides, the sky, the waterfall in the distance. This is the establishing shot, the one that tells the viewer where they are and gives the scene a sense of scale.
For this kind of composition, I typically shoot somewhere between 16mm and 24mm on a full-frame body. Watch your edges carefully at these focal lengths. Wide lenses at iconic overlooks have a habit of pulling in parking lot signage, other photographers, or lens distortion that warps the rock faces. Stop down to f/8 or f/11 to keep the entire depth of field sharp from foreground rocks to distant peaks.
Step 3: Shift to a Mid-Range Lens to Compress and Focus
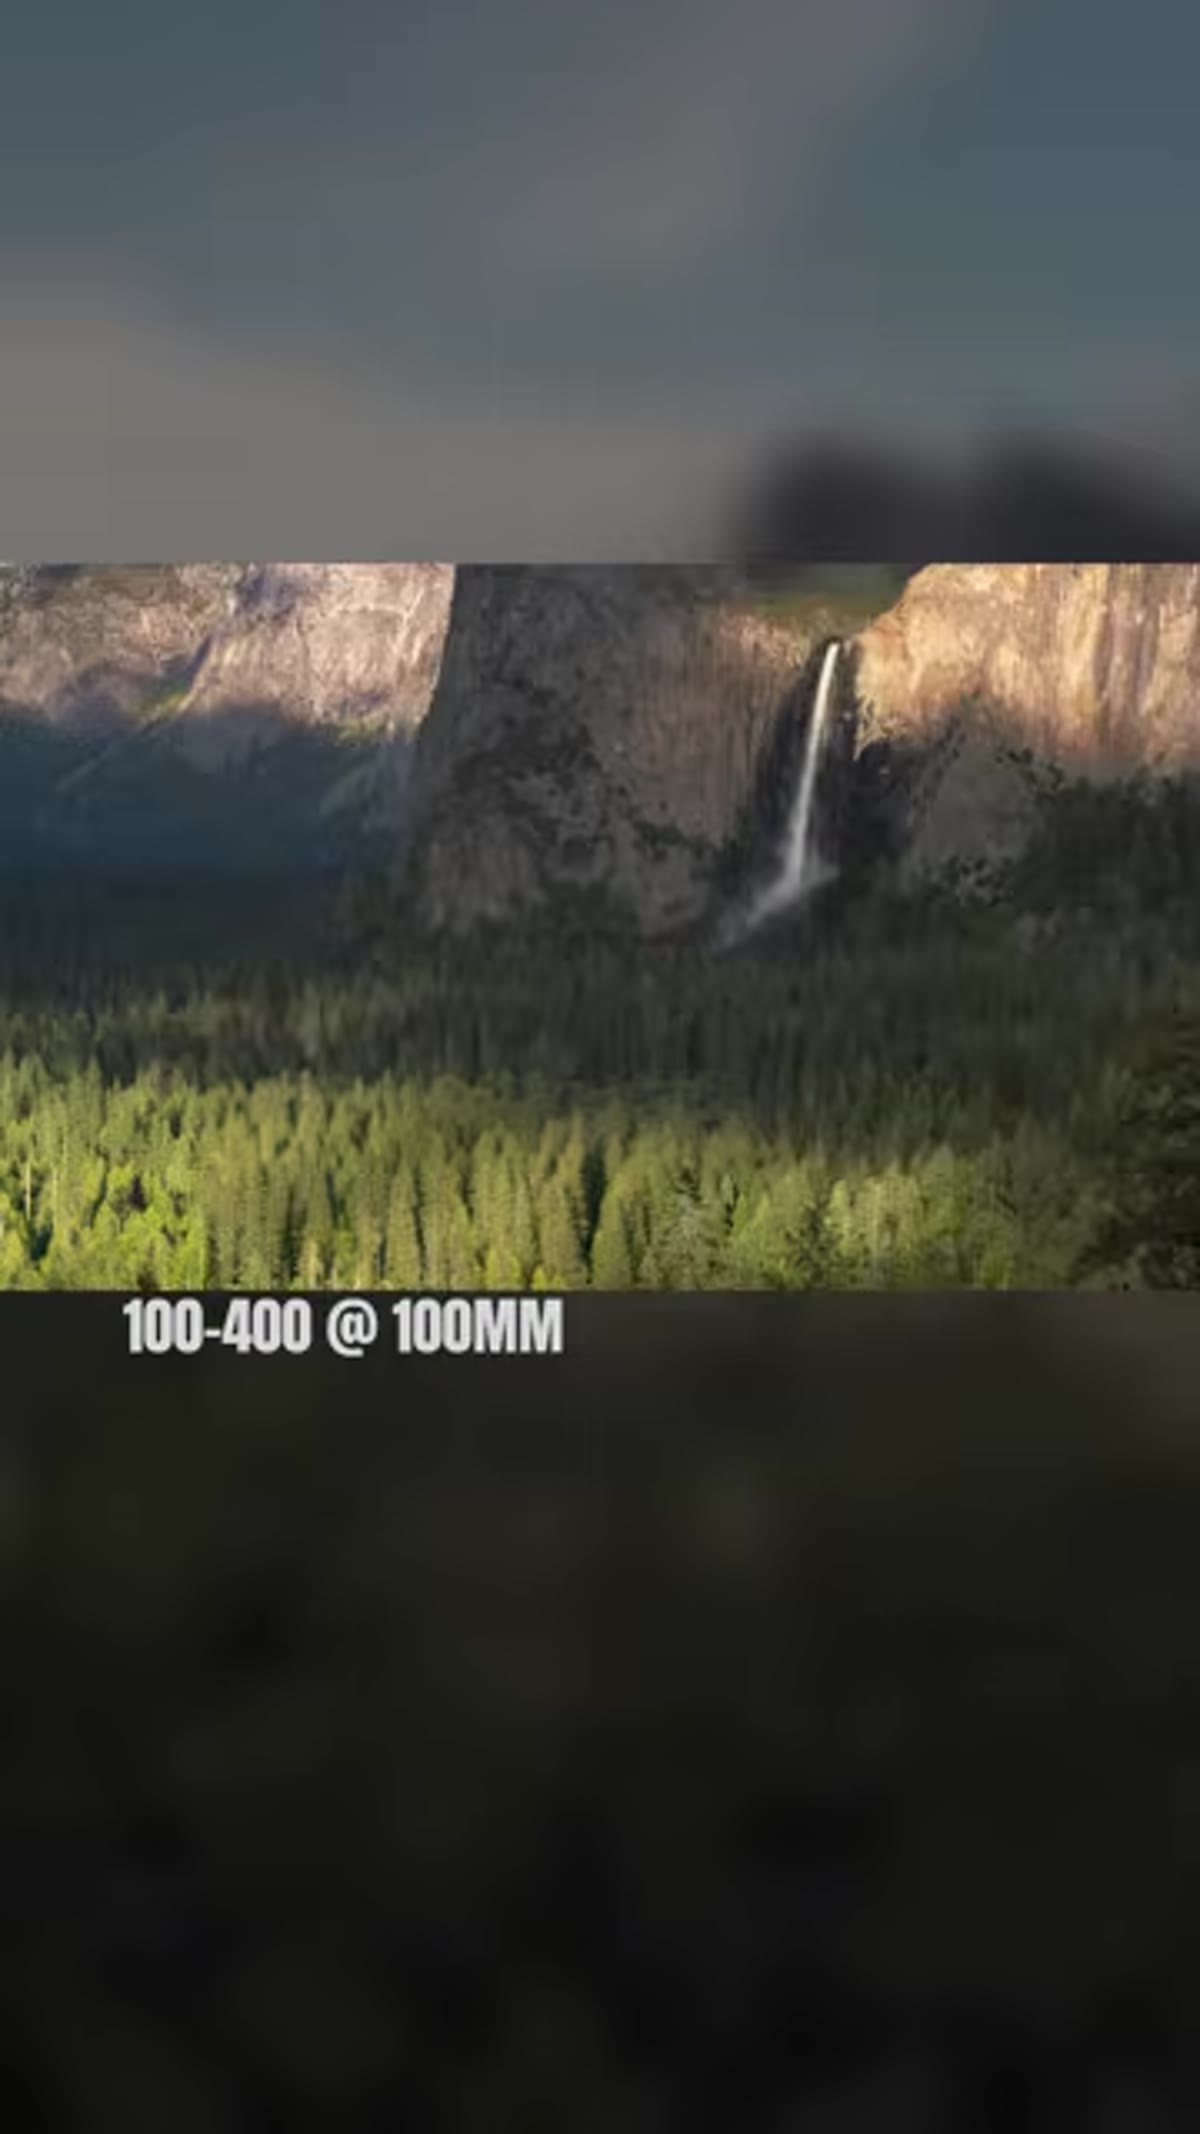 Mid-range focal length bringing waterfall noticeably closer in frame
Once you have the grand scene, swap to something in the 70-135mm range and let it do the opposite job. A mid-range focal length compresses the scene, eliminating some of the surrounding context and drawing the viewer’s eye toward a specific element. At Tunnel View, Reddy uses this range to bring the waterfall forward in the frame without losing the surrounding valley walls entirely.
Mid-range focal length bringing waterfall noticeably closer in frame
Once you have the grand scene, swap to something in the 70-135mm range and let it do the opposite job. A mid-range focal length compresses the scene, eliminating some of the surrounding context and drawing the viewer’s eye toward a specific element. At Tunnel View, Reddy uses this range to bring the waterfall forward in the frame without losing the surrounding valley walls entirely.
This is where most photographers skip a step. They go wide, then immediately reach for the telephoto. The mid-range pass is worth the time because it often produces the most usable print. It feels cinematic. The proportions between elements look closer to how the human eye actually experiences the scene.
Step 4: Go Long to Find the Details
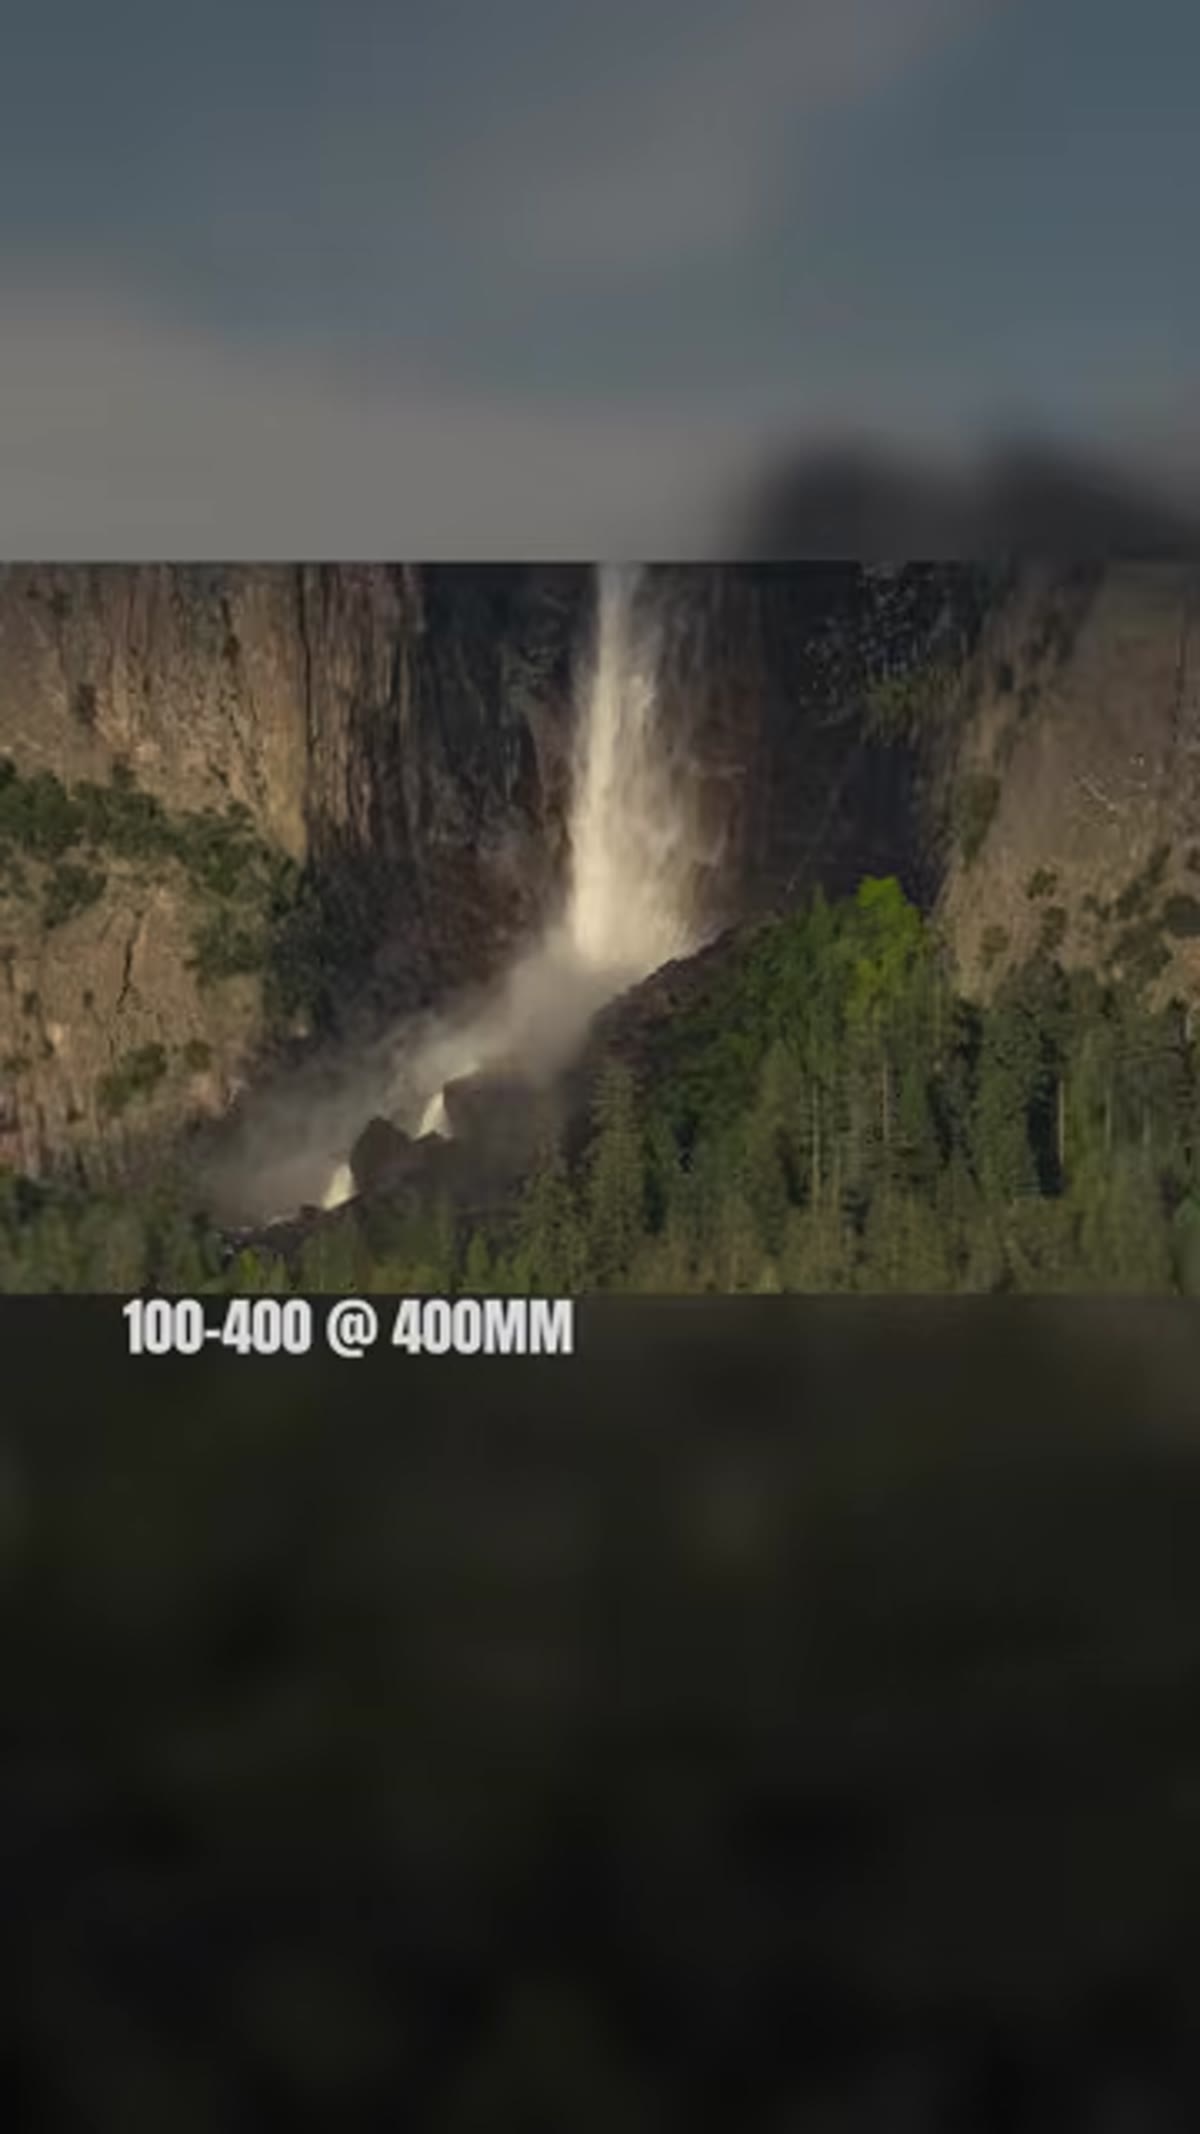 Telephoto compression isolating waterfall base and fine water detail
The telephoto lens is where a location reveals what casual visitors never see. At Tunnel View, Reddy points out that a longer lens lets you isolate the base of Bridalveil Fall, showing the mist and the movement of water in a way the wide shot can’t touch. On a bright day with good light, the detail you can pull out of a waterfall at 200-400mm is remarkable.
Telephoto compression isolating waterfall base and fine water detail
The telephoto lens is where a location reveals what casual visitors never see. At Tunnel View, Reddy points out that a longer lens lets you isolate the base of Bridalveil Fall, showing the mist and the movement of water in a way the wide shot can’t touch. On a bright day with good light, the detail you can pull out of a waterfall at 200-400mm is remarkable.
Use a sturdy tripod at these focal lengths. Any vibration that your body absorbs at 24mm becomes a blurred frame at 300mm. I also recommend mirror lock-up or electronic shutter if your camera supports it, and a remote trigger or the two-second self-timer. These small steps cost you nothing and protect the sharpness you drove all that way to capture.
Step 5: Review and Sequence Your Shots Before Leaving
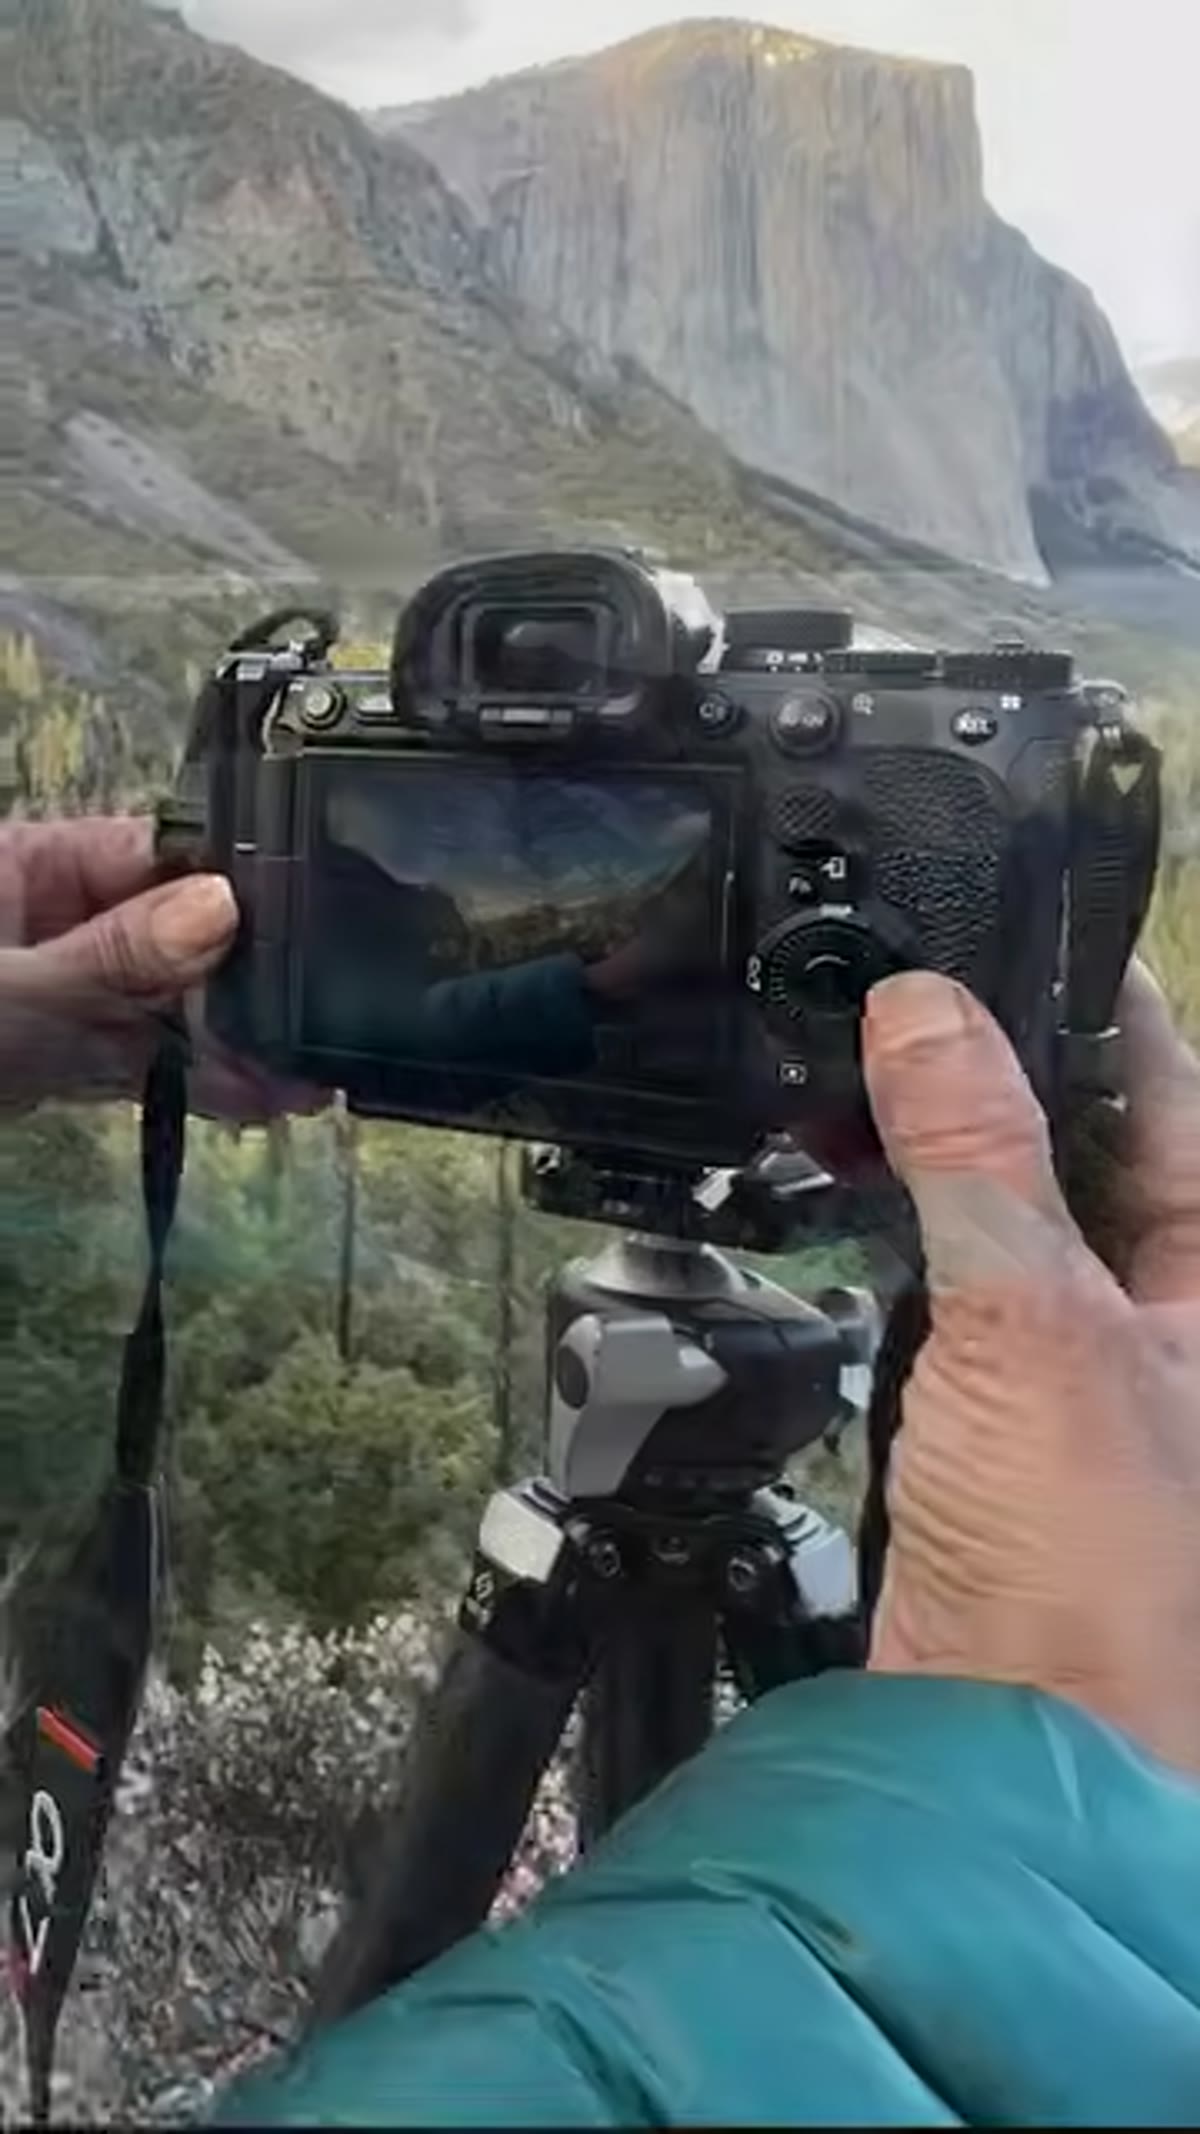
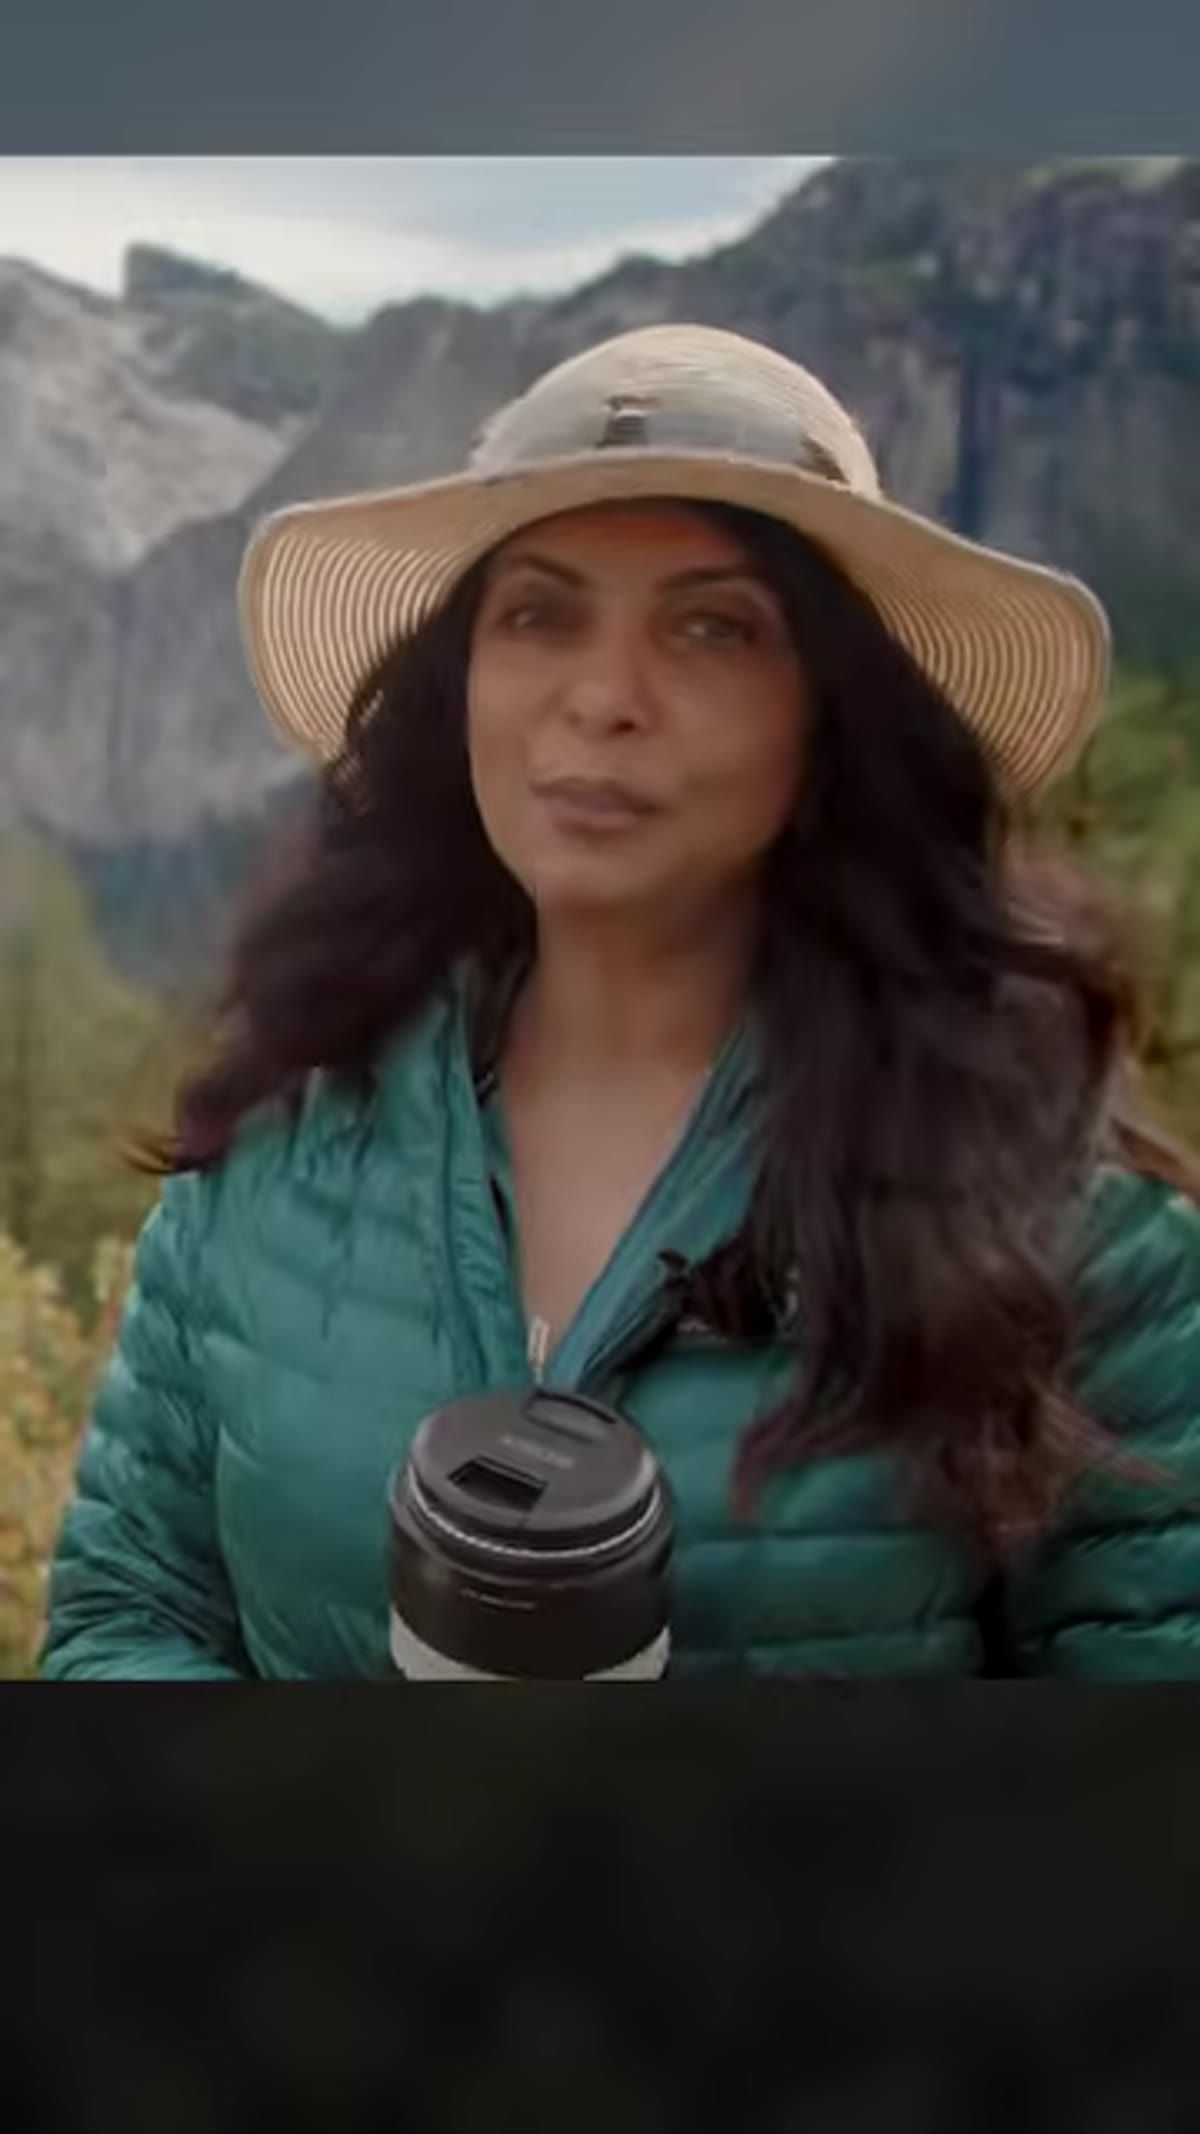 Photographer at overlook reviewing images across focal length progression
This is the step that separates deliberate photographers from reactive ones. Before you walk back to the car, pull up your images and look at them as a sequence. Wide, mid, telephoto. Does each one hold up on its own? Is there a gap you didn’t fill? Reddy’s point in the tutorial is that Tunnel View rewards every focal length, but only if you actually use them. The review moment is where you catch what you missed.
Photographer at overlook reviewing images across focal length progression
This is the step that separates deliberate photographers from reactive ones. Before you walk back to the car, pull up your images and look at them as a sequence. Wide, mid, telephoto. Does each one hold up on its own? Is there a gap you didn’t fill? Reddy’s point in the tutorial is that Tunnel View rewards every focal length, but only if you actually use them. The review moment is where you catch what you missed.
I’ve trained myself to do this at every location, not just famous ones. It takes five minutes and has saved me from leaving without a shot more times than I can count. My mentor used to say the mountain doesn’t care about your schedule. That phrase stuck. Spend the extra time while you’re still there.
A Field Note From My Own Kit
I want to add something Reddy’s tutorial doesn’t cover, because it’s come up in my own work at Yosemite and at layered locations in general: lighting changes everything about which focal length performs best. Early morning at Tunnel View, when the mist is still sitting in the valley, the wide-angle shot benefits from that atmospheric depth. As the light gets harder mid-morning, the telephoto tends to outperform because you can chase the detail on lit surfaces and cut out the flat, overexposed sky. Plan your focal length rotation around the light, not just around the clock.
I also shoot this kind of sequence at locations that look much less dramatic on first inspection. A small river bend in central Oregon doesn’t have El Capitan in the background, but it still has foreground rocks, mid-distance reflections, and distant tree lines. Every focal length still tells a different story.
The most important thing Sapna Reddy demonstrates in this tutorial is a discipline, not a trick. A single great location, approached with intentionality and a full kit, will almost always give you more than you came for. Stop thinking of a shoot as one image. Start thinking of it as a conversation between your lenses and the landscape.
Watch the full tutorial on YouTube and then look up Reddy’s Mastering Waterfall Photography course through KelbyOne for a deeper dive into the techniques that made this Tunnel View sequence possible.
Comments (5)
Clear and practical. No fluff. Appreciate that.
Shared this with my photography group. Everyone loved it.
I keep coming back to this article. It's that useful.
I've been looking for exactly this kind of tutorial. Perfect timing.
Great article! I actually covered something related on my site — the gear angle is really complementary to this.
Leave a Comment