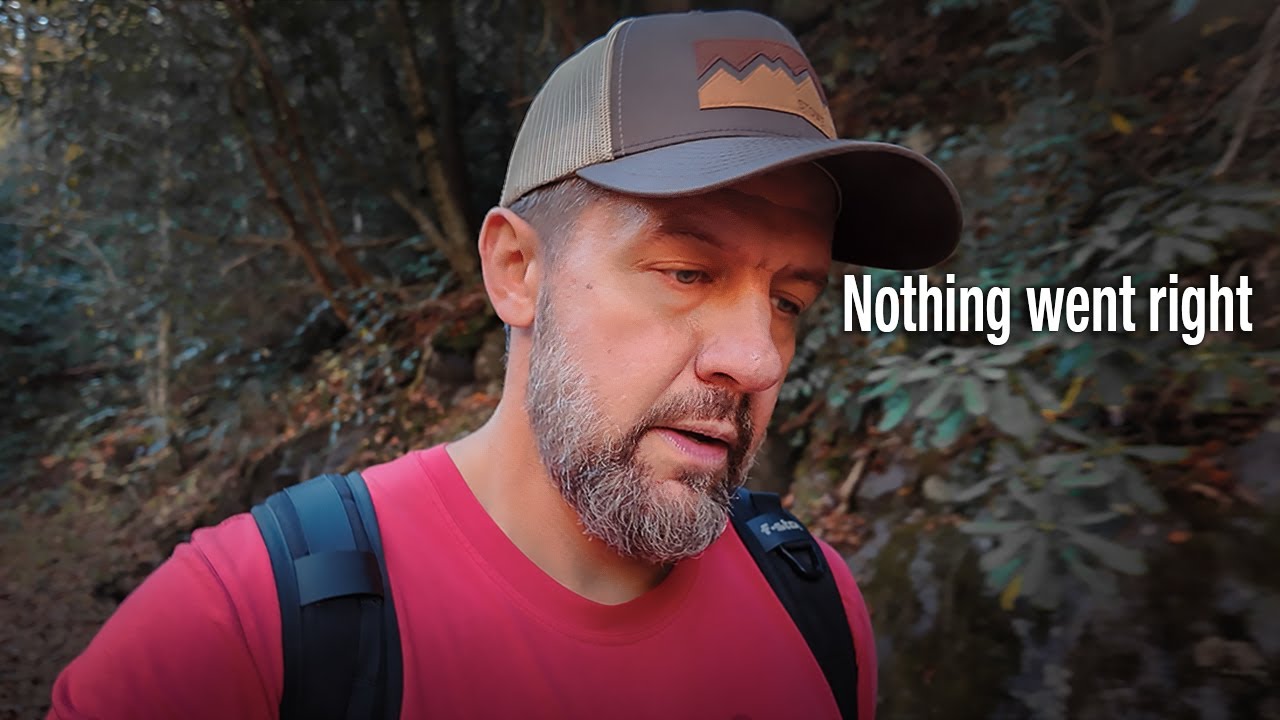
There’s a particular kind of quiet frustration that every serious landscape photographer knows. You’ve hiked in, you’ve waited for the light, and nothing is clicking. The compositions feel flat. The scene you imagined on the drive up isn’t cooperating. After twenty years doing this full-time, I still hit those days more often than I’d like to admit. What separates the photographers who grow from those who just get demoralized is whether they keep working the scene or pack it in early.
That’s exactly why I keep coming back to this tutorial from Mark Denney. Watch the full tutorial on YouTube. Rather than sharing another polished success story, Mark films himself on a genuinely difficult day in the Smoky Mountains, location scouting ahead of a fall workshop. He gets frustrated. He second-guesses himself. And then, working through it methodically, he pulls two images he’s genuinely proud of. The whole thing is more useful than a hundred highlight-reel videos, because it shows the actual process, including the parts that feel bad.
What follows is a breakdown of the field approach Mark demonstrates, with some of my own thinking layered in. If you shoot rivers, waterfalls, or any kind of intimate forest scene, the workflow here applies directly.
Step 1: Scout With Purpose Before You Shoot
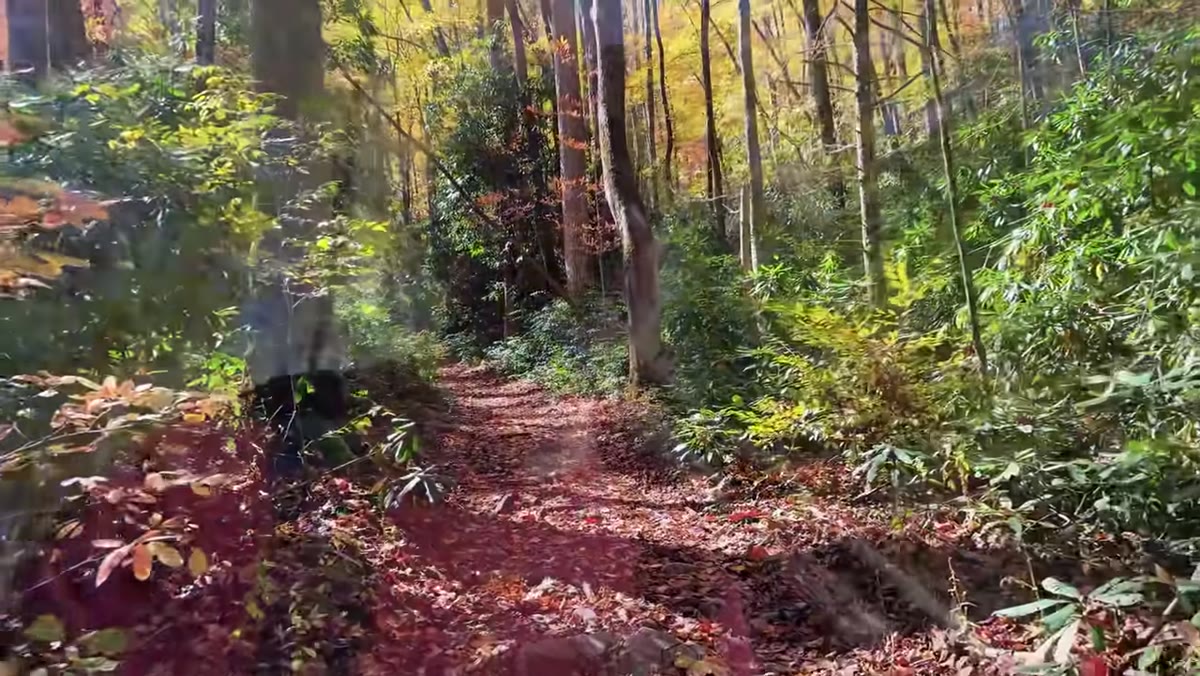 Mark hiking toward the river location through fall foliage
Mark arrives at this location having already shot it in spring. He knows the bones of the scene, but he’s never seen it in fall color, and he’s curious how Hurricane Helene changed the terrain over the previous year. That combination of familiarity and genuine curiosity is the right mental posture for a scout.
Mark hiking toward the river location through fall foliage
Mark arrives at this location having already shot it in spring. He knows the bones of the scene, but he’s never seen it in fall color, and he’s curious how Hurricane Helene changed the terrain over the previous year. That combination of familiarity and genuine curiosity is the right mental posture for a scout.
When I’m pre-shooting a location, especially for a workshop, I’m not trying to make my best image right away. I’m building a mental map: where does the water move interestingly, where does the canopy create shade, where does harsh midday light blow out the color? Walking in without a tripod and just observing first saves you from locking into a composition too early.
Step 2: Read the Light Before You Set Up
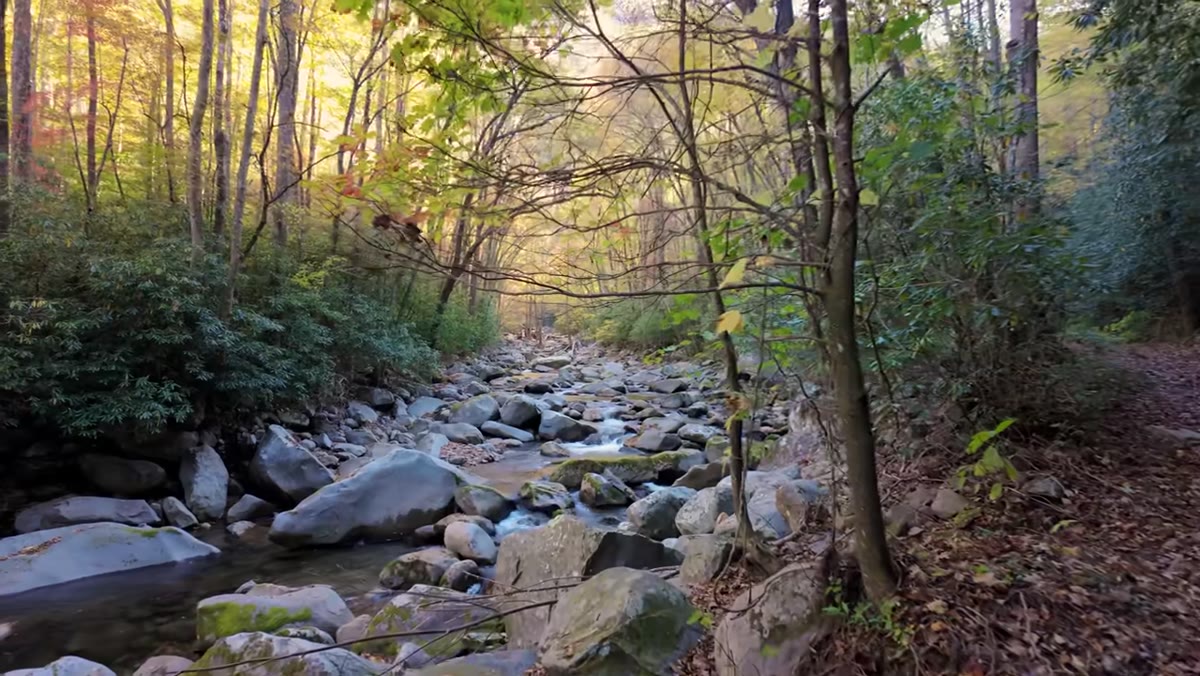 Mark showing harsh overhead sunlight on fall foliage by the river
Mark reaches the river and immediately assesses the light as too harsh. This is a critical moment that less experienced photographers often skip. The instinct is to start shooting because you’ve arrived. But direct sunlight on fall foliage, especially the warm oranges and reds, bleaches the saturation right out of it. The colors that look stunning in soft, diffused light look almost chalky under full sun.
Mark showing harsh overhead sunlight on fall foliage by the river
Mark reaches the river and immediately assesses the light as too harsh. This is a critical moment that less experienced photographers often skip. The instinct is to start shooting because you’ve arrived. But direct sunlight on fall foliage, especially the warm oranges and reds, bleaches the saturation right out of it. The colors that look stunning in soft, diffused light look almost chalky under full sun.
His read of the situation: wait roughly an hour for the light to soften. No clouds in the sky meant the only relief would come from the sun moving behind the ridge. If you’re shooting in steep terrain like a mountain gorge or a canyon river, this happens faster than you’d expect. Learn to track where the shadows are falling and when they’ll reach your subject. That patience isn’t passive, it’s part of the craft.
Step 3: Go Handheld First to Find Your Composition
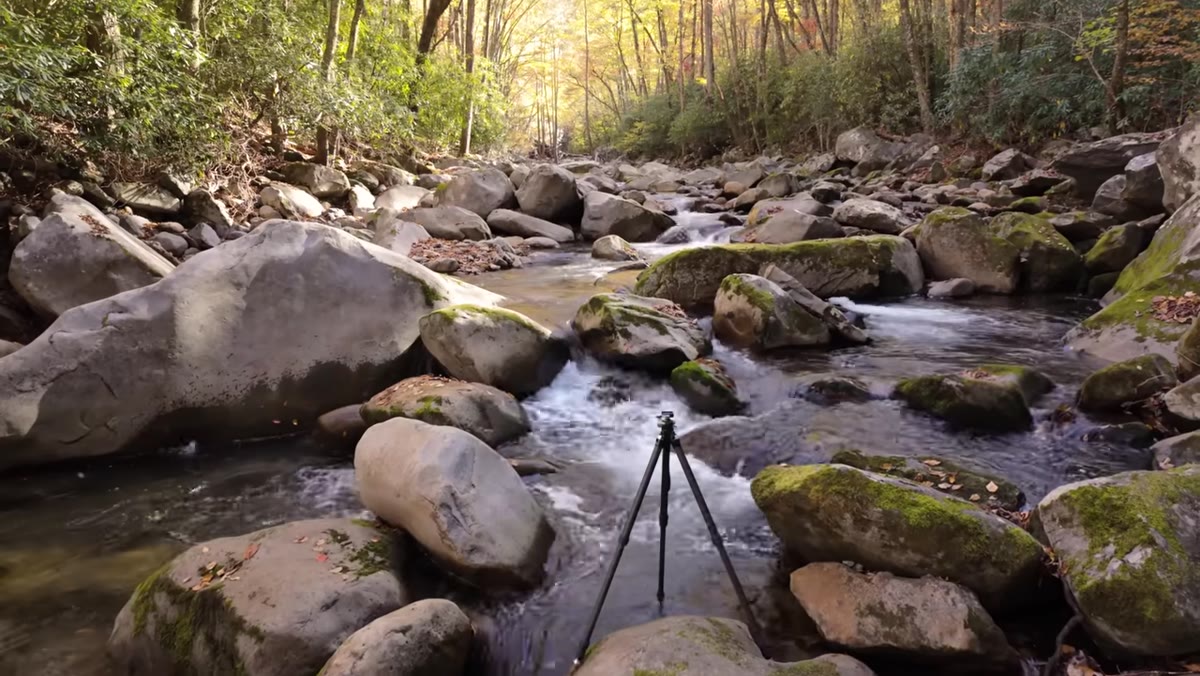 Mark moving through the water handheld, exploring angles without tripod
Before committing to a tripod position, Mark spends time moving through the scene handheld, looking for water flows, rock arrangements, and framing possibilities. He’s explicit about why: a tripod locks you into one spot and one height, which narrows your vision before you’ve fully explored the scene.
Mark moving through the water handheld, exploring angles without tripod
Before committing to a tripod position, Mark spends time moving through the scene handheld, looking for water flows, rock arrangements, and framing possibilities. He’s explicit about why: a tripod locks you into one spot and one height, which narrows your vision before you’ve fully explored the scene.
I do this on almost every shoot. I’ll leave the tripod on the bank and wade around with the camera at various heights, looking at how the foreground rocks relate to the background trees, how the water channels between boulders, where a longer exposure might create something interesting. The handheld images are almost never keepers, but they’re a fast, physical way to think through the geometry of a scene before you plant.
Step 4: Work the Foreground-to-Background Relationship
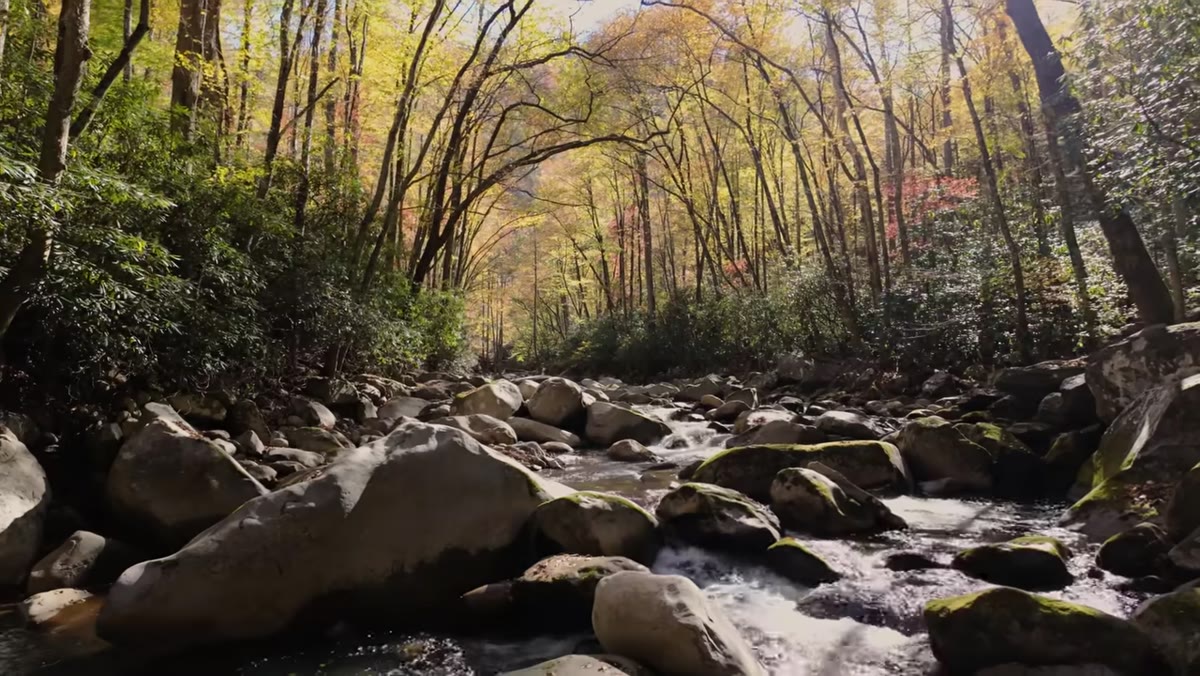 Mark examining water flow patterns around boulders in the river
In Smoky Mountain river scenes specifically, the magic usually lives in the relationship between moving water, the rocks it flows around, and the canopy overhead. Mark talks about looking for interesting water flows, which is really about finding natural leading lines that pull the eye through the frame without being too obvious about it.
Mark examining water flow patterns around boulders in the river
In Smoky Mountain river scenes specifically, the magic usually lives in the relationship between moving water, the rocks it flows around, and the canopy overhead. Mark talks about looking for interesting water flows, which is really about finding natural leading lines that pull the eye through the frame without being too obvious about it.
The foreground in a scene like this does double work. It gives the image depth, and in a long exposure, the water movement creates texture that contrasts with the stillness of the rocks and trees. Look for water that funnels between two boulders, or pools behind a rock before spilling forward. Those transitions of speed and direction make the water feel alive rather than like a blurred gray sheet.
Step 5: Adjust Your Expectations and Keep Shooting
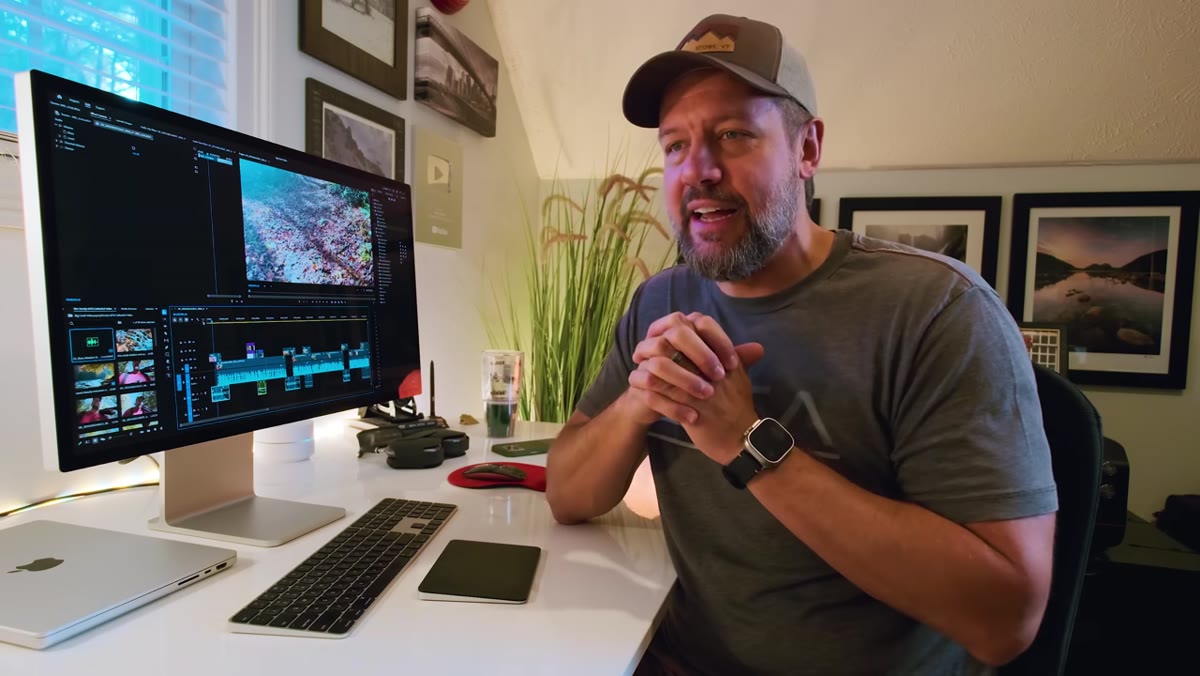 Mark expressing visible frustration while reviewing images on camera
Mark is candid about getting visibly frustrated midway through this session. He’s not getting what he came for, and he knows it. What he doesn’t do is leave.
Mark expressing visible frustration while reviewing images on camera
Mark is candid about getting visibly frustrated midway through this session. He’s not getting what he came for, and he knows it. What he doesn’t do is leave.
This is the hardest part of the process to teach, because it’s more mental than technical. A mentor told me once that the mountain doesn’t care about your schedule, and I’ve thought about that line on every difficult shoot since. The scene owes you nothing. Your job is to keep your eyes open and stay curious even when the results feel mediocre. Mark ends the session with two images he genuinely values. Neither would have existed if he’d packed up when the frustration hit.
Step 6: Review With Fresh Eyes After the Fact
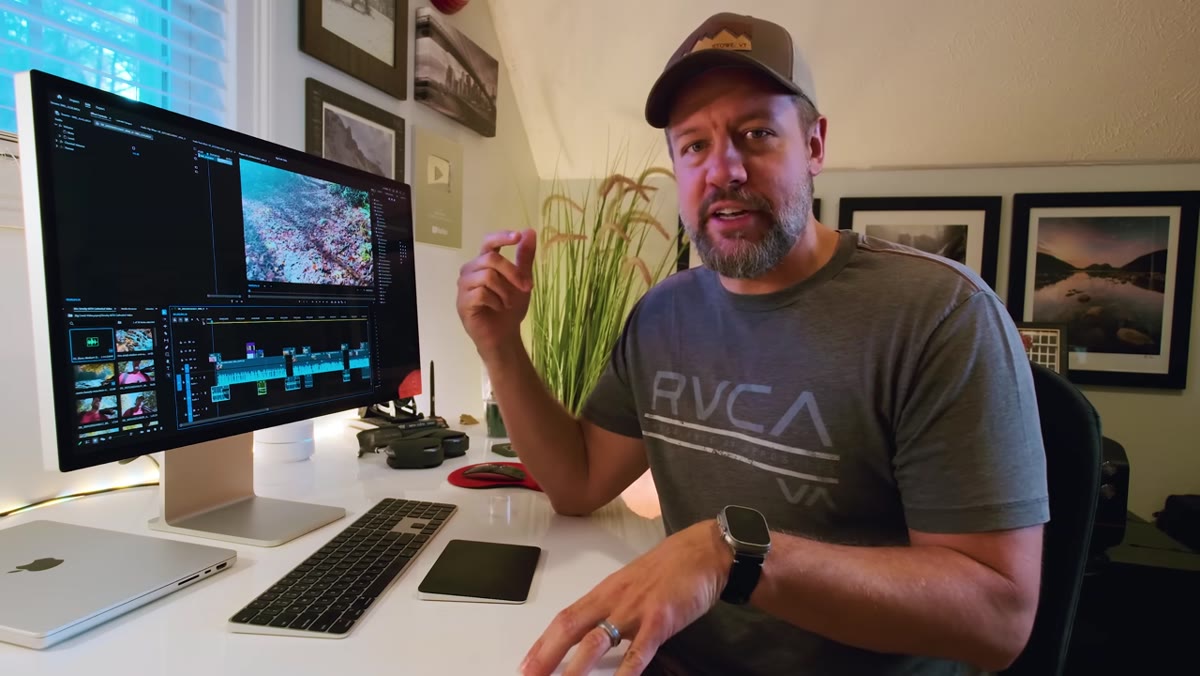 Mark reviewing final images and walking through his original frustrations
At the end of the video, Mark looks back at what bothered him during the shoot and reassesses. The images he was frustrated with at the time look different to him now. Some of that is distance, some of it is the relief of the session being over, but some of it is a real perceptual shift that happens when you’re no longer under the pressure of the moment.
Mark reviewing final images and walking through his original frustrations
At the end of the video, Mark looks back at what bothered him during the shoot and reassesses. The images he was frustrated with at the time look different to him now. Some of that is distance, some of it is the relief of the session being over, but some of it is a real perceptual shift that happens when you’re no longer under the pressure of the moment.
I build this into my workflow by not culling seriously until at least 24 hours after a shoot. What looks like a failure at the river often turns into a quiet favorite by the next morning.
What I’d Add From My Own Experience
The location Mark is shooting was altered by a major hurricane the previous season. He mentions being anxious to see how it changed. I think there’s an underused creative opportunity in returning to damaged or changed landscapes. The unfamiliarity forces you to see the place again instead of relying on muscle memory from previous visits. Some of my strongest images have come from locations that stopped looking like I remembered them. When your mental template no longer matches what’s in front of you, you have to actually look, which is where original work comes from.
The single most important thing Mark demonstrates here is that a hard day in the field isn’t a failed day. It’s the actual job. The photographers who build a strong body of work aren’t the ones who always find perfect conditions. They’re the ones who stay present, keep working, and review honestly. That’s the real tutorial.
Watch the full tutorial on YouTube to see Mark’s process in real time, including the two final images from the session.
Comments (3)
The before and after really sells it. Incredible difference.
This saved me so much time on my last edit. Wish I'd found this sooner.
Well explained. I think my audience would really benefit from this — mind if I link to it?
Leave a Comment