Most of my work doesn’t involve people. I spend the bulk of my shooting life waiting on light, reading weather apps with the grim focus of a farmer, and hauling a tripod into places no reasonable person would go before sunrise. But clients want portraits in the landscape sometimes, and when they do, the lighting problem gets genuinely hard. You’re dealing with a scene built for a wide dynamic range, and a human face that needs to look good within it. That tension has sent me down more than a few rabbit holes.
The specific problem is this: when you expose for a dramatic sky or a bright open background, your subject goes dark. When you expose for the subject, the background blows out. Natural light alone forces you to choose one or the other, and neither choice is fully satisfying. That’s the exact problem this Westcott Lighting tutorial addresses head-on, and I wish I’d seen it years earlier. Watch the full tutorial on YouTube before or after reading this breakdown, because watching the actual result land in real time is instructive.
In this Westcott Lighting tutorial, the photographer walks through using off-camera flash outdoors not as a dramatic or artificial-looking light source, but as a balancing tool. The distinction matters. Flash, for a lot of natural light shooters, feels like crossing a line. But the way this technique is demonstrated, the flash doesn’t announce itself. It just makes the scene behave the way your eye wanted it to behave in the first place.
Step 1: Expose for the Background, Not the Subject
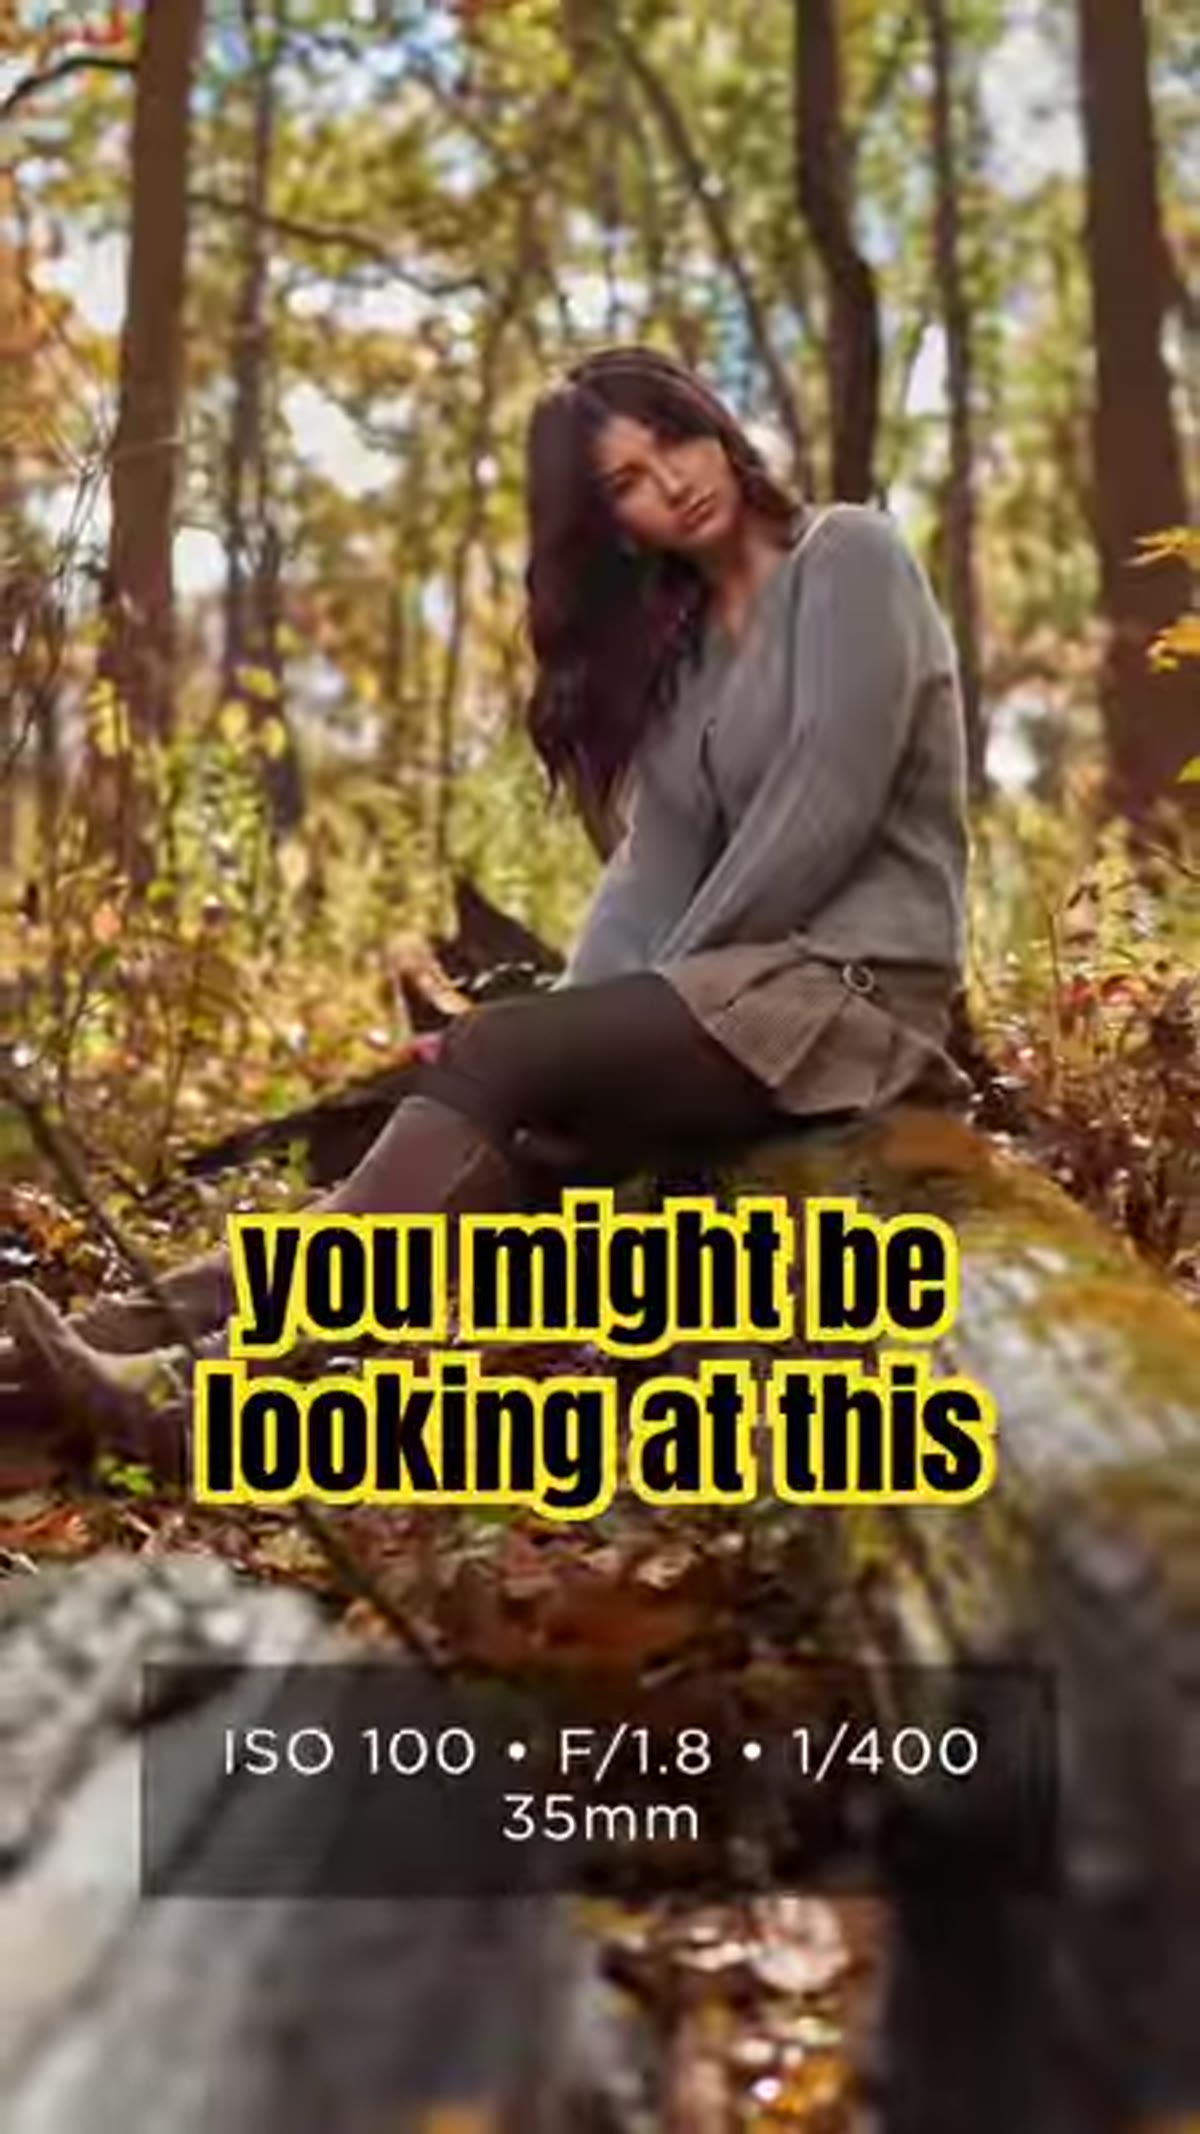 Bright outdoor scene with subject underexposed against highlights
Start by ignoring your subject entirely when setting your initial exposure. Meter for the brightest part of the scene, whether that’s an open sky, sunlit water, or a rim of hills catching afternoon sun. Dial in the settings that render those highlights properly. Your subject will be underexposed at this point, sometimes significantly. That’s not a mistake. That’s the foundation the rest of the technique builds on.
Bright outdoor scene with subject underexposed against highlights
Start by ignoring your subject entirely when setting your initial exposure. Meter for the brightest part of the scene, whether that’s an open sky, sunlit water, or a rim of hills catching afternoon sun. Dial in the settings that render those highlights properly. Your subject will be underexposed at this point, sometimes significantly. That’s not a mistake. That’s the foundation the rest of the technique builds on.
This is the step where most people flinch and start compromising, nudging the exposure up until the subject looks acceptable and the background looks washed out. Resist that instinct. The background exposure you set here is what gives the final image its sense of depth and atmosphere. Protect it.
Step 2: Recognize What the Fill Light Needs to Do
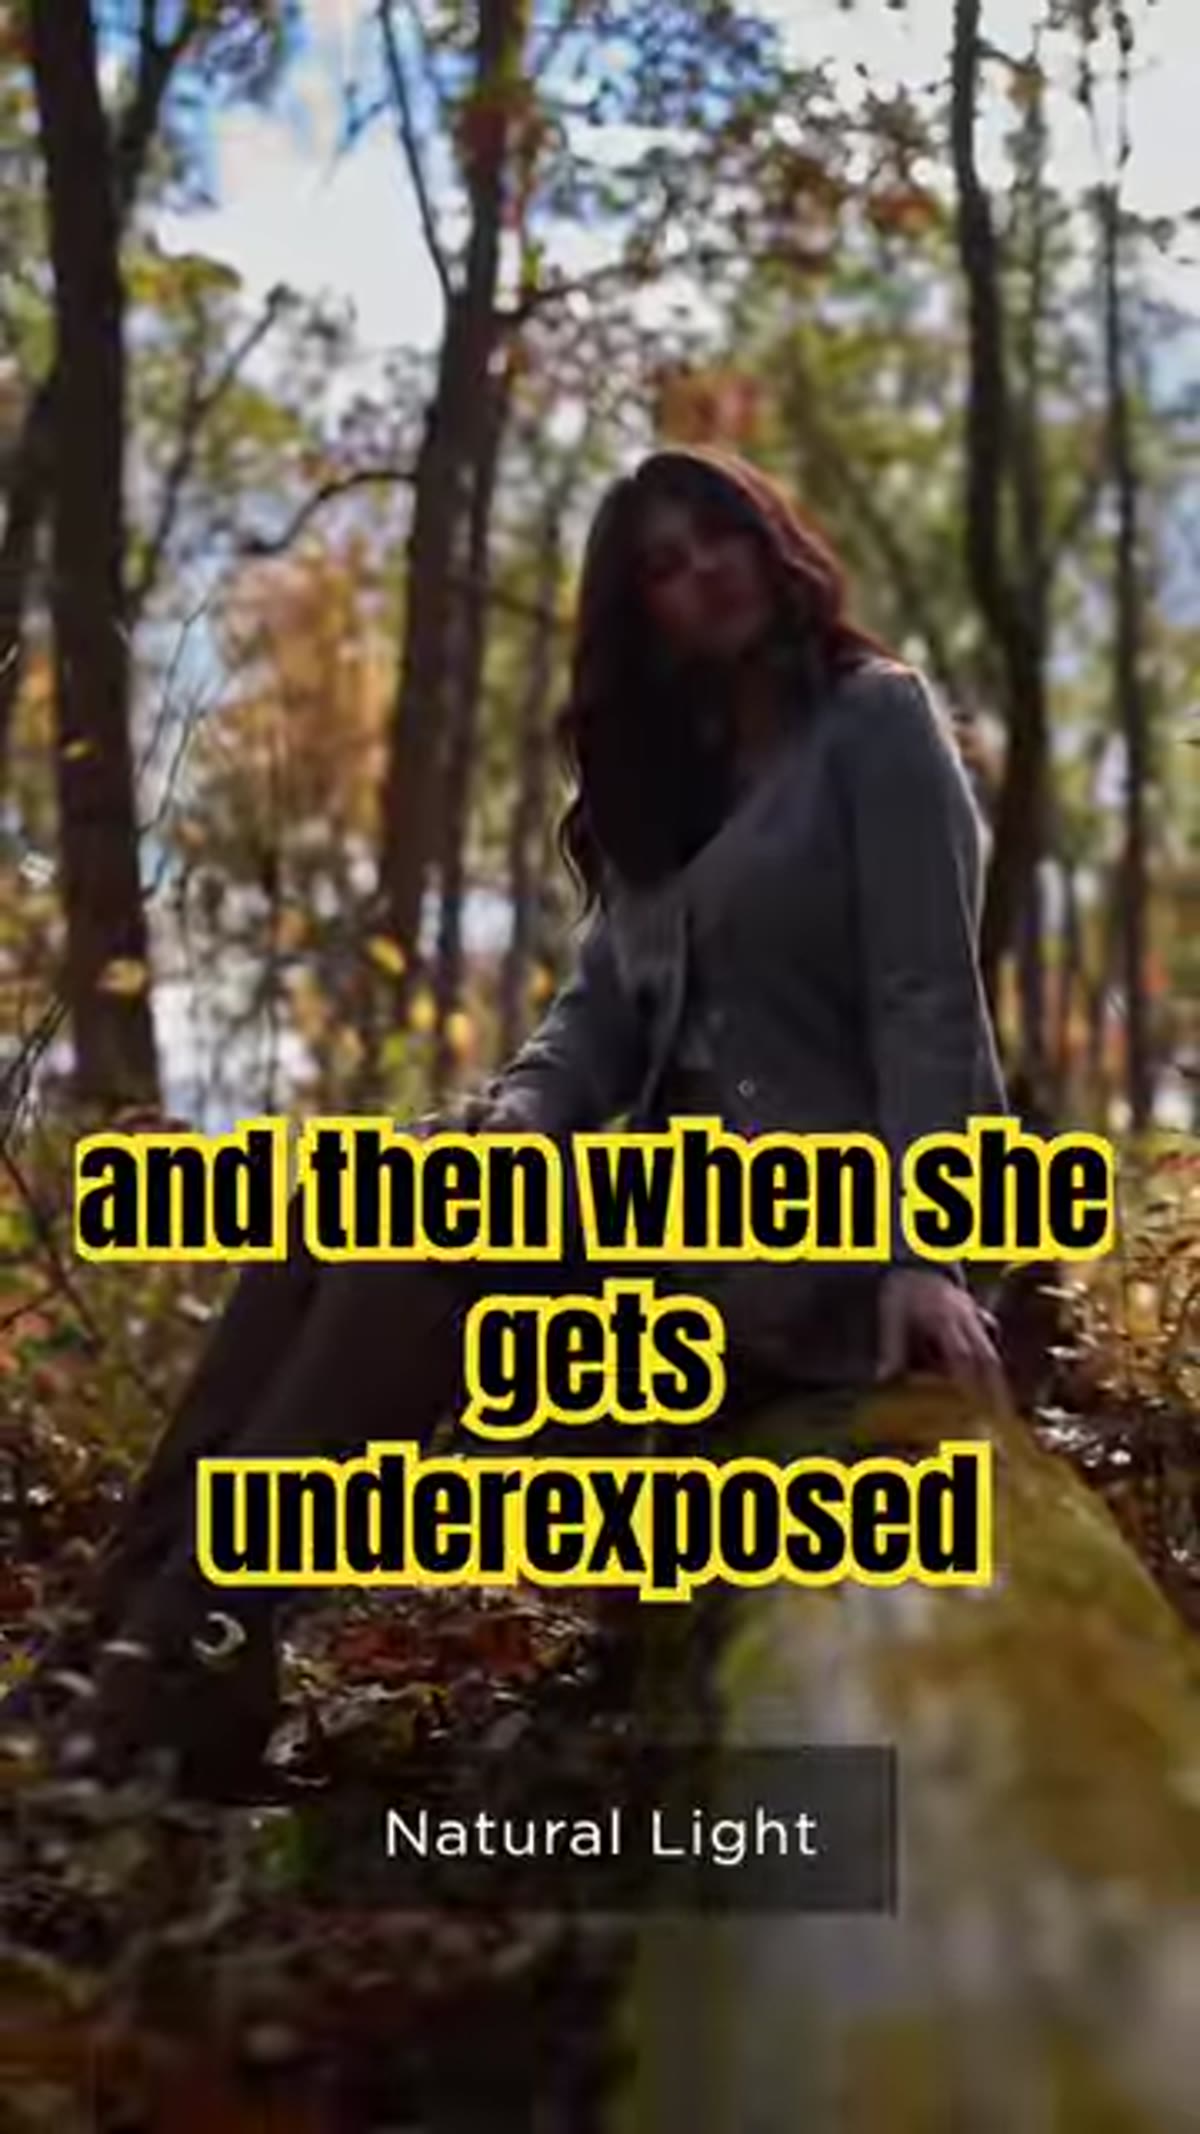 Photographer noting underexposed subject against well-exposed background
Once you’ve locked in your background exposure, look at your subject and assess the gap. How underexposed are they? One stop? Two? The flash isn’t going to overpower the scene. It’s going to meet your subject exactly where the ambient light left off and bring them up to a natural-looking level. Think of it less as adding light and more as correcting a deficit.
Photographer noting underexposed subject against well-exposed background
Once you’ve locked in your background exposure, look at your subject and assess the gap. How underexposed are they? One stop? Two? The flash isn’t going to overpower the scene. It’s going to meet your subject exactly where the ambient light left off and bring them up to a natural-looking level. Think of it less as adding light and more as correcting a deficit.
This framing changed how I think about flash entirely. For years I treated it as a creative light source you shaped and aimed dramatically. In this context, it’s closer to exposure compensation that only applies to one part of the frame. That mental shift makes it far less intimidating to use outdoors.
Step 3: Position the Off-Camera Flash for Soft, Directional Fill
 Off-camera flash setup positioned beside subject outdoors
The flash should be off-camera and modified, not bare. A small softbox or umbrella placed to the side of the subject will wrap the light slightly rather than throwing a flat wall of brightness directly onto their face. The key word from the tutorial is “fill,” and fill light has a specific quality: it should feel like it’s coming from somewhere plausible. Place it roughly in the direction of any existing ambient light so the two sources feel like the same source.
Off-camera flash setup positioned beside subject outdoors
The flash should be off-camera and modified, not bare. A small softbox or umbrella placed to the side of the subject will wrap the light slightly rather than throwing a flat wall of brightness directly onto their face. The key word from the tutorial is “fill,” and fill light has a specific quality: it should feel like it’s coming from somewhere plausible. Place it roughly in the direction of any existing ambient light so the two sources feel like the same source.
Distance and power both control the output, and you’ll want to start conservative. A little fill goes a long way outdoors, especially when the ambient is bright. If you can see the flash working with your eye, the camera will see it even more. When in doubt, pull back the power.
Step 4: Review and Adjust the Balance
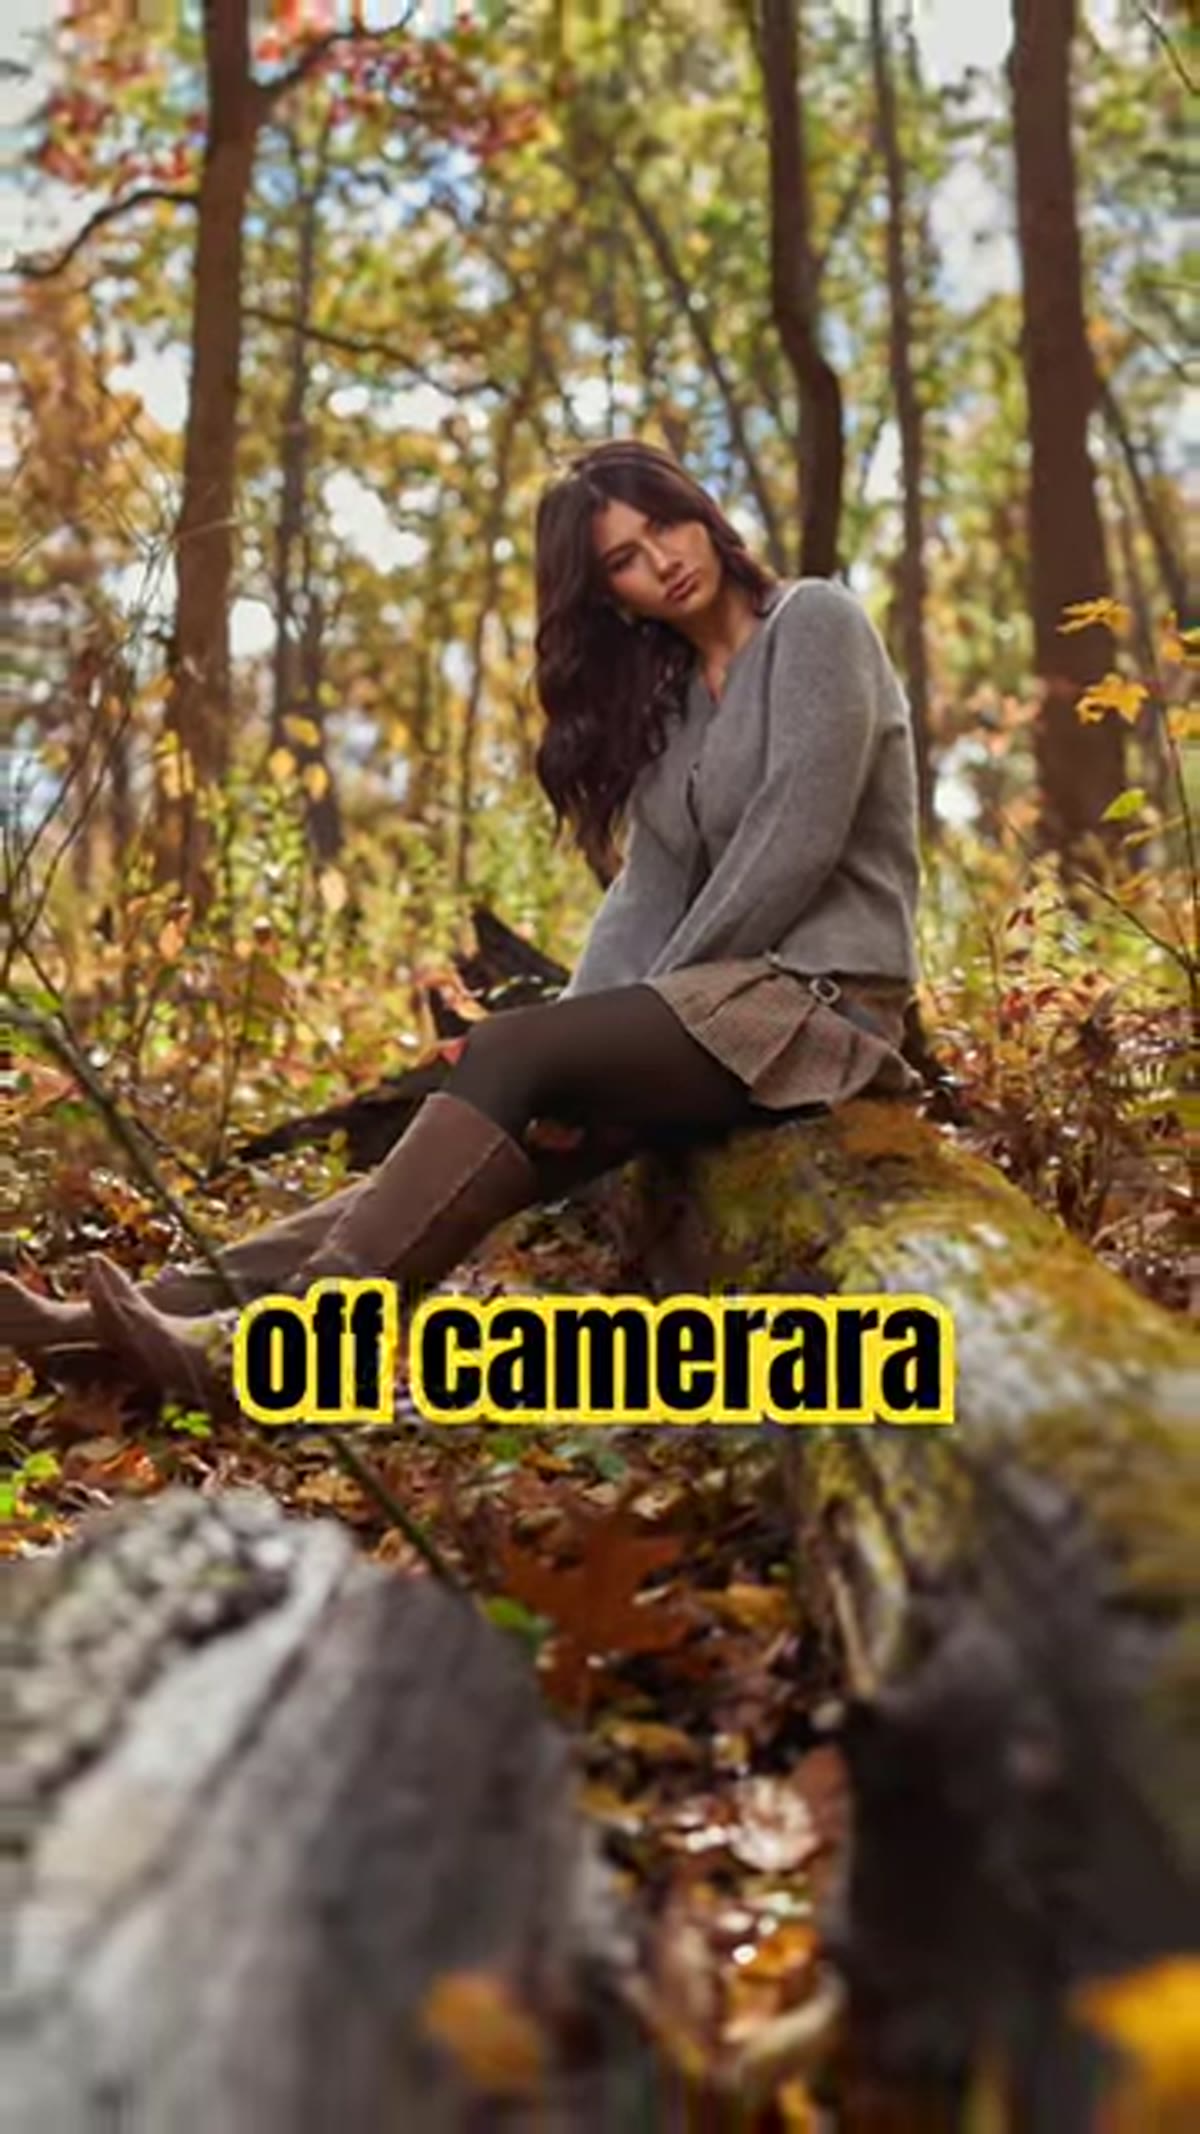
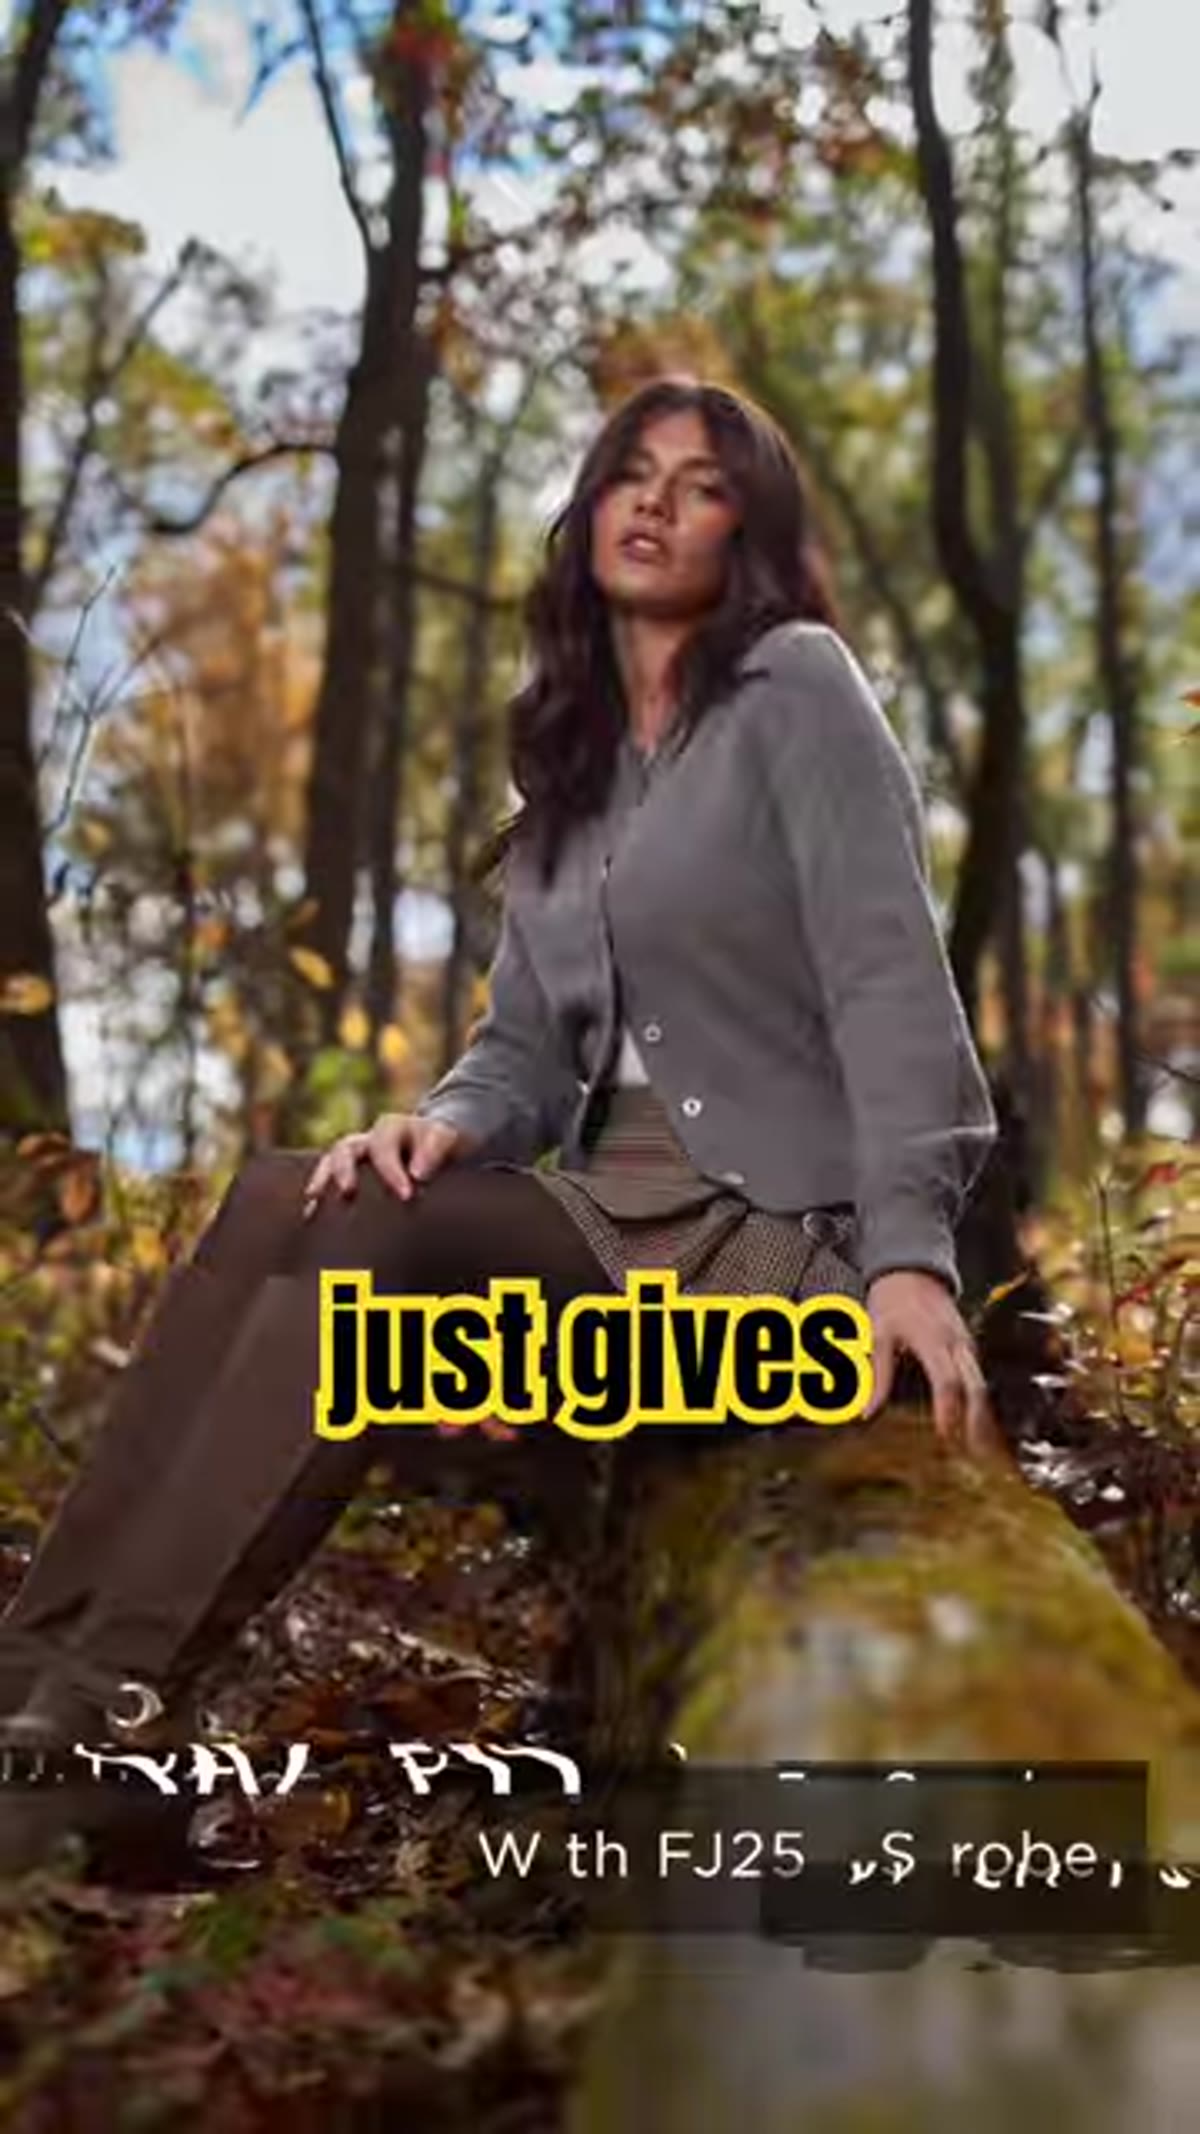 Final image showing balanced subject and bright background
Take a test shot and look at the histogram and the actual image. You’re looking for a subject that reads as naturally lit within the frame, not brighter than the environment around them and not struggling to compete with it. The background highlights should still be holding where you set them. If the subject looks like they’re standing in a different light than the landscape around them, something is off in the direction or power of the flash.
Final image showing balanced subject and bright background
Take a test shot and look at the histogram and the actual image. You’re looking for a subject that reads as naturally lit within the frame, not brighter than the environment around them and not struggling to compete with it. The background highlights should still be holding where you set them. If the subject looks like they’re standing in a different light than the landscape around them, something is off in the direction or power of the flash.
Adjustment at this stage is iterative. Move the flash slightly, cut or boost the power in small increments, and shoot again. The goal is a result where a viewer wouldn’t immediately know flash was used. That’s the bar.
What I’d Add from Shooting in High-Contrast Mountain Light
I work in Central Oregon a lot, which means I’m often shooting against scenes with enormous contrast, volcanic ridgelines in harsh afternoon sun, snow fields cutting bright lines through shadow. The technique from this tutorial holds up in that environment, but I’d add one thing: pay attention to the color temperature of your fill.
Outdoor ambient light shifts constantly in color, and your flash is typically daylight-balanced. In golden hour shooting, there can be a visible mismatch if you’re not careful. I’ve started gelling my flash with a mild CTO gel during any session that runs toward dusk or dawn, just to keep the fill from looking cool and clinical against warm ambient light. It’s a small addition to the kit but it closes the gap between “flash user” and “someone who clearly uses flash.”
Also worth noting: this technique has a real application for photographers who mostly shoot landscape and only occasionally add people to the frame. You don’t need to become a portrait specialist to benefit from understanding fill flash. You just need to know it exists and roughly how it works, so that when a client asks for a photograph of themselves in a stunning location, you’re not compromising the location to make the person visible.
The single most important idea in this tutorial is that flash outdoors doesn’t mean artificial. Used correctly, it means accurate. It means your camera sees what your eye saw. That’s reason enough to add it to your field kit, even if portraits aren’t your primary work.
Watch the full tutorial on YouTube to see the before and after in real time, because the difference is more convincing than any description of it.
Comments (4)
I've read dozens of articles on this and yours is the clearest by far.
Interesting take. I've always done it the opposite way but your logic makes sense.
Subscribed after reading this. Looking forward to more content like this.
Do you have any tips for applying this to landscape work?
Leave a Comment