There’s a particular kind of restlessness that sets in during editing season. You’ve done the hard part, the 4am wake-up, the frozen fingers, the three-mile hike to a ridgeline that may or may not deliver. Now you’re at your desk, and the work of translating what you felt out there into something a viewer can feel too begins. After twenty years of doing this, I still find that the tools I use for editing shape not just my efficiency, but my mood. A clunky workflow drains the joy out of an image before you’ve even started. So when I came across this Mark Denney tutorial on using the iPad Pro and Wacom tablet for landscape photo editing, I paid close attention. Watch the full tutorial on YouTube
Mark frames the video not as a head-to-head competition but as an honest account of four months switching between his traditional Wacom-based setup and a newer iPad Pro workflow. That framing matters. This isn’t a gear review from someone who used something for a weekend. It’s a working photographer’s field report, and those are the only reviews worth reading.
What caught my attention most is the question underneath the whole comparison: does the device you edit on change how you engage with the image? I think it does. Here’s what Mark covers, and where my own experience lines up or diverges.
Step 1: Understand What a Wacom Tablet Actually Does
 Wacom Intuos Pro medium tablet shown close up
Before Mark gets into comparisons, he makes sure viewers understand what a Wacom tablet is and why photographers use one. It’s a pressure-sensitive pen tablet that connects to your computer via USB or Bluetooth, letting you use a stylus instead of a mouse or trackpad. The Wacom Intuos Pro medium is his model of choice, and it’s the same one I’ve had bolted to my desk for years.
Wacom Intuos Pro medium tablet shown close up
Before Mark gets into comparisons, he makes sure viewers understand what a Wacom tablet is and why photographers use one. It’s a pressure-sensitive pen tablet that connects to your computer via USB or Bluetooth, letting you use a stylus instead of a mouse or trackpad. The Wacom Intuos Pro medium is his model of choice, and it’s the same one I’ve had bolted to my desk for years.
The key distinction he draws is that the tablet is not a standalone device. It’s an input tool. Your editing software still lives on your Mac or PC. What changes is how you interact with it, and that interaction turns out to matter enormously when you’re doing precision work like masking a mountain edge or painting light onto a foreground.
Step 2: Learn the Customization Power of the Wacom Stylus and Tablet
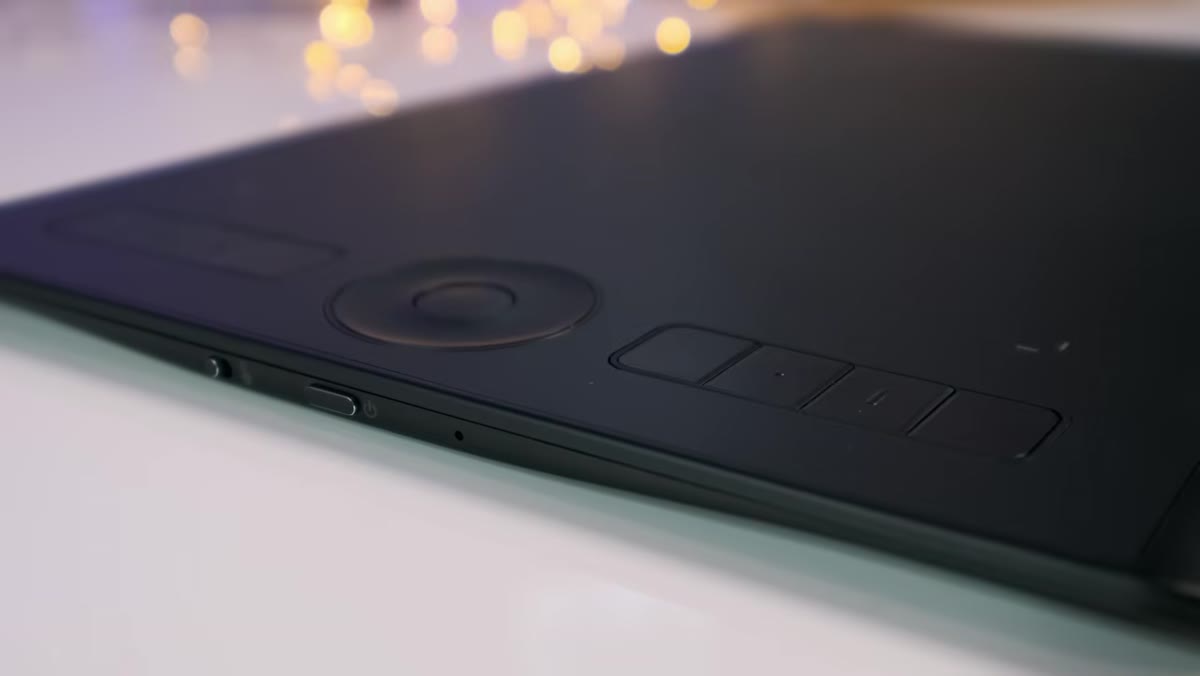 Eight shortcut buttons along left side of Wacom tablet
Mark walks through the physical layout of the Wacom, and this is where he makes his strongest case for it. Along the left side of the tablet, there are eight programmable buttons. You assign your most-used shortcuts to those buttons, and after a few weeks of muscle memory, you stop thinking about them entirely. They become like keys on a piano.
Eight shortcut buttons along left side of Wacom tablet
Mark walks through the physical layout of the Wacom, and this is where he makes his strongest case for it. Along the left side of the tablet, there are eight programmable buttons. You assign your most-used shortcuts to those buttons, and after a few weeks of muscle memory, you stop thinking about them entirely. They become like keys on a piano.
The stylus itself carries this further. A rocker switch on the barrel lets you assign two additional shortcuts that live literally in your hand while you’re working. Combine that with the tablet’s scroll wheel, which can control brush size, zoom level, or any number of functions, and you have a remarkably dense input device that barely takes up space on a desk. The stylus tip itself has thousands of pressure levels and tilt sensitivity, meaning the way you hold the pen changes how a brush stroke behaves. For dodging and burning, that responsiveness is the whole game. Flip the stylus around and the eraser end works exactly as you’d expect, which sounds simple but is genuinely useful when you’ve painted a mask a little too aggressively.
Step 3: Recognize the Wacom’s Limitations Before Moving On
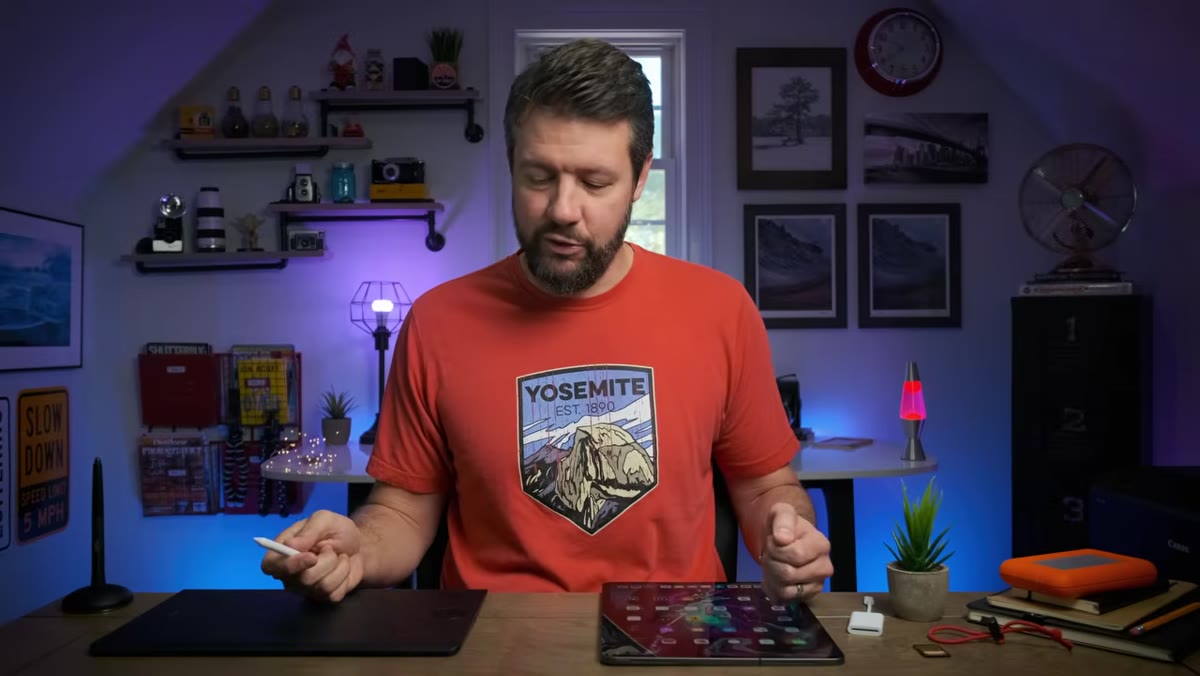
 Wacom tablet beside desktop monitor showing disconnect
The implicit limitation Mark is building toward is this: the Wacom requires you to look up. You draw on the tablet, but the result appears on a screen somewhere else. For most people this becomes second nature, but it never fully goes away. There’s always a slight translation happening between hand and eye. This is worth sitting with before you decide the Wacom is perfect for your workflow.
Wacom tablet beside desktop monitor showing disconnect
The implicit limitation Mark is building toward is this: the Wacom requires you to look up. You draw on the tablet, but the result appears on a screen somewhere else. For most people this becomes second nature, but it never fully goes away. There’s always a slight translation happening between hand and eye. This is worth sitting with before you decide the Wacom is perfect for your workflow.
I’ve edited thousands of images this way and I’m genuinely fast with it, but the first time I used a touch interface for masking, I understood immediately what had been missing. There’s something different about working directly on the image itself.
Step 4: Understand What the iPad Pro Changes About the Editing Experience
 iPad Pro 12.9-inch beside Apple Pencil 2 on desk
Mark purchased a 12.9-inch iPad Pro with an Apple Pencil 2 a few months before making this video, and his framing of the difference is precise: the iPad isn’t necessarily superior technology for photo editing, but it is substantially more fun to use. That word, fun, is doing a lot of work in this tutorial and I think he means it seriously.
iPad Pro 12.9-inch beside Apple Pencil 2 on desk
Mark purchased a 12.9-inch iPad Pro with an Apple Pencil 2 a few months before making this video, and his framing of the difference is precise: the iPad isn’t necessarily superior technology for photo editing, but it is substantially more fun to use. That word, fun, is doing a lot of work in this tutorial and I think he means it seriously.
When you edit on an iPad, your pencil moves directly across the image. There’s no translation layer. Your eyes and your hand are looking at the same surface. For brush-based work, masking, local adjustments, selective color corrections, this directness changes the experience in a way that’s hard to fully explain until you’ve tried it. Mark spent four months watching his time on the desktop slowly decline, not because he decided to switch, but because he kept reaching for the iPad first.
Step 5: Compare the Two Tools Honestly Against Real Workflow Needs
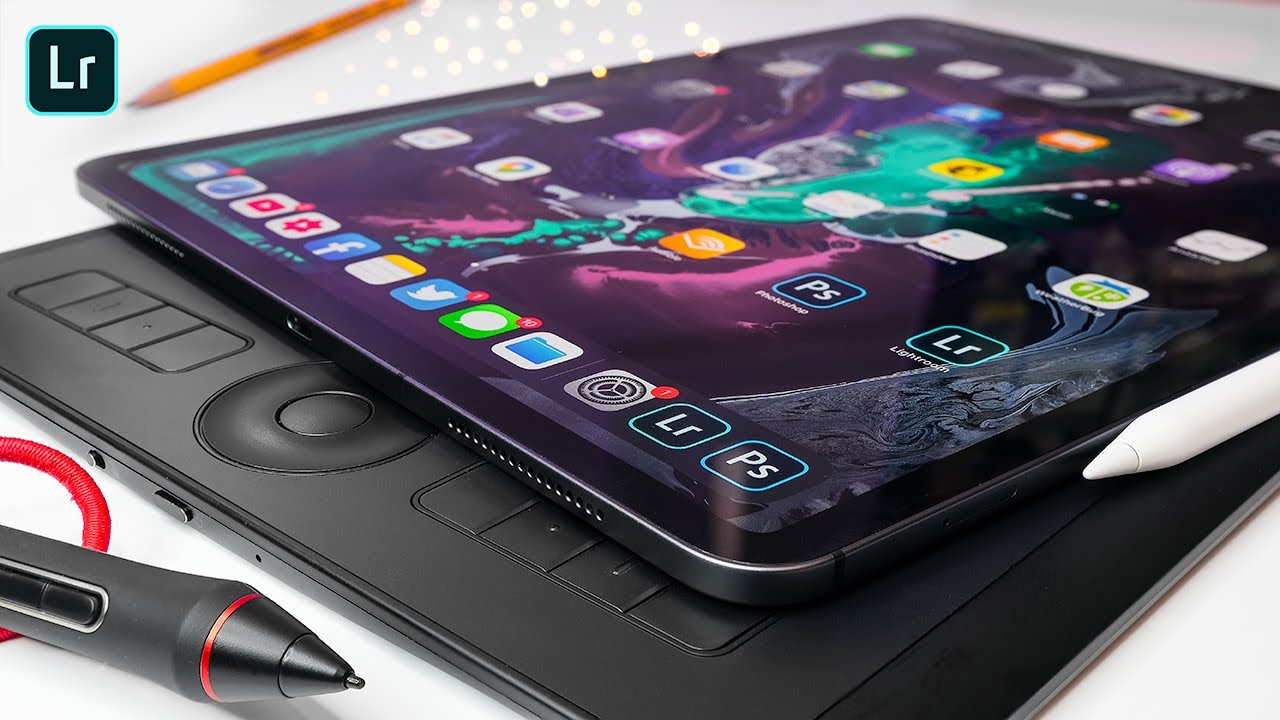
 Side-by-side of Wacom tablet and iPad Pro on desk
Mark is careful not to declare a winner, and this is the most useful part of the tutorial for anyone trying to make a purchase decision. These two devices serve different users with different habits. The Wacom rewards people who live in desktop software, who want deep shortcut integration, who edit for long sessions in a fixed workspace. It is a precision instrument that becomes more powerful the more you configure it.
Side-by-side of Wacom tablet and iPad Pro on desk
Mark is careful not to declare a winner, and this is the most useful part of the tutorial for anyone trying to make a purchase decision. These two devices serve different users with different habits. The Wacom rewards people who live in desktop software, who want deep shortcut integration, who edit for long sessions in a fixed workspace. It is a precision instrument that becomes more powerful the more you configure it.
The iPad Pro rewards portability, direct engagement with the image, and a more intuitive approach to touch-based editing. The Apple Pencil is responsive and natural in a way that feels closer to drawing than operating software. But the iPad’s editing apps, even the best of them, don’t yet match the full customization depth of desktop Lightroom or Photoshop.
A Note from My Own Editing Table
I’ve been running both setups for months now, and what I’ve found is that the iPad has become my first-pass tool. I’ll do my initial selects, basic toning, and local adjustments on the iPad, often at the kitchen table after the kids are in bed, and then move to the desktop Wacom setup for any heavy masking or export work that needs the full power of Photoshop. The iPad lowered the activation energy of sitting down to edit, which means I’m procrastinating less and finishing more images. That’s not a small thing after a long day.
One thing Mark’s tutorial reminded me: the best editing tool is the one you actually use consistently. A Wacom gathering dust while your iPad stays on the coffee table tells you something worth listening to.
The single most important takeaway from this tutorial is that tool preference in editing is not about specs, it’s about friction. Lower the friction between the moment you sit down and the moment you’re genuinely engaged with an image, and your editing improves almost automatically.
Watch the full tutorial on YouTube to see Mark’s hands-on demonstration of both devices in action, including how he navigates Lightroom with each one.
Comments (2)
Bookmarked. Coming back to this one for sure.
Well explained. I think my audience would really benefit from this — mind if I link to it?
Leave a Comment