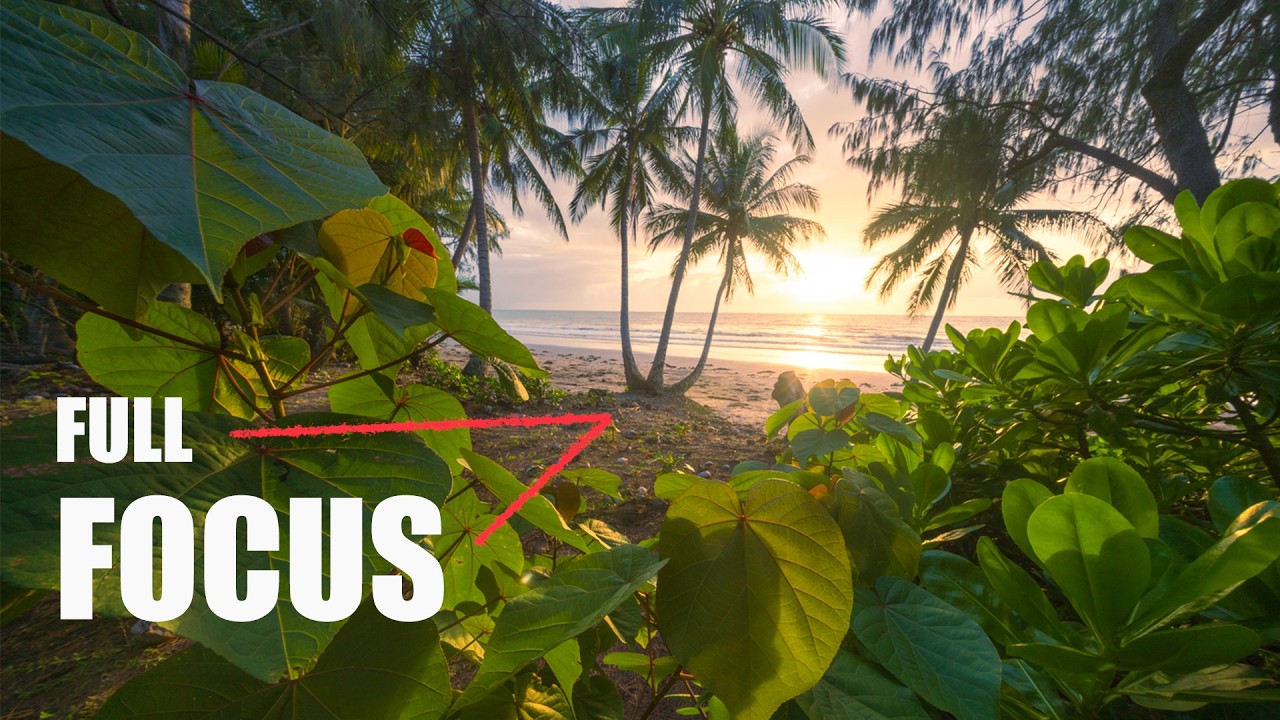
There is a version of me from fifteen years ago who bought a 10mm lens, slapped it on my camera, and wondered why everything looked like a novelty fisheye postcard. Wide angle lenses are deceptive. They look forgiving because they seem to pull everything in, but they punish lazy composition faster than any other focal length. The problem, specifically, is the foreground. With a longer lens you can ignore it. With an ultra wide, it is half your image whether you planned for it or not.
Watch the full tutorial on YouTube
In this William Patino tutorial, shot on the tropical Queensland coast with a 10mm lens and a stand of palm trees, he works through a situation I recognize immediately: a beautiful scene with a messy, uncooperative foreground and subjects that only reveal themselves once you get uncomfortably close. What he demonstrates in the field is a compact but complete philosophy for working with ultra wide glass. I have been shooting landscapes full-time for two decades, and I still found myself pausing the video to take notes.
Step 1: Scout for Separation Before You Shoot
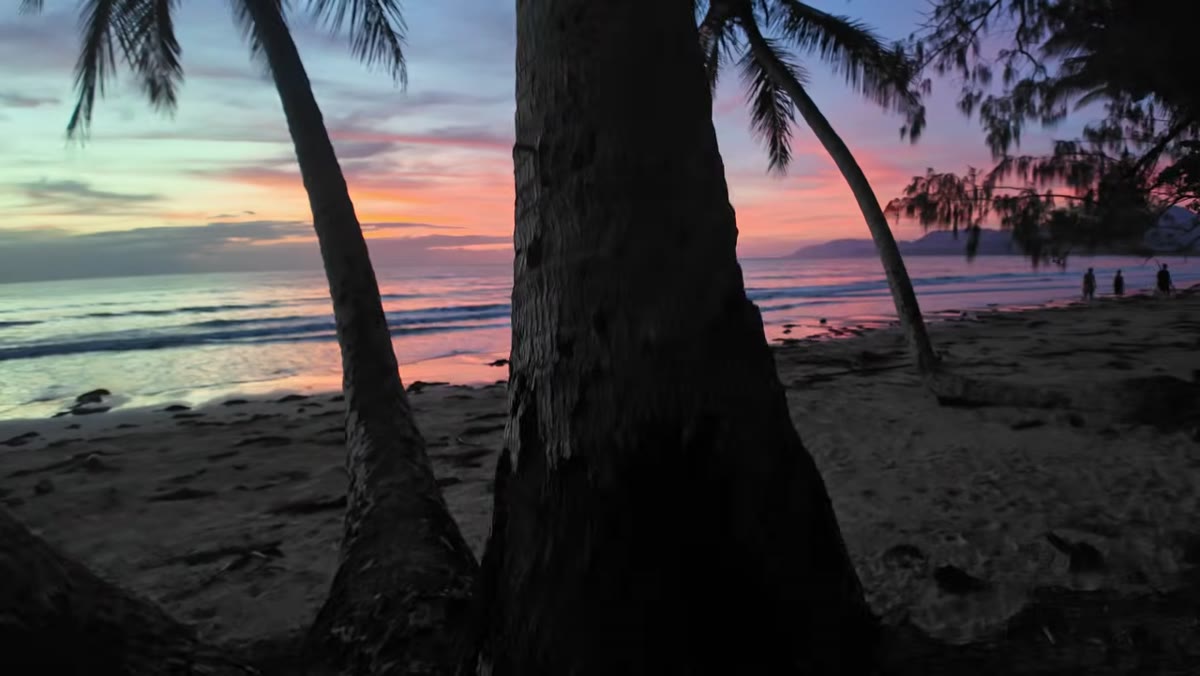 Photographer moving to isolate single palm tree between two trunks
The first instinct with a chaotic forest edge or a clustered tree line is to back up and try to include everything. Patino does the opposite. He walks the coastline looking for one specific arrangement: a single strong subject that has breathing room around it. In this case, he finds a tall palm framed loosely between two flanking trunks. The key word he uses is separation. Before any camera settings enter the conversation, he is solving a compositional geometry problem on foot.
Photographer moving to isolate single palm tree between two trunks
The first instinct with a chaotic forest edge or a clustered tree line is to back up and try to include everything. Patino does the opposite. He walks the coastline looking for one specific arrangement: a single strong subject that has breathing room around it. In this case, he finds a tall palm framed loosely between two flanking trunks. The key word he uses is separation. Before any camera settings enter the conversation, he is solving a compositional geometry problem on foot.
In practice, this means slowing down before you even raise the camera. Ask yourself what the actual subject is and whether the lens will be able to isolate it visually. With a 10mm lens, two elements that look separated from a standing position will collapse into each other the moment you crouch down and get close. Walk the scene first. Find the gap.
Step 2: Get Closer Than Feels Comfortable
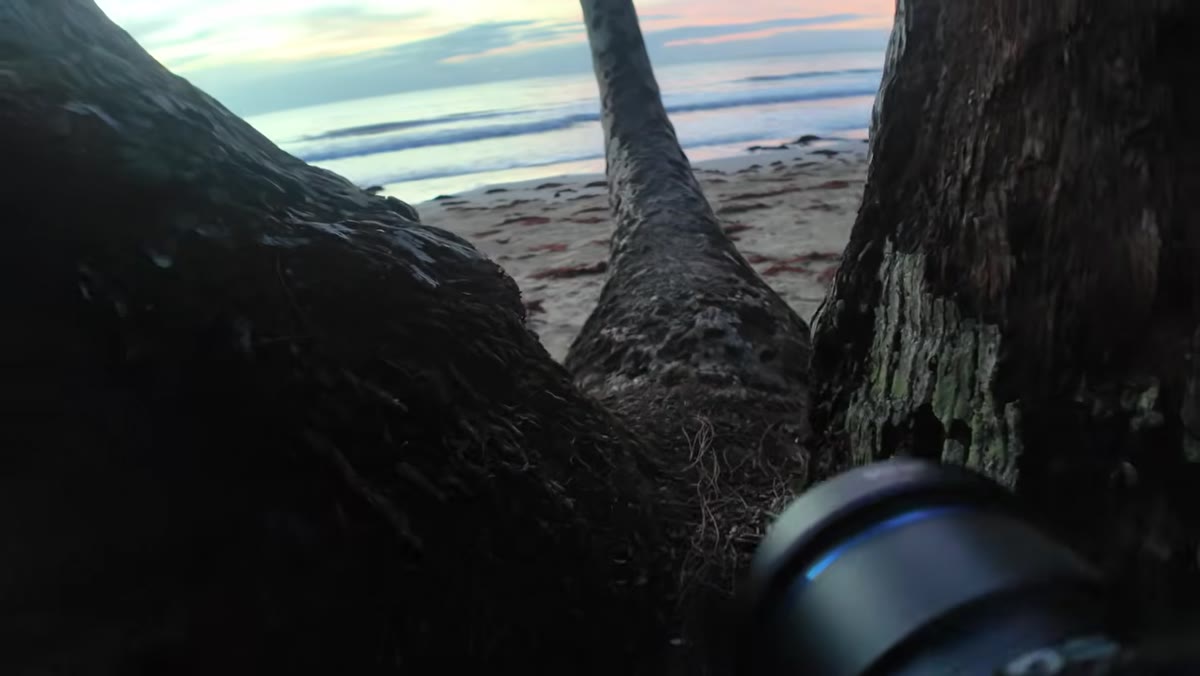
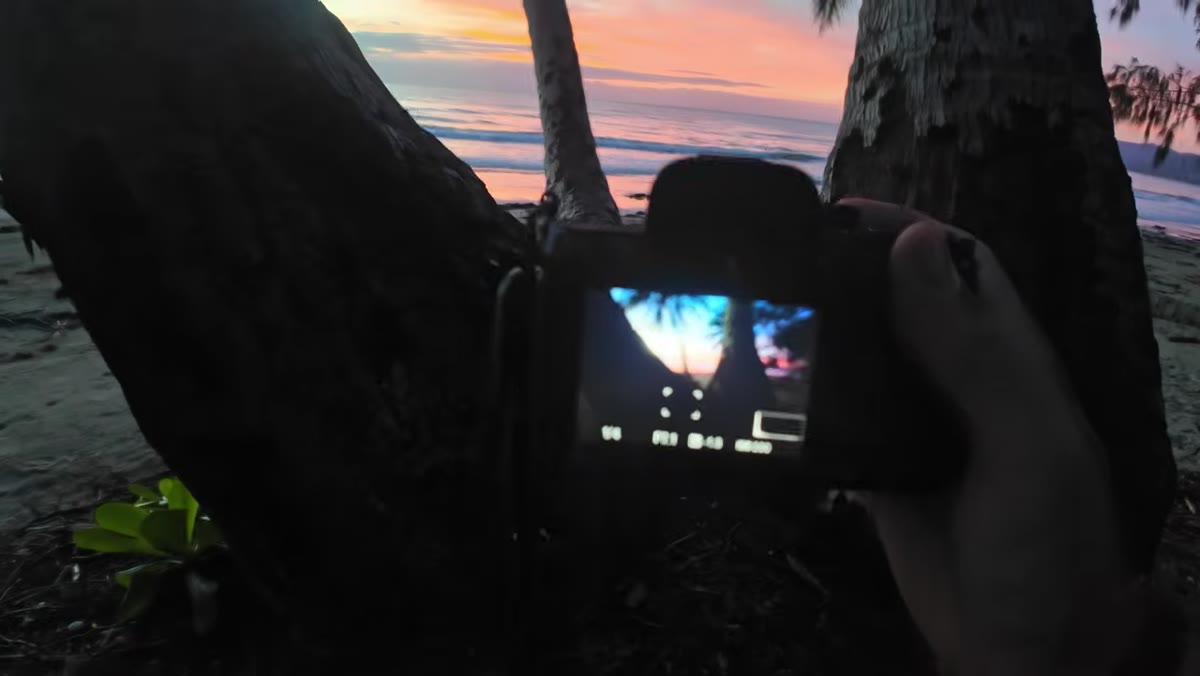 Camera positioned very close to foreground palm trunks
Once Patino identifies the composition, he moves in tight with the wide angle rather than stepping back to a “safer” distance. This is the move that separates a flat wide angle shot from one with genuine depth. By placing the lens close to the foreground trunks, he makes them loom large in the frame while the main palm and ocean compress into the background. The spatial tension between near and far is what makes ultra wide lenses interesting.
Camera positioned very close to foreground palm trunks
Once Patino identifies the composition, he moves in tight with the wide angle rather than stepping back to a “safer” distance. This is the move that separates a flat wide angle shot from one with genuine depth. By placing the lens close to the foreground trunks, he makes them loom large in the frame while the main palm and ocean compress into the background. The spatial tension between near and far is what makes ultra wide lenses interesting.
Most beginners find this uncomfortable. Standing two feet from a tree trunk with a 10mm lens feels extreme. The image on the back of the camera looks distorted and strange. Push through that instinct. The exaggerated perspective is the tool, not a flaw. The surrounding trunks become a natural frame and the eye is pulled straight toward the main subject.
Step 3: Set a Conservative Base Exposure for the Highlights
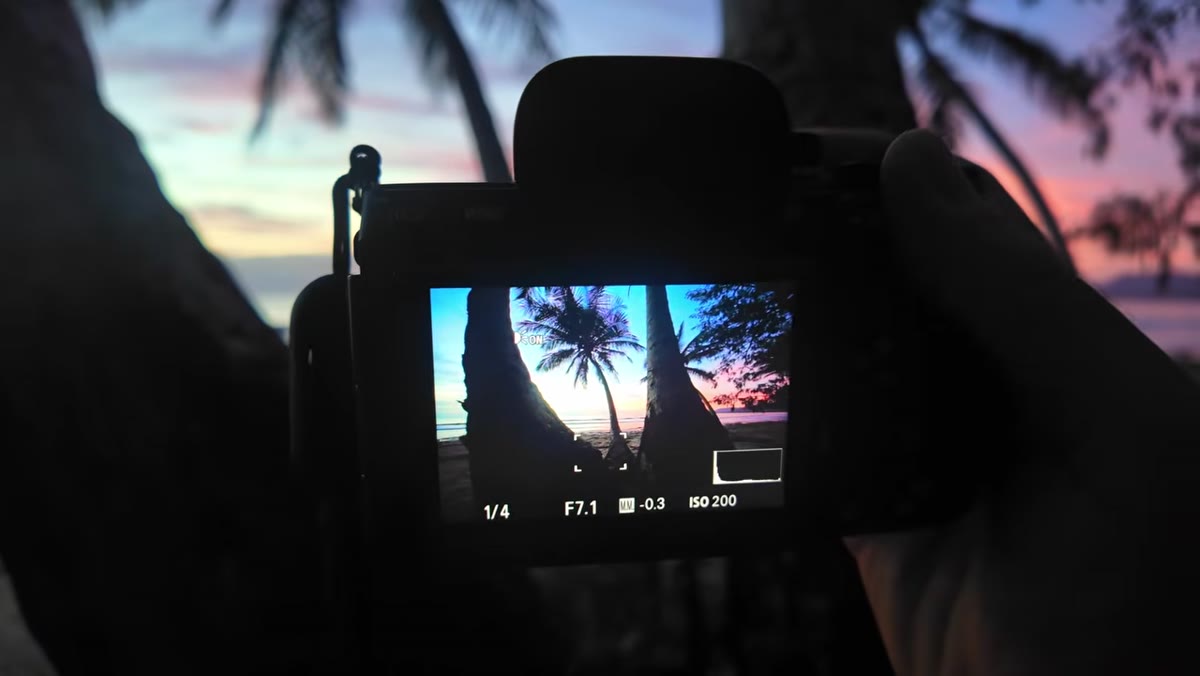 Camera settings displayed: ISO 200, F7, quarter second shutter
For his initial exploration of the composition, Patino runs at ISO 200, f/7, and a quarter-second shutter. The logic is straightforward: protect the highlights first. On a coastal shoot at the edge of sunrise or sunset, the sky and water will blow out quickly if you expose for the shadows. He is not chasing silky water here either because the ocean sits so far back in the composition that motion blur would be invisible and irrelevant.
Camera settings displayed: ISO 200, F7, quarter second shutter
For his initial exploration of the composition, Patino runs at ISO 200, f/7, and a quarter-second shutter. The logic is straightforward: protect the highlights first. On a coastal shoot at the edge of sunrise or sunset, the sky and water will blow out quickly if you expose for the shadows. He is not chasing silky water here either because the ocean sits so far back in the composition that motion blur would be invisible and irrelevant.
These numbers give you a useful starting framework. ISO 200 keeps the file clean. An aperture around f/7 to f/8 on a 10mm lens delivers broad depth of field without introducing diffraction softness that creeps in above f/11. Adjust your shutter speed to land the histogram where the brightest elements are just kissing the right edge without clipping.
Step 4: Use Focus Bracketing When You Push the Foreground Close
 Focus bracket mode selected in camera menu, set to nine frames
When Patino commits to the composition with the palm trunks filling the extreme foreground, he switches to his camera’s focus bracket mode rather than relying on a single shot at a small aperture. His settings for the bracketed sequence: f/8, ISO 200, and a shutter speed of around 1/6 of a second. He places the focus point on the near foreground and lets the camera fire a sequence of nine frames, each shifting focus incrementally further into the scene.
Focus bracket mode selected in camera menu, set to nine frames
When Patino commits to the composition with the palm trunks filling the extreme foreground, he switches to his camera’s focus bracket mode rather than relying on a single shot at a small aperture. His settings for the bracketed sequence: f/8, ISO 200, and a shutter speed of around 1/6 of a second. He places the focus point on the near foreground and lets the camera fire a sequence of nine frames, each shifting focus incrementally further into the scene.
Nine frames sounds like a lot, but on an ultra wide lens the overlap between focus planes is generous and you rarely need all of them. The value of bracketing over simply stopping down to f/16 is that you avoid the diffraction penalty while still getting razor sharpness from the bark two feet in front of you to the horizon. In post, you merge the sharpest zones from each frame. Programs like Helicon Focus or Photoshop’s Auto-Blend Layers handle this in a few minutes. The extra five minutes on the back end is worth the optically cleaner result.
Step 5: Replace a Bare Foreground With Any Available Texture
 Low angle shot using coastal plants to fill empty sand foreground
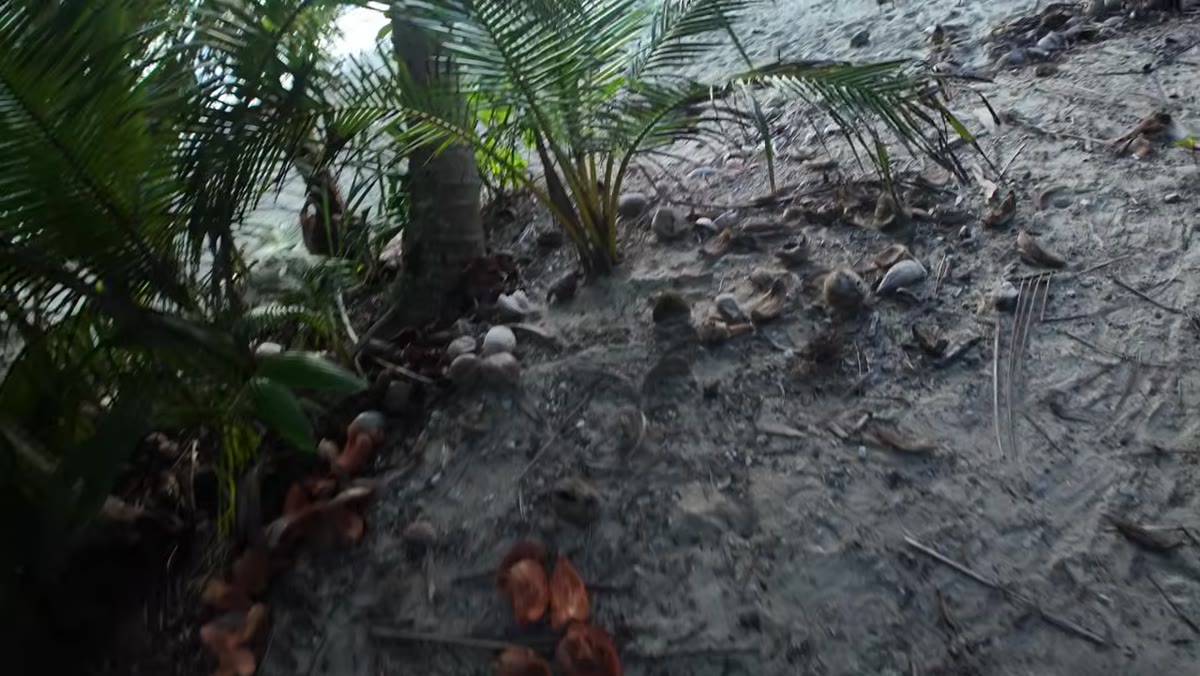
When Patino moves around the corner and faces a wide stretch of sand littered with coconuts, he does not give up on the location. He finds a low-growing coastal plant and positions the lens just above it so the leaves fill the lower third of the frame. The plant leads the eye back toward the palms and the remnant color on the horizon. The foreground is not spectacular. It does not need to be. It just needs to do a job.
Low angle shot using coastal plants to fill empty sand foreground
When Patino moves around the corner and faces a wide stretch of sand littered with coconuts, he does not give up on the location. He finds a low-growing coastal plant and positions the lens just above it so the leaves fill the lower third of the frame. The plant leads the eye back toward the palms and the remnant color on the horizon. The foreground is not spectacular. It does not need to be. It just needs to do a job.
This is something I come back to constantly in my own workshops: a foreground element does not need to be beautiful on its own terms, it needs to be useful. Rocks, grasses, fallen branches, tide pools, a patch of lichen. Any texture with visual direction can carry the eye from the bottom of the frame into the depth of the scene. If you are shooting wide and your foreground is empty, move until it is not.
What I Would Add From My Own Experience
Patino’s technique is tight and efficient, but there is one additional pressure point I have learned the hard way: wind. When you are focus stacking with your lens six inches from a plant or a fern, any movement between frames creates misalignment that no software can fully repair. I now carry a small reflector as a wind block for exactly these situations. Even in a light breeze, holding it between the subject and the wind for the two or three seconds the camera is firing can be the difference between a clean merge and a blurred mess.
On ultra wide focus stacks specifically, I also shoot one “safety” frame at f/11 covering the full scene before I start the bracket sequence. If the merge fails or the wind moved something critical, that single frame is often sharp enough on a 10mm lens to use on its own. It is a simple insurance policy.
The single most important thing Patino demonstrates here is that an ultra wide angle lens rewards physical commitment. You have to move your body, get low, get close, and stay there long enough to work the composition rather than fire and move on. The lens itself is just glass. The depth comes from how close you are willing to stand.
Watch the full tutorial on YouTube and pay particular attention to the moments where Patino physically repositions himself. The camera movement is the lesson.
Comments (3)
Would love to see a follow-up going deeper into this topic.
I've watched a dozen tutorials on this and yours is the clearest by far.
The tip about getting uncomfortably close ho was the missing piece for me. Thank you.
Leave a Comment