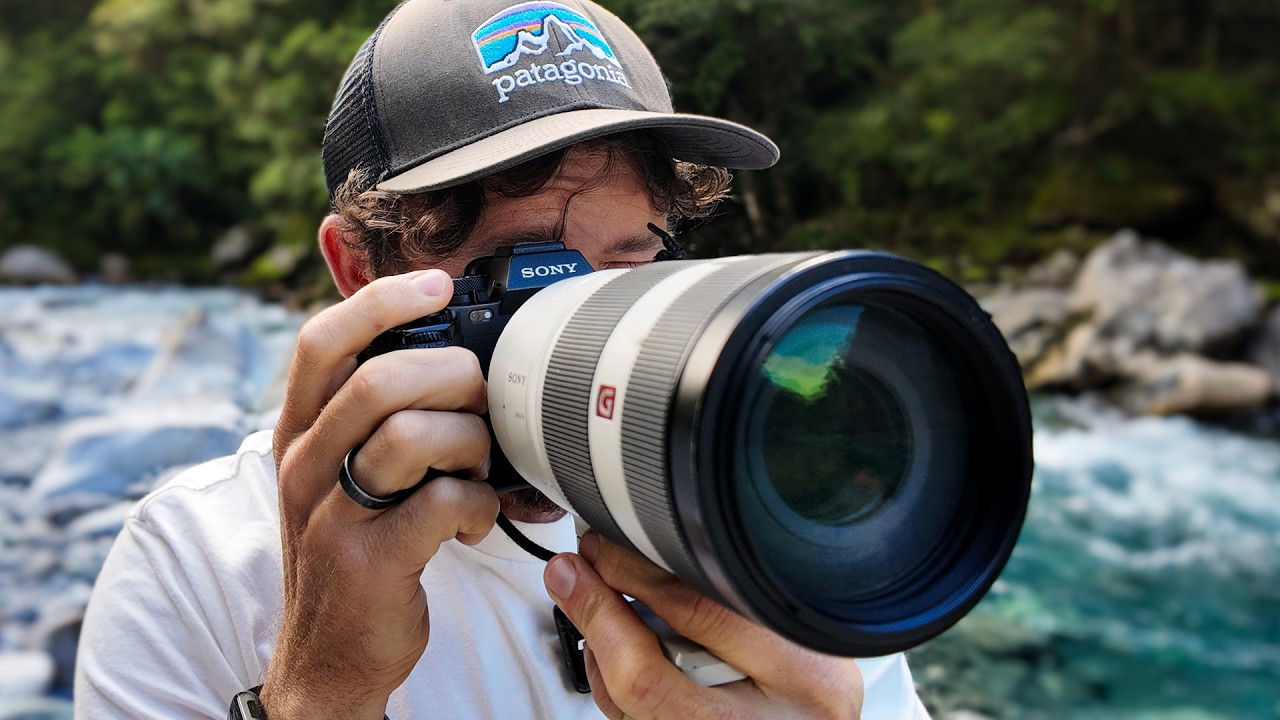
There’s a version of landscape photography that gets all the attention — the towering peak, the sweeping vista, the grand composition that makes you feel small. I’ve chased that version for twenty years, and I’ll keep chasing it. But some of my most technically interesting work, and honestly some of my most meditative shooting days, have come from standing at the edge of a small river with a long lens pointed at a patch of moving water no bigger than a dining room table. It’s a practice that rewards patience over spectacle, and it’s one I’ve refined over hundreds of mornings in Oregon’s river corridors.
So when I came across Watch the full tutorial on YouTube from William Patino on using a telephoto lens for intimate landscape work, I watched it twice. Not because it was revolutionary, but because Patino articulates something I’ve always struggled to explain to workshop students: the telephoto lens isn’t just for compression or wildlife. On moving water, it becomes a tool for editing reality in real time, letting you carve out the exact 10 inches of cascade that matter and discard everything else. What follows is my breakdown of his technique, with the field details you need to actually use it.
Step 1: Choose Water as Your Subject and Understand Why It Works
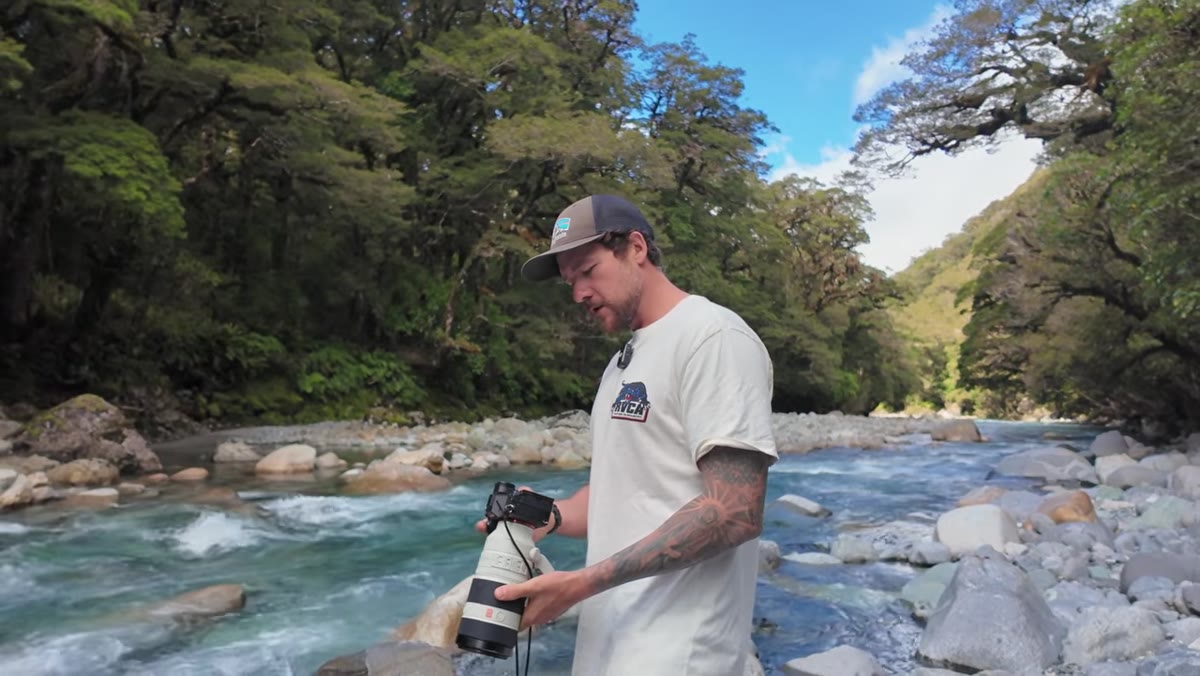
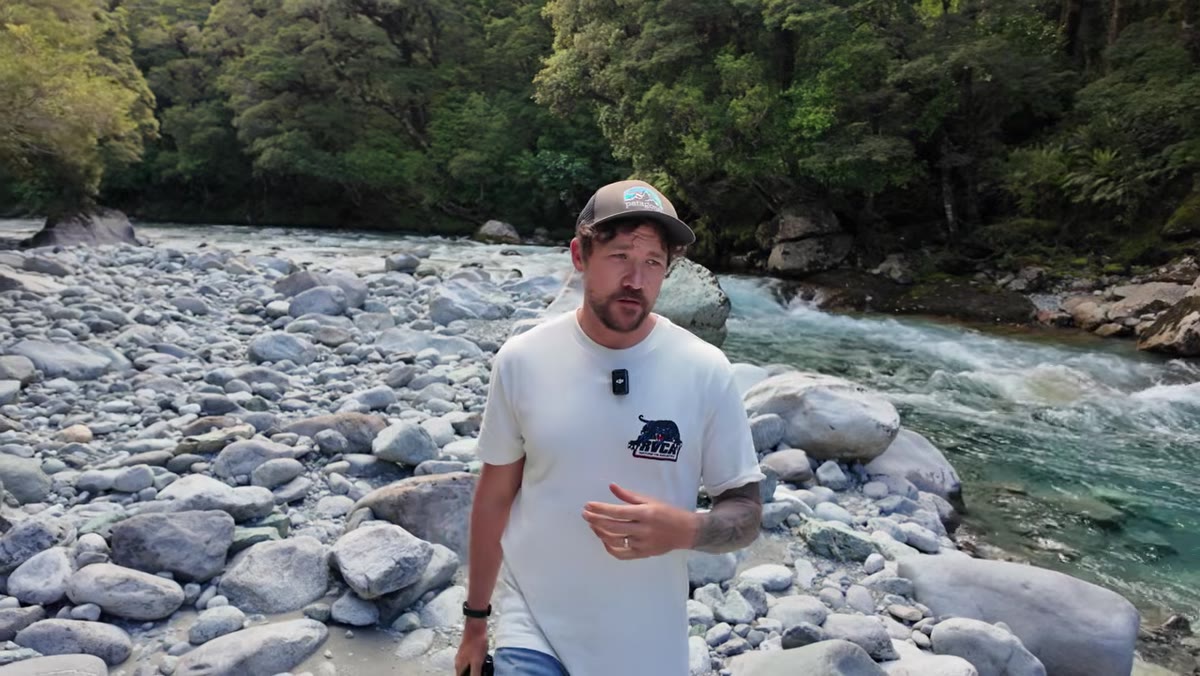 Patino discussing water as a primary photography subject
Water earns its place as the subject here for one specific reason: it never repeats. Every frame you shoot of moving water is a unique image, even if your camera position doesn’t change by a millimeter. That variability means you’re not grinding out identical shots waiting for a cloud to shift. You’re working with something that is genuinely different every fraction of a second. Patino makes this point explicitly, and it’s worth internalizing before you even leave the car. You’re not documenting a place. You’re catching moments within a place.
Patino discussing water as a primary photography subject
Water earns its place as the subject here for one specific reason: it never repeats. Every frame you shoot of moving water is a unique image, even if your camera position doesn’t change by a millimeter. That variability means you’re not grinding out identical shots waiting for a cloud to shift. You’re working with something that is genuinely different every fraction of a second. Patino makes this point explicitly, and it’s worth internalizing before you even leave the car. You’re not documenting a place. You’re catching moments within a place.
The practical starting point is finding sections of a river or stream where the water is doing something: cascading over rocks, swirling around an obstacle, or channeling through a narrow gap in a way that creates directional movement. Static puddles and glassy pools are beautiful but are a different discipline entirely. For this technique, you want energy.
Step 2: Select the Right Telephoto Focal Length
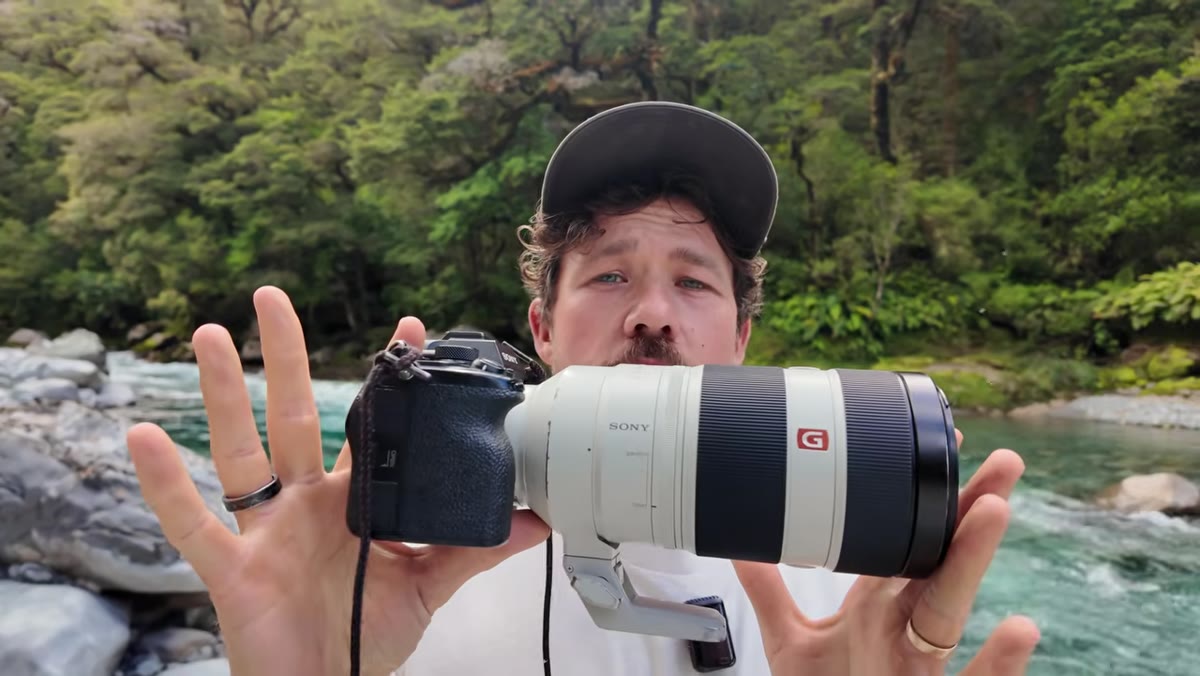 Camera with 100-400mm telephoto lens visible on screen
Patino shoots this work with a 100-400mm lens, and that range gives you a sense of what the technique demands. A 70-200mm will get you there. Even a 24-105mm pushed to its long end can work on a tight section of water. The core requirement is enough reach to isolate a small area from a comfortable standing distance. Getting physically close to moving water and then stopping down to achieve sharpness across a wide frame is a different workflow entirely, and it removes the compression effect that makes telephoto water photography visually distinctive.
Camera with 100-400mm telephoto lens visible on screen
Patino shoots this work with a 100-400mm lens, and that range gives you a sense of what the technique demands. A 70-200mm will get you there. Even a 24-105mm pushed to its long end can work on a tight section of water. The core requirement is enough reach to isolate a small area from a comfortable standing distance. Getting physically close to moving water and then stopping down to achieve sharpness across a wide frame is a different workflow entirely, and it removes the compression effect that makes telephoto water photography visually distinctive.
The compression matters here because it stacks the textures. Rocks, foam, and cascade all get pulled closer together in the frame, which intensifies the contrast between hard and soft surfaces. That visual tension, between the solidity of stone and the motion of water, is what makes these images interesting rather than just pretty.
Step 3: Pick the Right Light Conditions
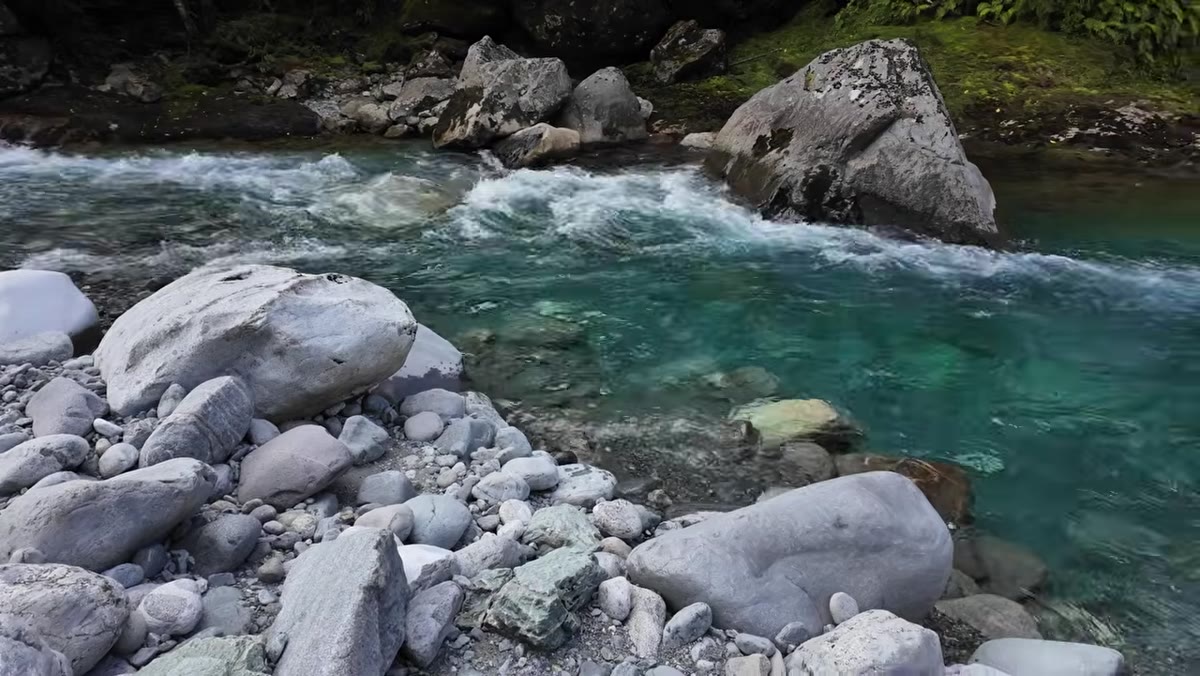 Overcast sky with diffused light over a river scene
Patino deliberately chooses a day with intermittent cloud cover rather than full sun. This is a decision worth understanding rather than just copying. Direct sunlight on moving water creates harsh specular highlights that blow out quickly and distract from the texture you’re trying to capture. Soft, diffused light from overcast skies wraps around the water’s surface and lets the foam and flow read as texture rather than glare.
Overcast sky with diffused light over a river scene
Patino deliberately chooses a day with intermittent cloud cover rather than full sun. This is a decision worth understanding rather than just copying. Direct sunlight on moving water creates harsh specular highlights that blow out quickly and distract from the texture you’re trying to capture. Soft, diffused light from overcast skies wraps around the water’s surface and lets the foam and flow read as texture rather than glare.
That said, golden hour at open locations like beaches or lakeshores changes the calculation. When warm light skims across water at a low angle, it can add color and depth that overcast conditions can’t match. The principle is consistency of light across your frame. Dappled light through forest canopy can work, but it requires patience because the patches shift and you’ll end up exposing for the wrong zone on half your frames.
Step 4: Set Your Starting Exposure and Camera Position
 Camera settings shown: 1/20s, f/16, ISO 100
Patino’s starting point for this session is 1/20 second at f/16, ISO 100. That combination tells you everything about his priorities. The small aperture (f/16) ensures depth of field across the water surface, which matters especially since he prefers to shoot from above rather than at water level. Shooting down onto the water solves a problem that getting low creates: when you’re close to the surface with a telephoto, the near edges of the frame fall outside your depth of field and go soft. From a higher angle, the focal plane runs more parallel to the water surface and the whole scene stays sharp.
Camera settings shown: 1/20s, f/16, ISO 100
Patino’s starting point for this session is 1/20 second at f/16, ISO 100. That combination tells you everything about his priorities. The small aperture (f/16) ensures depth of field across the water surface, which matters especially since he prefers to shoot from above rather than at water level. Shooting down onto the water solves a problem that getting low creates: when you’re close to the surface with a telephoto, the near edges of the frame fall outside your depth of field and go soft. From a higher angle, the focal plane runs more parallel to the water surface and the whole scene stays sharp.
ISO 100 keeps the image clean and helps require the longer shutter speeds that create the motion blur. If you’re shooting in brighter conditions, a neutral density filter will let you slow your shutter without blowing the exposure.
Step 5: Experiment Systematically with Shutter Speed
 Multiple frames being shot in quick succession at the river
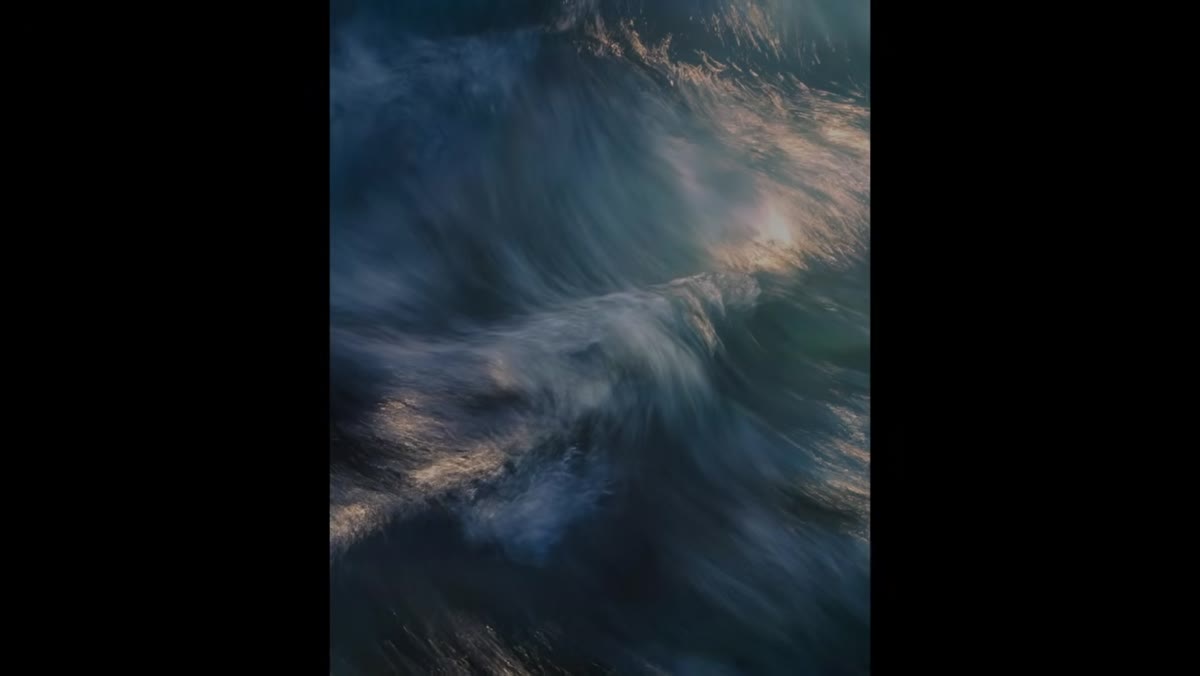
This is the heart of the technique and where most people underinvest. Patino runs his shutter from 1/20 second all the way down to 1 second depending on what the water is doing, and he doesn’t commit to a single speed. He shoots several frames, checks the result, adjusts, shoots more. The water’s speed, your focal length, and your distance from the subject all interact to produce different textures at the same shutter speed, so there’s no universal “correct” number.
Multiple frames being shot in quick succession at the river
This is the heart of the technique and where most people underinvest. Patino runs his shutter from 1/20 second all the way down to 1 second depending on what the water is doing, and he doesn’t commit to a single speed. He shoots several frames, checks the result, adjusts, shoots more. The water’s speed, your focal length, and your distance from the subject all interact to produce different textures at the same shutter speed, so there’s no universal “correct” number.
A faster shutter (1/20 to 1/60) tends to retain visible texture in the foam and gives the water a silky-but-readable quality. Slower speeds, down toward half a second or a full second, smooth everything into a more abstract motion. Neither is better. The goal is to match the shutter speed to the story you want to tell about that particular piece of water.
Step 6: Work the Scene Patiently and Shoot High Volume
 Patino shooting continuously at a fast-changing section of river
Patino describes the process honestly: sometimes you find the frame in five shots, and sometimes you shoot two hundred and delete every one. That’s not failure. That’s the nature of capturing something that’s in constant motion. He describes it as meditation, and that framing is useful because it resets your expectations. You’re not failing when a sequence doesn’t produce a keeper. You’re doing the work.
Patino shooting continuously at a fast-changing section of river
Patino describes the process honestly: sometimes you find the frame in five shots, and sometimes you shoot two hundred and delete every one. That’s not failure. That’s the nature of capturing something that’s in constant motion. He describes it as meditation, and that framing is useful because it resets your expectations. You’re not failing when a sequence doesn’t produce a keeper. You’re doing the work.
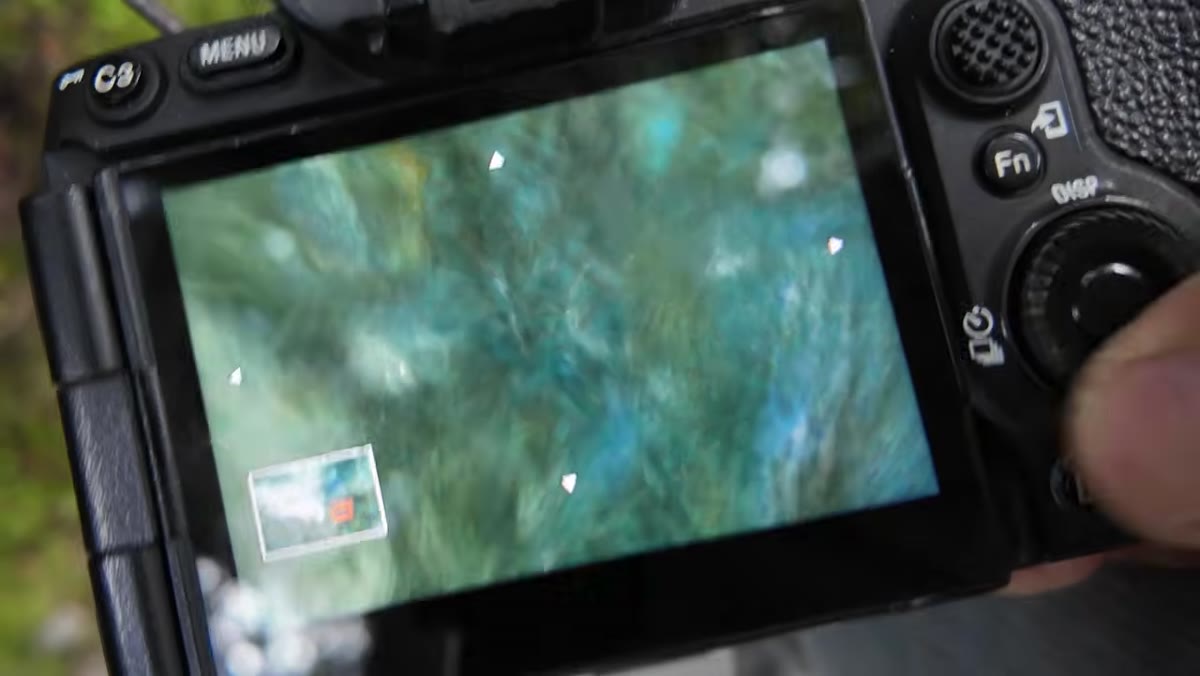
The practical approach is to bracket shutter speeds in small clusters, review on the back of the camera between bursts, and adjust one variable at a time. Changing your shutter speed, your focal length, and your position all at once means you won’t know what made the difference when a shot works.
What I’d Add After Twenty Years at the Water’s Edge
Patino’s framework is solid, and I use most of it myself. The one thing I’d emphasize that the video doesn’t dwell on is timing your session to the light’s color temperature, not just its softness. Early morning on a river often means cool blue light reflecting off the sky directly onto the water surface. That cool tone against dark, lichen-covered rock creates a color contrast that I find more compelling than anything you’ll get at midday. My kids think I’ve lost my mind standing in the shallows at 4:30 in the morning, but the light at that hour does things no filter can replicate.
The other note is compositional: look for a single anchor. A rock, a half-submerged branch, one fixed point in the frame that the moving water wraps around. It gives the viewer somewhere to land before the eye follows the flow. Without it, even a beautifully exposed water image can feel like a texture study rather than a photograph.
The single most important thing Patino’s tutorial reinforces is that intimacy in landscape photography is a skill you develop deliberately, not a consolation prize for when the grand scene isn’t available. A 10-inch section of river, shot with intention and patience, can be as complete and powerful an image as any wide-angle vista. Take your long lens somewhere small and spend an hour really working it.
Watch the full tutorial on YouTube to see Patino’s technique in motion and hear him talk through his decisions in real time as he shoots.
Comments (2)
Printing this out and pinning it next to my monitor. That good.
This should be required reading for anyone starting out.
Leave a Comment