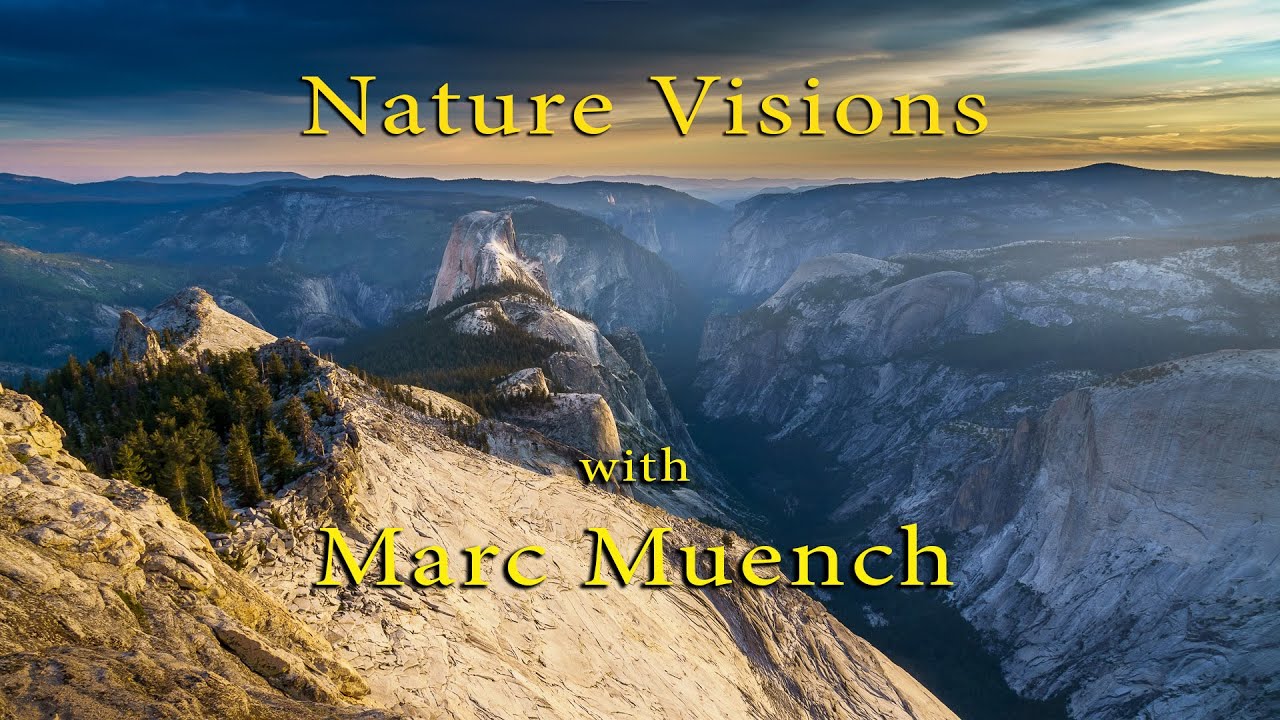
There’s a version of landscape photography where you chase the histogram, obsess over sharpness, and treat every outing like a technical exam. I spent a few years in that mode early on, and the images I made were technically fine and emotionally empty. What changed things for me wasn’t a new lens or a better sensor. It was understanding that the photograph begins long before you lift the camera. That realization is exactly what Marc Muench leads with in his Nature Visions seminar, and it’s why I keep coming back to it when I need to recalibrate.
Watch the full tutorial on YouTube
In this Marc Muench tutorial, recorded for the Nature Visions Photography Expo, he structures the day around four interconnected ideas: finding your eye, the Creative Trinity, the Technical Trinity, and a vocabulary of composition, followed by a practical deep-dive into Lightroom workflow. It’s a lot of ground to cover, but the architecture of it is smart. The technical pieces don’t come first. They come after the more important question of why you’re out there at all.
I’ve been shooting full-time for twenty years. I still learned things here, and more importantly, I was reminded of things I’d let slide. That’s the mark of a tutorial worth writing about.
Step 1: Accept That Being There Is the Technique
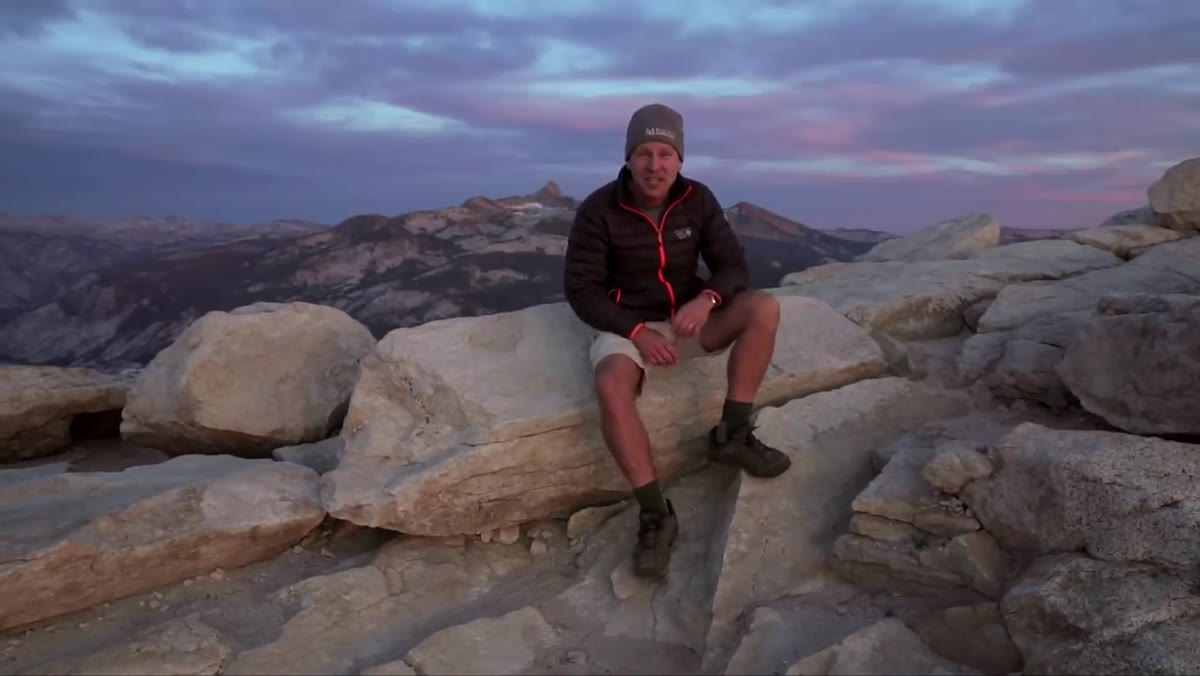 Dramatic golden-hour light illuminating a landscape scene
Before any settings get discussed, Muench pauses on the light around him and makes a point that sounds simple until you sit with it. All the technique in the world means nothing if you’re not standing in the right place at the right time. The camera can be set to program mode. The light will do the work. But you have to show up, and you have to show up enough times that you carry a real, felt understanding of what good light looks like, sounds like, feels like in your chest.
Dramatic golden-hour light illuminating a landscape scene
Before any settings get discussed, Muench pauses on the light around him and makes a point that sounds simple until you sit with it. All the technique in the world means nothing if you’re not standing in the right place at the right time. The camera can be set to program mode. The light will do the work. But you have to show up, and you have to show up enough times that you carry a real, felt understanding of what good light looks like, sounds like, feels like in your chest.
This isn’t romantic fluff. It has a direct practical consequence: if you haven’t experienced exceptional light firsthand, you won’t know what you’re reaching for when you sit down to process your images. Your post-processing becomes guesswork rather than memory. I once drove six hours to shoot a coastal location, sat in fog for two days, and came home with one usable frame. That single foggy image became my best-selling print, because I understood, through those two days of waiting, exactly what quality of light I was working with. You can’t fake that reference point.
Step 2: Define Your Personal Subject Matter
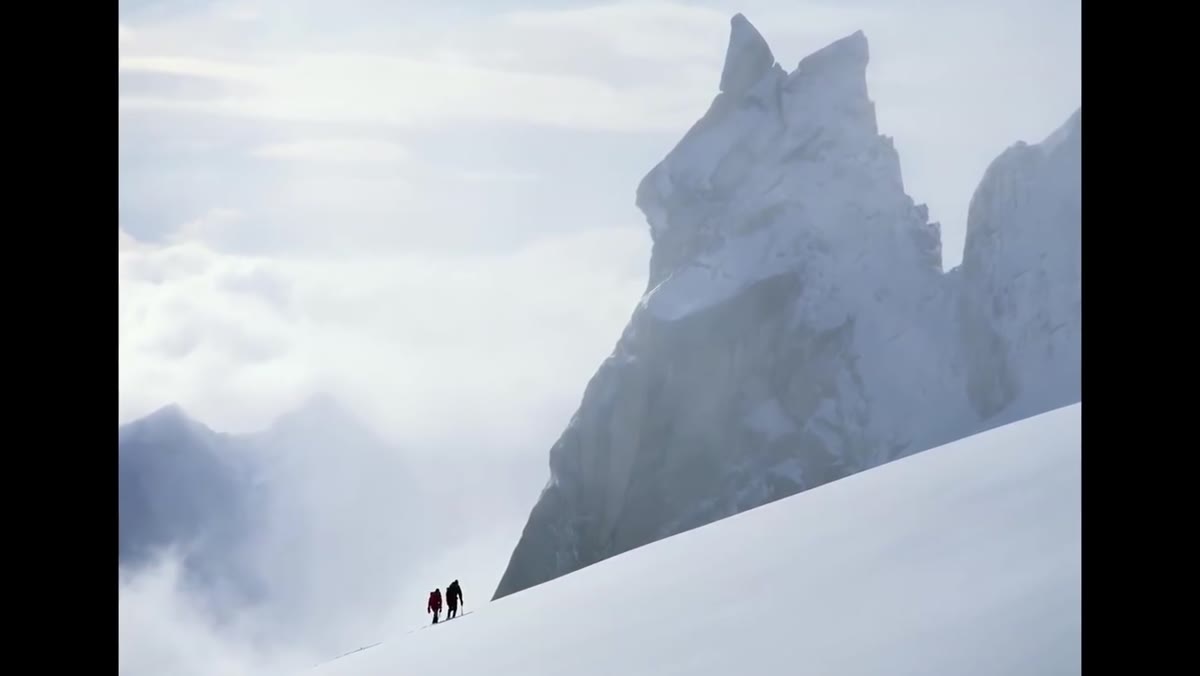 Speaker presenting at seminar, slide about personal subjects visible
Muench asks photographers to get honest about what they actually love to photograph, not what they think they should photograph. Identifying your favorite subjects and locations isn’t a soft exercise. It focuses your scouting, your travel, your practice time. A photographer who loves intimate stream scenes will develop a completely different eye than one chasing mountain panoramas, and both will outperform the person who shows up wherever the Instagram crowds go.
Speaker presenting at seminar, slide about personal subjects visible
Muench asks photographers to get honest about what they actually love to photograph, not what they think they should photograph. Identifying your favorite subjects and locations isn’t a soft exercise. It focuses your scouting, your travel, your practice time. A photographer who loves intimate stream scenes will develop a completely different eye than one chasing mountain panoramas, and both will outperform the person who shows up wherever the Instagram crowds go.
Take time to write down three to five subjects or environments that genuinely pull at you. Then ask yourself how often your shooting trips actually reflect that list. The gap between what you say you love and where you spend your field time is usually instructive. Closing that gap is one of the fastest ways to build a coherent body of work.
Step 3: Work With the Creative Trinity
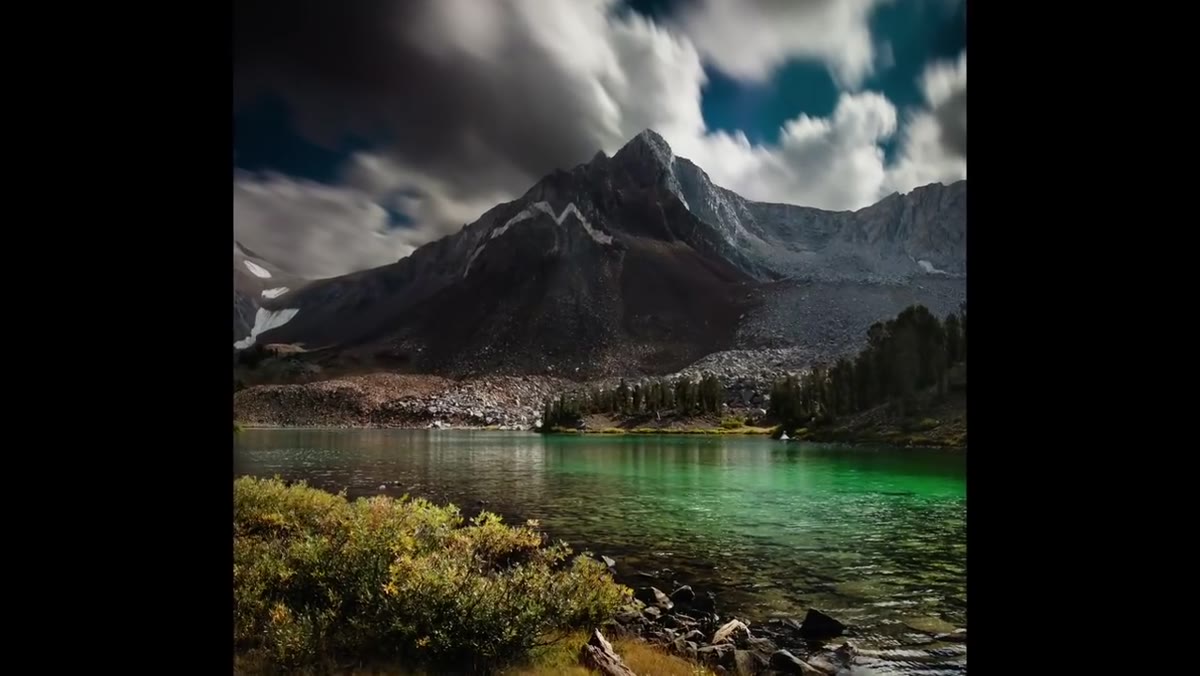 Breakdown of the Creative Trinity framework on screen
The Creative Trinity is Muench’s framework for analyzing a landscape before you commit to a composition. Rather than approaching a scene as one overwhelming whole, he breaks it into discrete elements: what do you want to enhance, what do you want to show, and what do you simply want to portray as it is. These three modes of intention ask you to edit before you shoot, not after.
Breakdown of the Creative Trinity framework on screen
The Creative Trinity is Muench’s framework for analyzing a landscape before you commit to a composition. Rather than approaching a scene as one overwhelming whole, he breaks it into discrete elements: what do you want to enhance, what do you want to show, and what do you simply want to portray as it is. These three modes of intention ask you to edit before you shoot, not after.
In practice, this means standing at a location and asking which element is doing the most work. Is the quality of light so strong that your job is to show it faithfully? Is there a foreground detail worth enhancing through a specific angle or focal length? Is the middle distance something you want to portray without embellishment? Naming the intent before you raise the camera changes every decision that follows, from aperture choice to where you plant your feet.
Step 4: Simplify the Technical Trinity
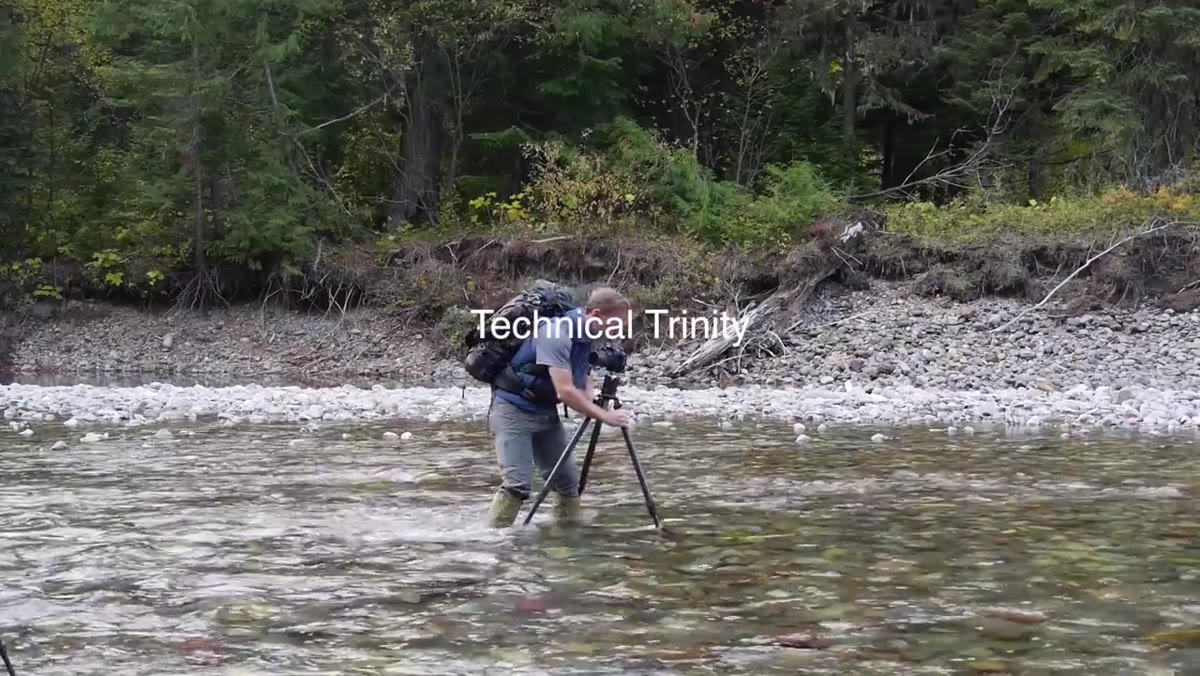 Aperture, shutter speed, and ISO displayed as core technical controls
Aperture, shutter speed, ISO. Muench frames these not as a complicated matrix but as three simple levers, each with a primary creative consequence. Aperture controls depth of field and determines how much of the scene is in focus front to back. Shutter speed determines how motion renders, whether that’s a silky waterfall or a frozen wave. ISO is the sensitivity dial you push only as far as you need to.
Aperture, shutter speed, and ISO displayed as core technical controls
Aperture, shutter speed, ISO. Muench frames these not as a complicated matrix but as three simple levers, each with a primary creative consequence. Aperture controls depth of field and determines how much of the scene is in focus front to back. Shutter speed determines how motion renders, whether that’s a silky waterfall or a frozen wave. ISO is the sensitivity dial you push only as far as you need to.
For landscape work specifically: start at base ISO (typically 64 or 100 depending on your system), set your aperture based on your depth of field intention (f/8 to f/11 covers most situations without diffraction softening), and let your shutter speed fall where it needs to. Use a tripod so that shutter speed becomes a creative choice rather than a hand-holding constraint. Once these become automatic, your mental energy frees up for the creative decisions that actually separate strong images from forgettable ones.
Step 5: Build a Vocabulary of Composition
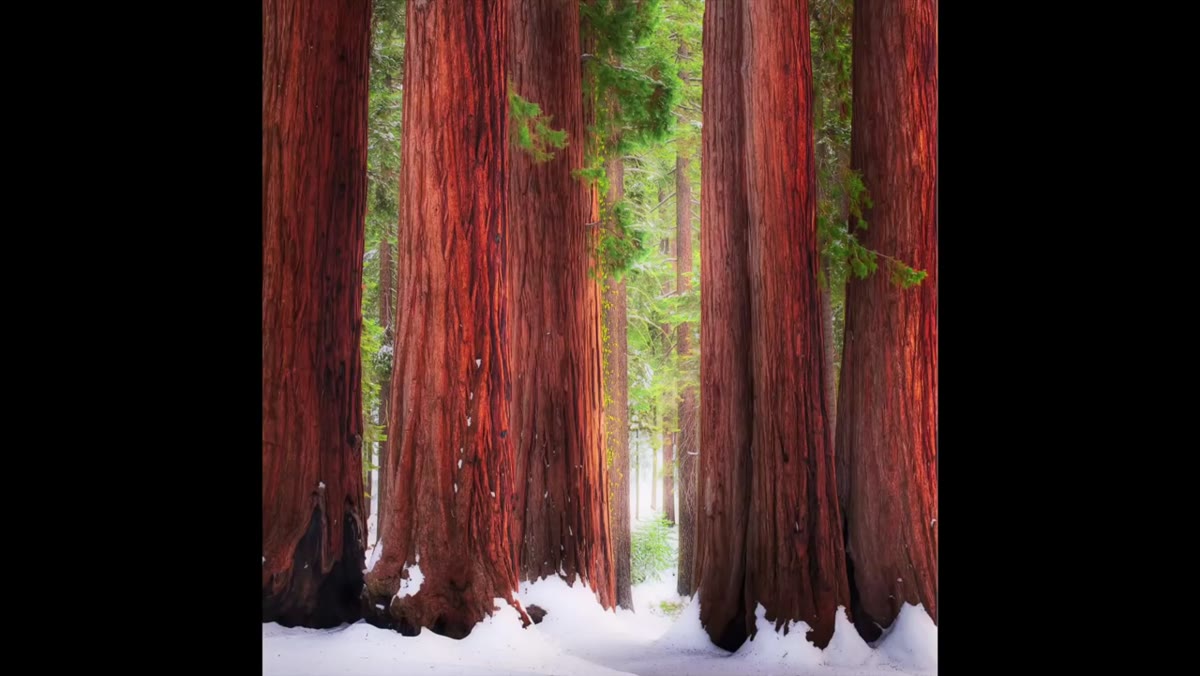 Compositional vocabulary elements demonstrated with landscape examples
Muench’s frustration with traditional composition instruction mirrors my own. Rules like “rule of thirds” are starting points, not destinations, and they can make composition feel arbitrary or subjective. His response is to build a concrete vocabulary, named, teachable elements that you can identify in a scene and consciously deploy. When composition has language, it stops being mysterious.
Compositional vocabulary elements demonstrated with landscape examples
Muench’s frustration with traditional composition instruction mirrors my own. Rules like “rule of thirds” are starting points, not destinations, and they can make composition feel arbitrary or subjective. His response is to build a concrete vocabulary, named, teachable elements that you can identify in a scene and consciously deploy. When composition has language, it stops being mysterious.
Without prescribing his full list here, the approach is to treat compositional elements the way a writer treats grammar: learn the names of what you’re doing, practice them deliberately, then internalize them until they operate below conscious thought. Leading lines, visual weight, frame within a frame, negative space. When you can name what’s working and what isn’t, you can fix it in the field rather than hoping for luck.
Step 6: Build an Efficient Lightroom Workflow
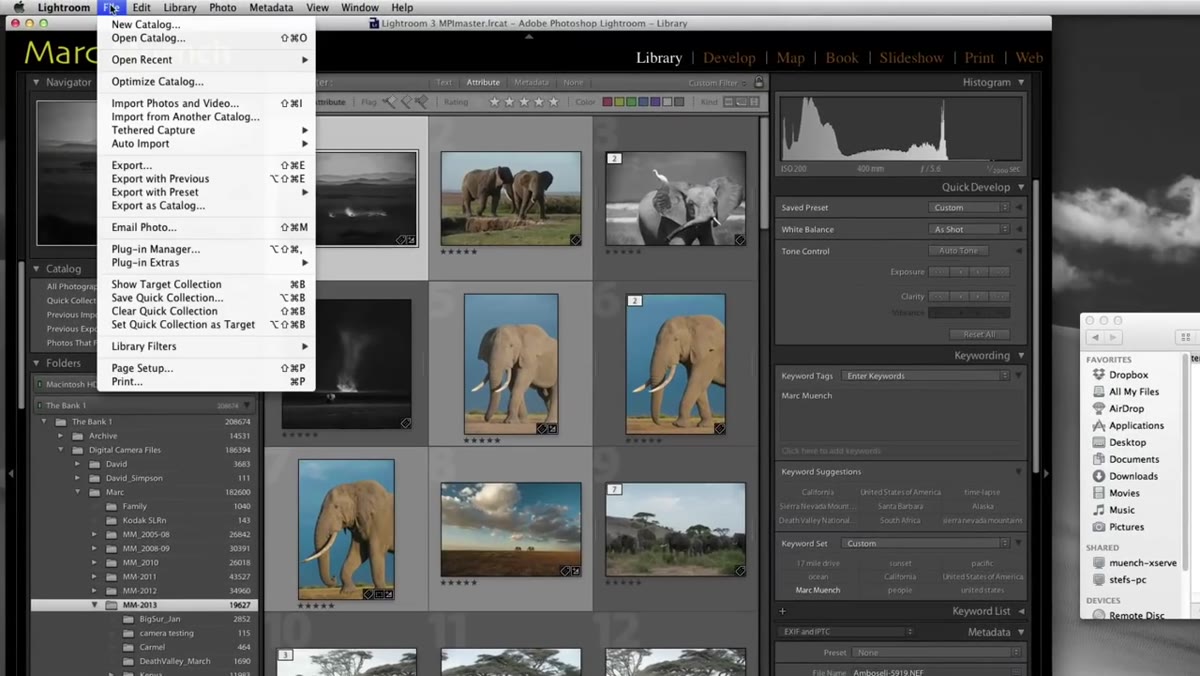 Lightroom import screen with DMG file workflow visible
The post-processing section of the seminar focuses on workflow architecture before it touches any sliders. Muench imports using DNG files, which carry the full raw data while remaining more portable than proprietary raw formats. His system is designed so that images processed on a travel laptop can be brought back to his studio computer without data loss or re-linking issues.
Lightroom import screen with DMG file workflow visible
The post-processing section of the seminar focuses on workflow architecture before it touches any sliders. Muench imports using DNG files, which carry the full raw data while remaining more portable than proprietary raw formats. His system is designed so that images processed on a travel laptop can be brought back to his studio computer without data loss or re-linking issues.
From there, he works through keywording and custom presets to speed up repeated decisions, then moves into the Develop module. The core tools he emphasizes are the Tone Curve for overall tonal shaping, and the three local adjustment tools: the Graduated Filter for skies and horizons, the Radial Filter for drawing attention toward or away from specific areas, and the Adjustment Brush for targeted corrections. These four tools together handle the majority of what landscape images need in processing. Master them deeply before reaching for anything else.
What I’d Add From My Own Practice
I still shoot a roll of film every few months, not because I prefer the output, but because it forces me to treat each frame as a considered decision. There’s no chimping, no histogram to consult. You see the light, you feel the composition, and you press the shutter or you don’t. It’s the same discipline Muench is pointing toward in the opening minutes of this seminar: the camera is not the point. Your presence, your attention, and your firsthand knowledge of what you’re after, those are the point.
A mentor told me once that the mountain doesn’t care about your schedule. I’ve thought about that line on more cold mornings than I can count, standing in a river at first light while my family sleeps. He was right. The light shows up on its own terms. Your job is to be there, ready, with the technical decisions already made, so that when it happens, all you have to do is see.
The single most important thing this tutorial reinforced for me: your post-processing is only as good as your firsthand experience of the light you’re trying to recreate. No slider fixes a scene you didn’t understand when you were standing in it.
Comments (1)
This is exactly what I needed today. Been struggling with this for weeks.
Leave a Comment