There is a particular kind of afternoon I have learned to recognize over twenty years of doing this work. The weather app looks like a threat. Rain stacked on rain, the little cloud icons relentless, and then — right at the edge of the day — a single yellow sun symbol so small you could miss it if you weren’t looking for it. Most photographers see that forecast and stay home. I have learned to see it as an invitation. Watch the full tutorial on YouTube
In this First Man Photography tutorial, the creator heads out to Roseberry Topping in North Yorkshire under exactly those conditions. Driving rain, gale force wind, a hill climb that earns every frame. What makes it worth studying is not just the dramatic scenery. It is the decision-making that happens in real time, the willingness to commit to a location without knowing if it will pay off, and the physical hustle required when the light finally does break. I have run that same race more times than I can count, and watching it compressed into a single outing reminded me of several things I want to pass on here.
The broader lesson before we get into mechanics: most photographers are waiting for permission from the weather. This tutorial is about refusing to wait.
Step 1: Read the Forecast Like a Story, Not a Warning
 Weather app showing rain icons followed by a sun symbol
The opening move is not picking up a camera. It is reading a weather forecast with a specific eye toward transition. A full day of rain followed by a window of sun at sunset is not a discouraging forecast — it is one of the more promising setups in landscape photography. The drama in a sky comes from contrast: dark clouds alongside raking light, shadows with luminous edges. That only happens when weather systems are moving through and changing.
Weather app showing rain icons followed by a sun symbol
The opening move is not picking up a camera. It is reading a weather forecast with a specific eye toward transition. A full day of rain followed by a window of sun at sunset is not a discouraging forecast — it is one of the more promising setups in landscape photography. The drama in a sky comes from contrast: dark clouds alongside raking light, shadows with luminous edges. That only happens when weather systems are moving through and changing.
Check your forecast app for late-day clearing after persistent rain. Pay attention to the direction the system is tracking. If cloud cover is breaking from the west as the sun drops toward the horizon, you have the ingredients for something extraordinary. The key is accepting that the window may be brief. Plan your shoot around the last 45 minutes of light, not the whole afternoon.
Step 2: Embrace the Empty Trailhead
 Empty car park at the base of Roseberry Topping in the rain
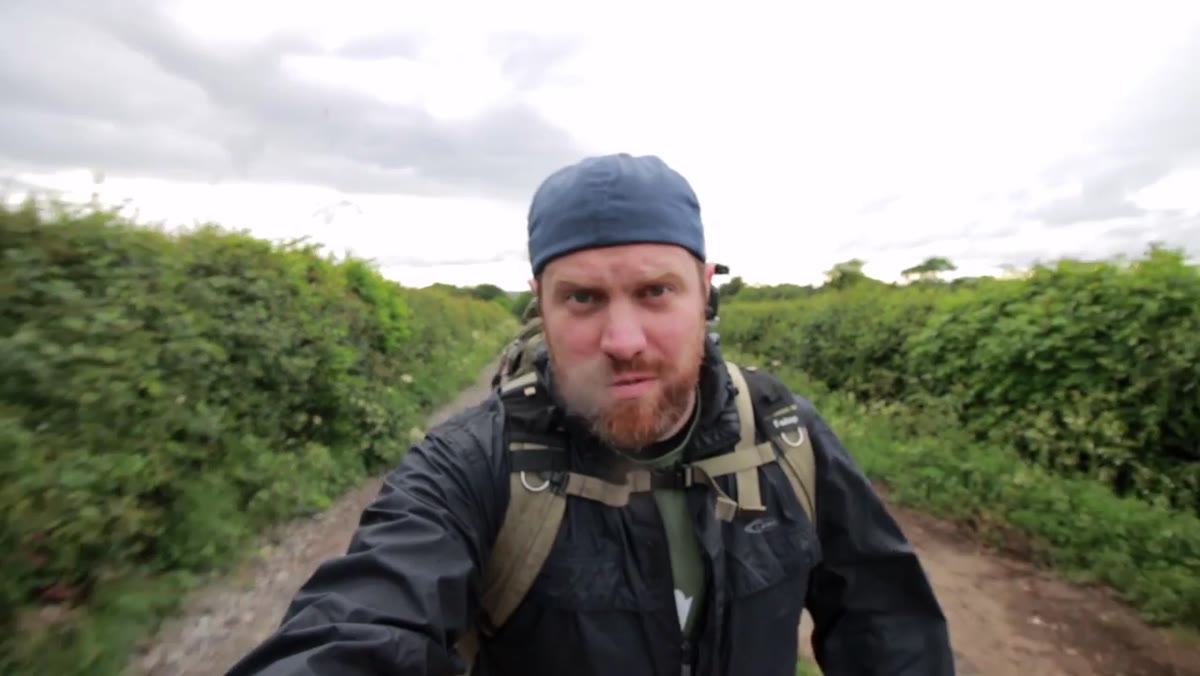
When the creator arrives to find a completely deserted car park, his reaction is not disappointment. It reads as relief. Bad weather removes the crowd, and a crowd is one of the more underrated obstacles in outdoor photography. You cannot wait for a clean composition when twenty hikers are crossing your frame every four minutes.
Empty car park at the base of Roseberry Topping in the rain
When the creator arrives to find a completely deserted car park, his reaction is not disappointment. It reads as relief. Bad weather removes the crowd, and a crowd is one of the more underrated obstacles in outdoor photography. You cannot wait for a clean composition when twenty hikers are crossing your frame every four minutes.
This is practical, not precious. If you are shooting a location that is normally busy, foul weather is your access pass to solitude. Dress properly, manage your expectations about comfort, and commit to the idea that a little rain on your jacket is a reasonable trade for full creative control of a landscape. I own exactly one pair of waterproof trousers and they have paid for themselves many times over.
Step 3: Get High and Scout First, Shoot Second
 Wide view from the top of Roseberry Topping showing 360-degree panorama
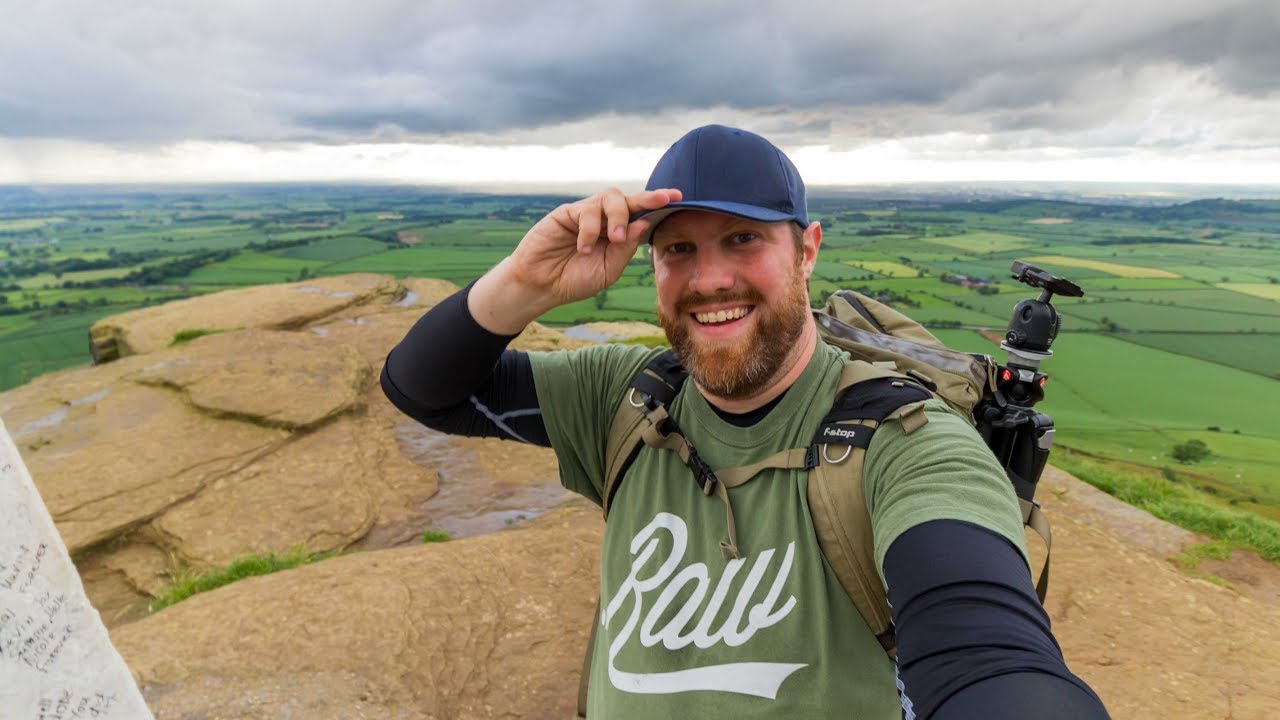
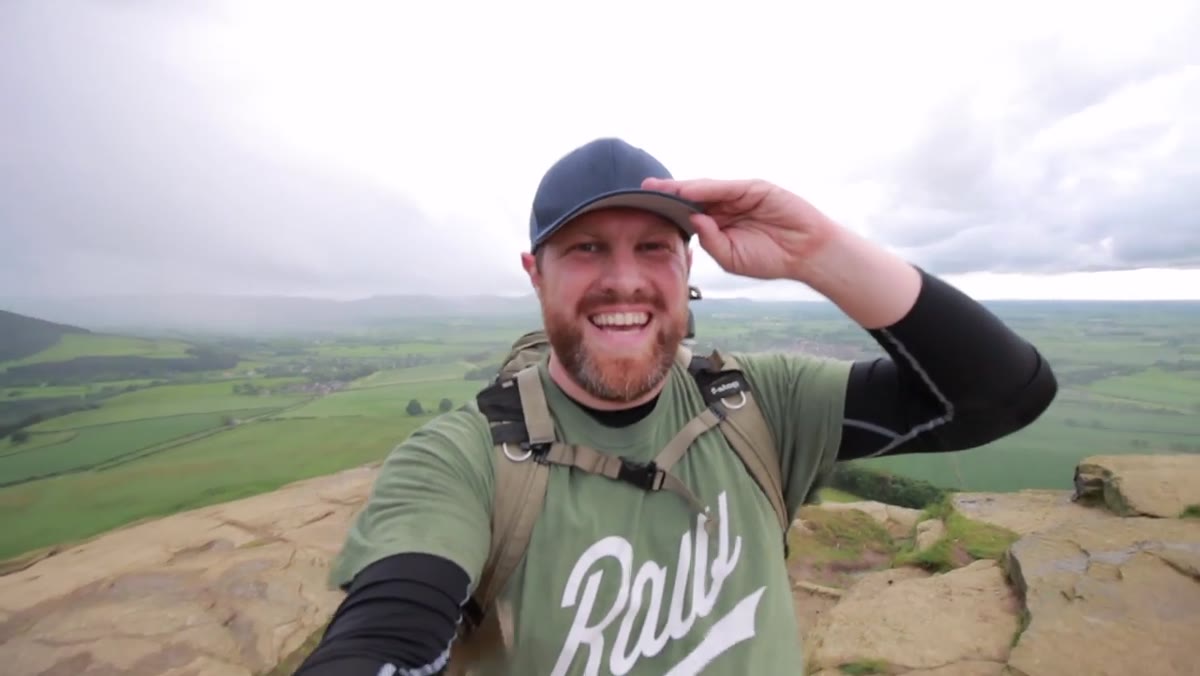
At the summit, before anything else, the creator takes in the full panorama. Wind, visibility, light quality, cloud movement. He is inventorying his options before committing to a composition. This is a discipline that takes practice to maintain when conditions are rough and your instinct is to just start shooting.
Wide view from the top of Roseberry Topping showing 360-degree panorama
At the summit, before anything else, the creator takes in the full panorama. Wind, visibility, light quality, cloud movement. He is inventorying his options before committing to a composition. This is a discipline that takes practice to maintain when conditions are rough and your instinct is to just start shooting.
From a high vantage point in storm light, do a full 360-degree scan. Note where the dark clouds are massing, where any brightness is breaking through, and where those elements align with interesting landforms or leading lines below you. The best shot is rarely the obvious one facing directly into the light. Often it is the one where backlit storm clouds create a frame for something in the middle distance.
Step 4: Use a Time-Lapse to Work the Waiting
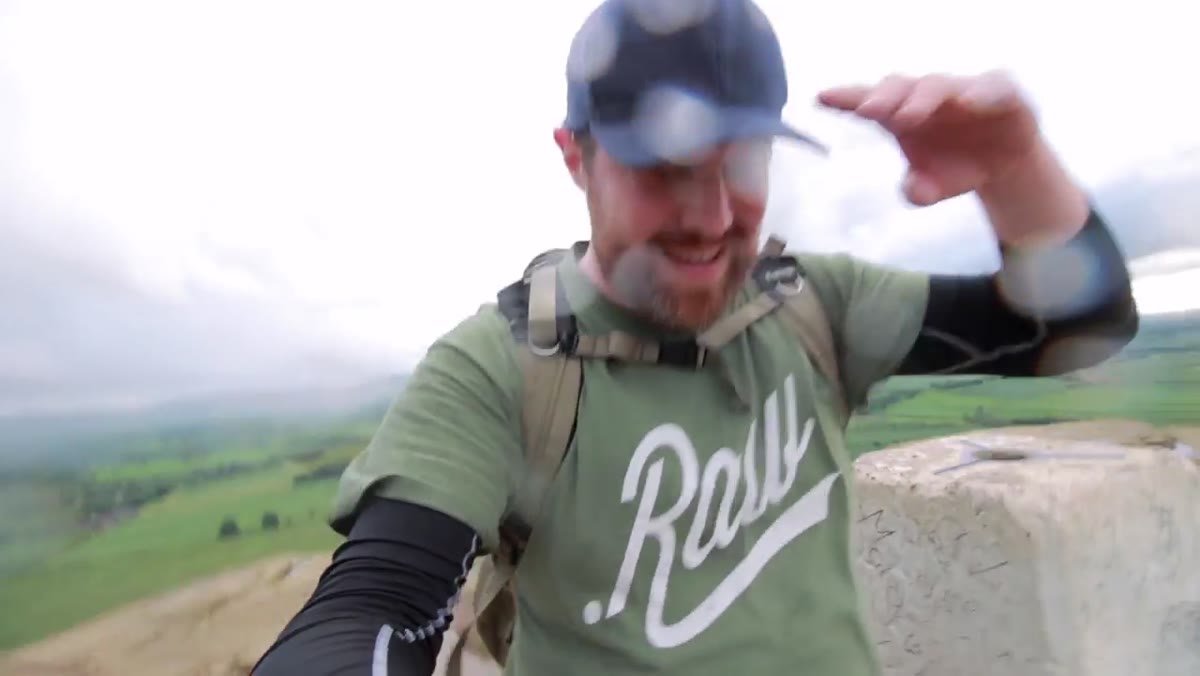 Camera set up for time-lapse with dramatic storm clouds rolling in the background
With the camera locked off on a time-lapse, the creator is doing two things at once. He is documenting the moving weather in a format that will show its full drama, and he is buying himself time to observe the scene without the pressure of single-frame decisions. The time-lapse runs; he watches.
Camera set up for time-lapse with dramatic storm clouds rolling in the background
With the camera locked off on a time-lapse, the creator is doing two things at once. He is documenting the moving weather in a format that will show its full drama, and he is buying himself time to observe the scene without the pressure of single-frame decisions. The time-lapse runs; he watches.
Set your intervalometer to fire every two to three seconds for fast-moving storm clouds. Use manual exposure so the sequence does not flicker as light levels shift. While it runs, use that time productively. Move around without the camera. Find alternate compositions. Look for foreground elements you might have missed on the way up. The time-lapse is working so you can think.
Step 5: Switch to a Telephoto to Compress the Drama
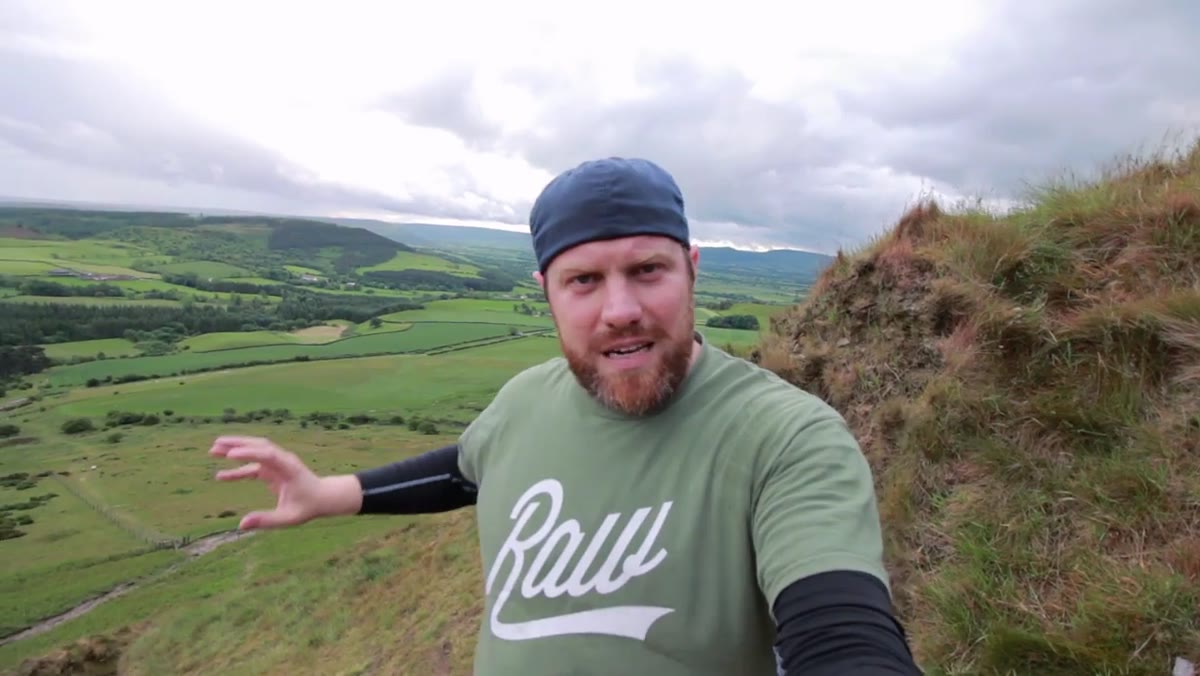 Discussion of switching to 70-200mm lens to isolate storm cloud detail
After the wide capture, the creator mentions reaching for a 70-200mm to bring the sky drama closer. This is a move that a lot of wide-angle-dominant landscape photographers skip, and it costs them. A telephoto in storm conditions does something a wide lens cannot: it compresses the distance between a lit foreground and a dark, turbulent sky, making the contrast feel violent and immediate.
Discussion of switching to 70-200mm lens to isolate storm cloud detail
After the wide capture, the creator mentions reaching for a 70-200mm to bring the sky drama closer. This is a move that a lot of wide-angle-dominant landscape photographers skip, and it costs them. A telephoto in storm conditions does something a wide lens cannot: it compresses the distance between a lit foreground and a dark, turbulent sky, making the contrast feel violent and immediate.
Look for a landform or distant feature that can anchor the frame, then use the long end of your zoom to stack it against the most dramatic section of cloud. In heavy wind, bump your shutter speed up even if it means opening your aperture wider than you normally would. A slightly shallower depth of field is a far smaller problem than camera shake blurring the detail in those clouds.
Step 6: Move Fast When the Light Breaks
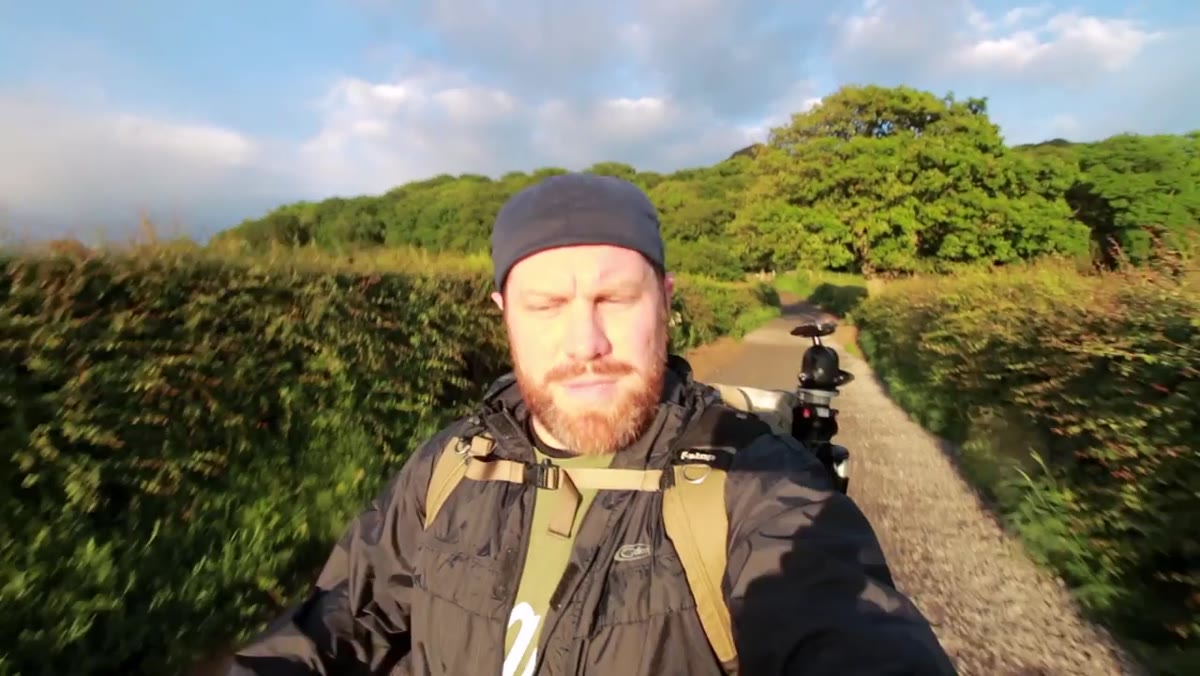 Creator descending the hill quickly as the weather begins to clear
The most instructive moment in the tutorial is the transition. The weather shifts, the light breaks open, and the creator is immediately moving. Down the hill, back to the car, onto a second location, racing the sunset clock. There is no hesitation and no agonizing.
Creator descending the hill quickly as the weather begins to clear
The most instructive moment in the tutorial is the transition. The weather shifts, the light breaks open, and the creator is immediately moving. Down the hill, back to the car, onto a second location, racing the sunset clock. There is no hesitation and no agonizing.
This is a learned behavior. You build it by getting burned enough times — by watching beautiful light happen while you were still packing your bag or finishing a snack. Keep your kit consolidated so you can move. Know your secondary location before you need it. The decision of where to go next should already be made so that when the moment comes, your only job is to get there.
Step 7: Arrive Early Enough to Compose, Not Just Capture
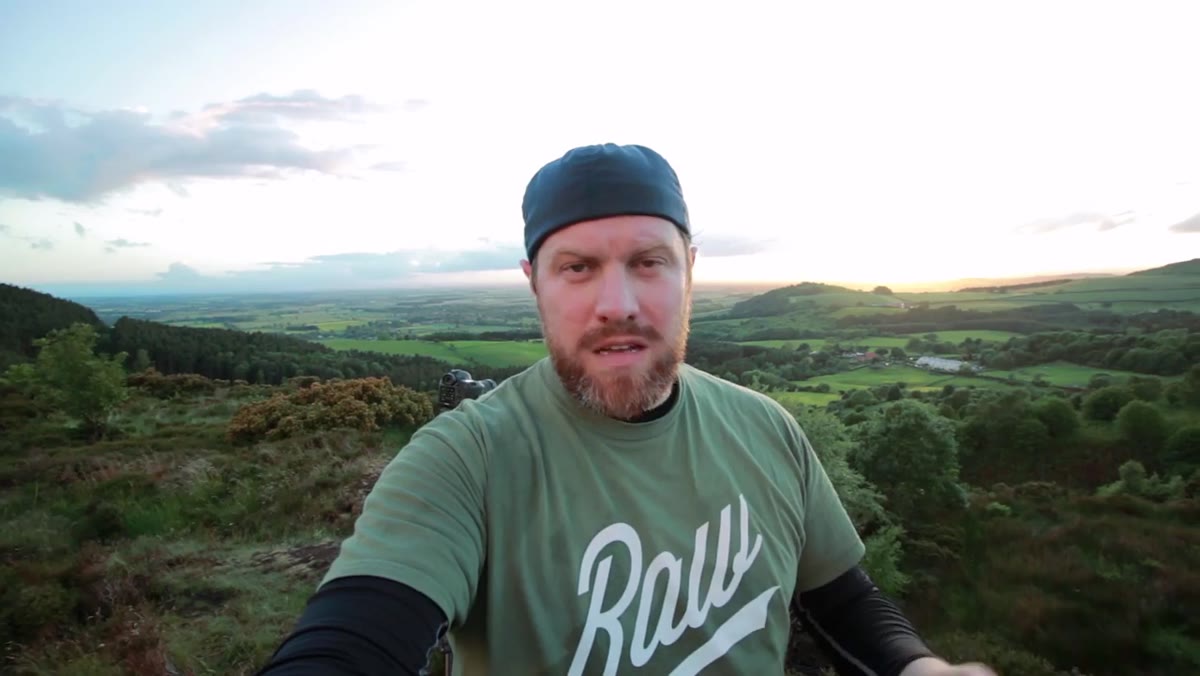 Creator in position at second location with Roseberry Topping visible and sun descending below clouds
He makes it. With enough time to breathe, reframe, and wait for the sun to slip below the cloud base and fire the sky. He notes the importance of those few minutes to settle into the composition rather than frantically clicking the moment he arrives.
Creator in position at second location with Roseberry Topping visible and sun descending below clouds
He makes it. With enough time to breathe, reframe, and wait for the sun to slip below the cloud base and fire the sky. He notes the importance of those few minutes to settle into the composition rather than frantically clicking the moment he arrives.
Even two or three minutes of stillness before the critical light hits will produce sharper, more considered images than those taken in a sprint. Level your horizon. Check your edges for distractions. Decide whether the foreground earns its place in the frame or whether you should tighten up and let the sky carry the image.
A Note From My Own Practice
I learned a version of this lesson the hard way, from a mentor who had a saying I still carry with me: the mountain does not care about your schedule. His point was that you cannot negotiate with conditions, only respond to them. The photographers who consistently come home with strong work are not the ones who wait for perfect days. They are the ones who have put in so many imperfect days that they know exactly what to do when a narrow window appears.
In my own shooting, I have added one small habit to what this tutorial demonstrates. I keep a running shortlist of secondary locations near any destination I plan to visit, ranked by how they perform in different light directions. When conditions shift the way they do in this video, I am not improvising. I am executing a plan I already made.
The single most important idea here is also the simplest: go anyway. The shot does not exist if you stay home.
Watch the full tutorial on YouTube and pay close attention to the pacing of the creator’s decisions. That rhythm, the way he moves between patience and urgency, is worth studying as closely as any camera setting he mentions.
Comments
Leave a Comment