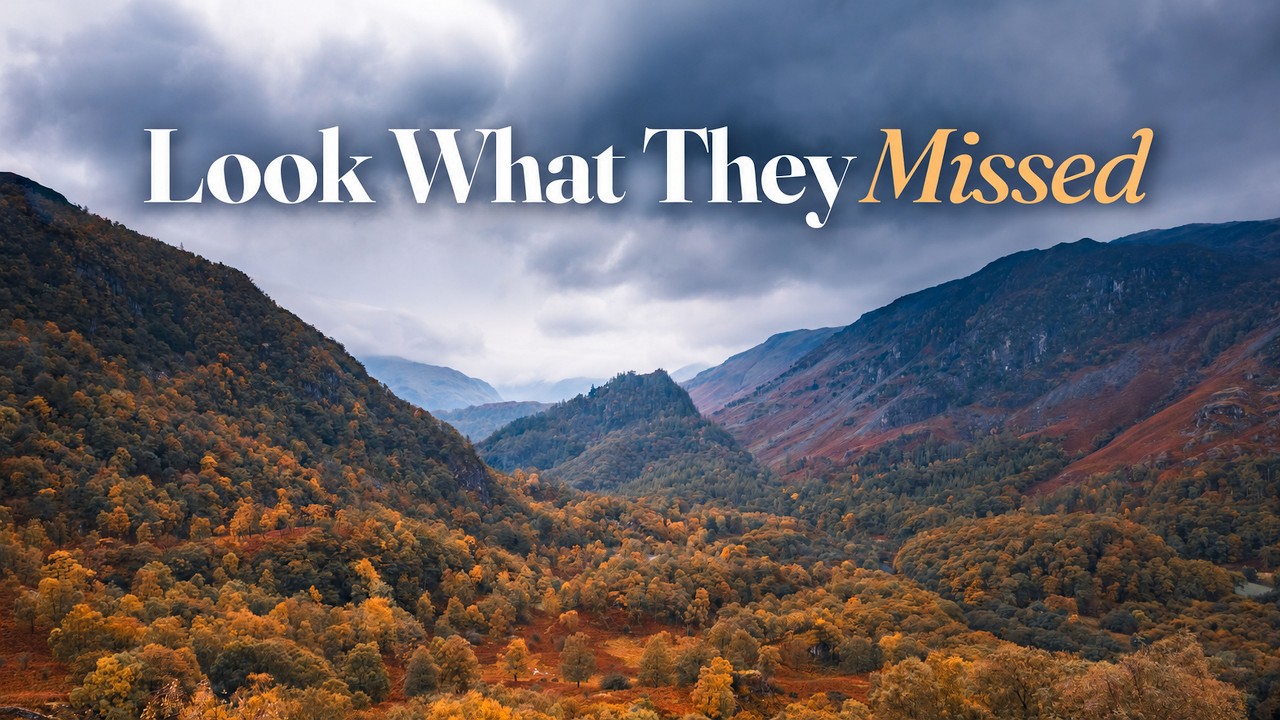
There is a version of me from about fifteen years ago who would have looked at a forecast full of rain icons and quietly rescheduled. I told myself I was being practical. What I was actually doing was waiting for conditions that would never be quite right, missing the shots that only exist because of bad weather. These days I keep a dry bag in the car year-round, and some of my favorite prints on the wall behind my desk were made in drizzle, fog, or both. So when I found this First Man Photography tutorial, Watch the full tutorial on YouTube, following a solo day in the Lake District fells during a full autumn rainstorm, I recognized every instinct he was working through - and a few of the mistakes too.
What makes this video worth studying is not just the locations or the light. It is the honest, unfiltered account of making decisions in the field when conditions are messy, your legs are wet, and the shot you imagined from the car park looks completely different once you are standing in knee-high ferns. That gap between pre-visualization and reality is where most landscape photographs are either saved or abandoned. This tutorial lives in that gap, and it offers concrete, practical lessons for anyone willing to follow.
Step 1: Gear Up Before You Leave the Car
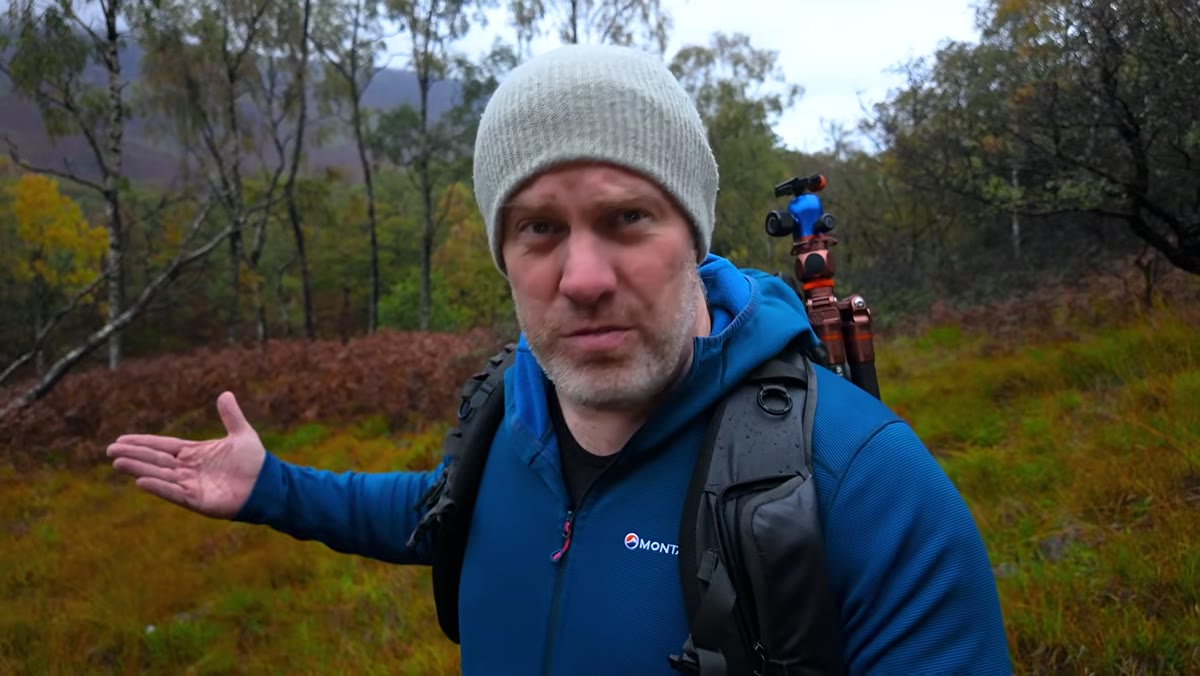 Photographer walking through wet grass without waterproofs
The first lesson comes before a single frame is shot. The creator walks into wet, shin-high grass without waterproof trousers and immediately pays the price. His feet and legs are soaked within minutes. He calls it an amateur mistake, and he is right, but it is also an incredibly common one - especially on days when the rain eases off just as you are pulling into the car park and you talk yourself out of the extra layers.
Before any rainy-day shoot, treat your kit decisions the same way you treat your camera settings: deliberate, not reactive. Pack waterproof trousers, a rain jacket, and sealed boots regardless of what it looks like when you step out. Weather in upland areas, particularly in the UK Lake District, shifts fast. Gear that sits in the boot costs you nothing. Wet socks cost you concentration, comfort, and sometimes the whole afternoon.
Step 2: Use Moisture and Mist to Separate Your Layers
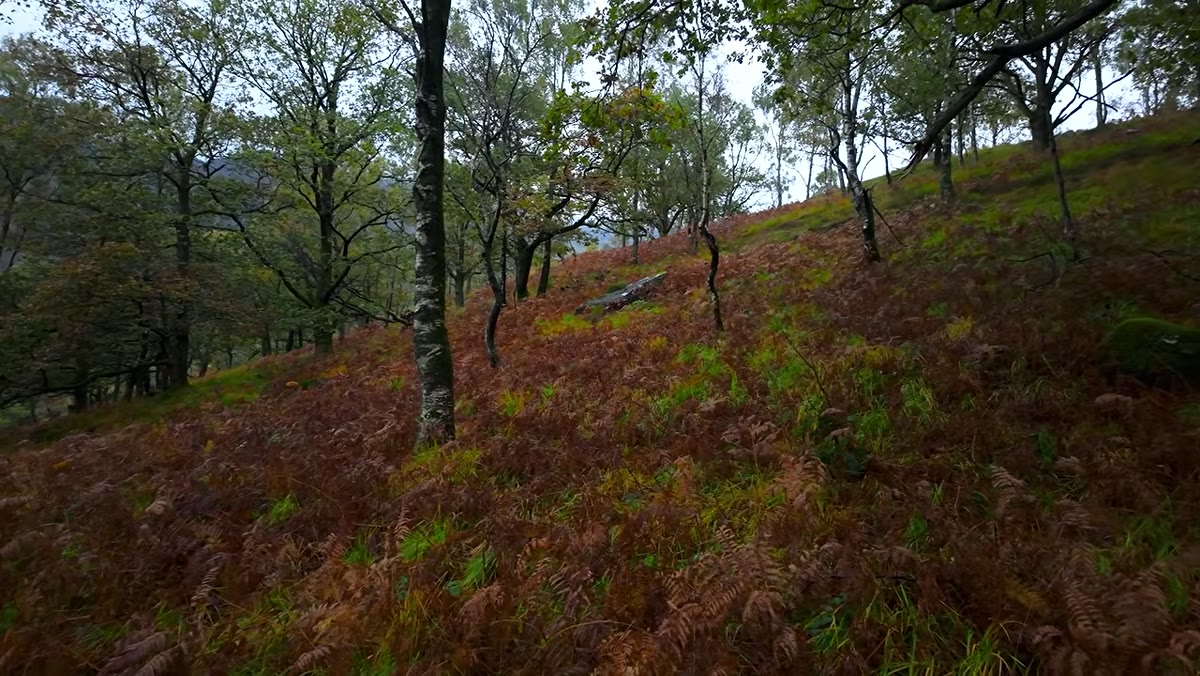 Birch trees and ferns with misty mountains behind
Once in position near a stand of birch trees, the photographer makes an observation that reframes overcast, rainy conditions entirely. The moisture in the air, the low cloud, the ambient haze - all of it creates natural atmospheric separation between foreground, midground, and background. Shapes that might compete or blur together on a clear day become distinct, readable layers.
This is a technique worth internalizing. When you are scouting a composition in wet weather, look for elements at three distinct distances and ask whether the atmospheric haze is making them more or less legible. Autumn trees with their warm tones in the foreground, slightly cooler midground shapes, and pale, receding mountains beyond - the rain is doing compositional work for you. Frame with that separation in mind rather than fighting it.
Step 3: Set Your Exposure for Still-Air Rainy Conditions
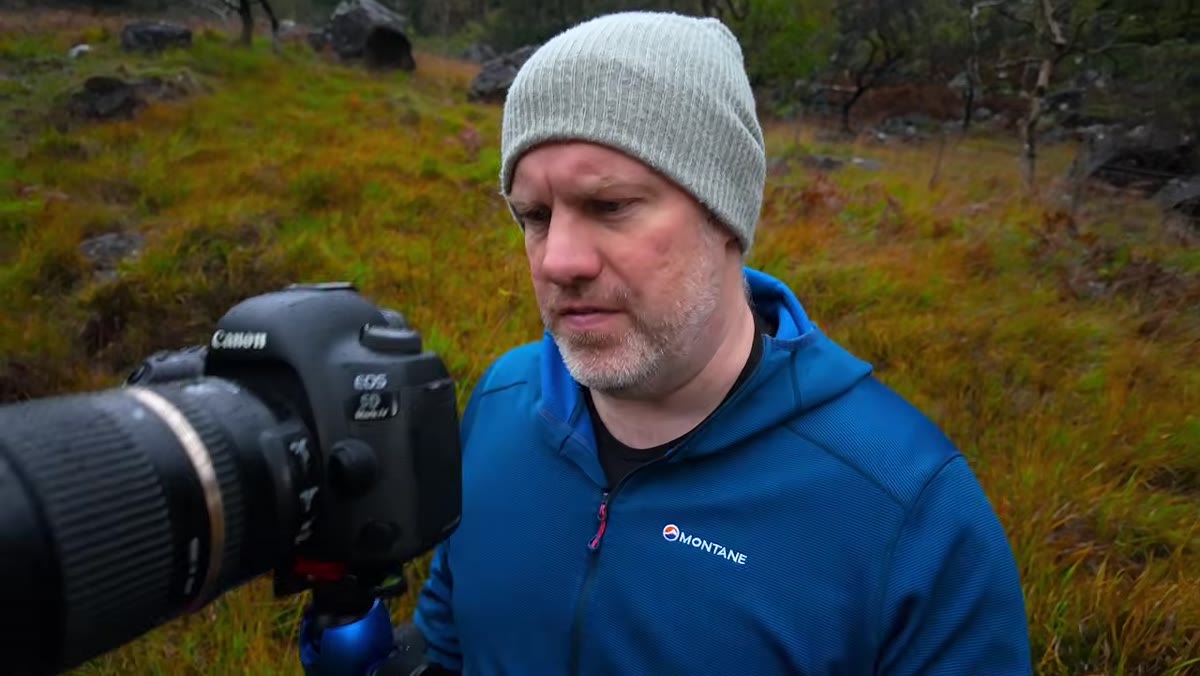 Camera settings display: ISO 100, f/8, 1/5 second
With the composition locked in, the settings chosen here are worth noting directly: ISO 100, f/8, and a 1/5 second shutter speed, shot on a tripod. This combination works specifically because there is no wind. The ferns and birch leaves are completely still, which means a slow shutter introduces no unwanted motion blur in the foliage.
The key variable to watch is wind. The tutorial makes this explicit. If a gust picks up, raise your ISO and shutter speed to freeze any movement, accepting slightly more noise in exchange for sharpness. F/8 gives enough depth of field to hold focus across a composition where even the foreground sits at a reasonable distance, while allowing the distant mountains to fall into that soft, natural haze. Shoot tethered to a remote shutter release or use your camera’s two-second timer to eliminate any shake from the button press.
Step 4: Move Away from the Crowd, Then Move Again
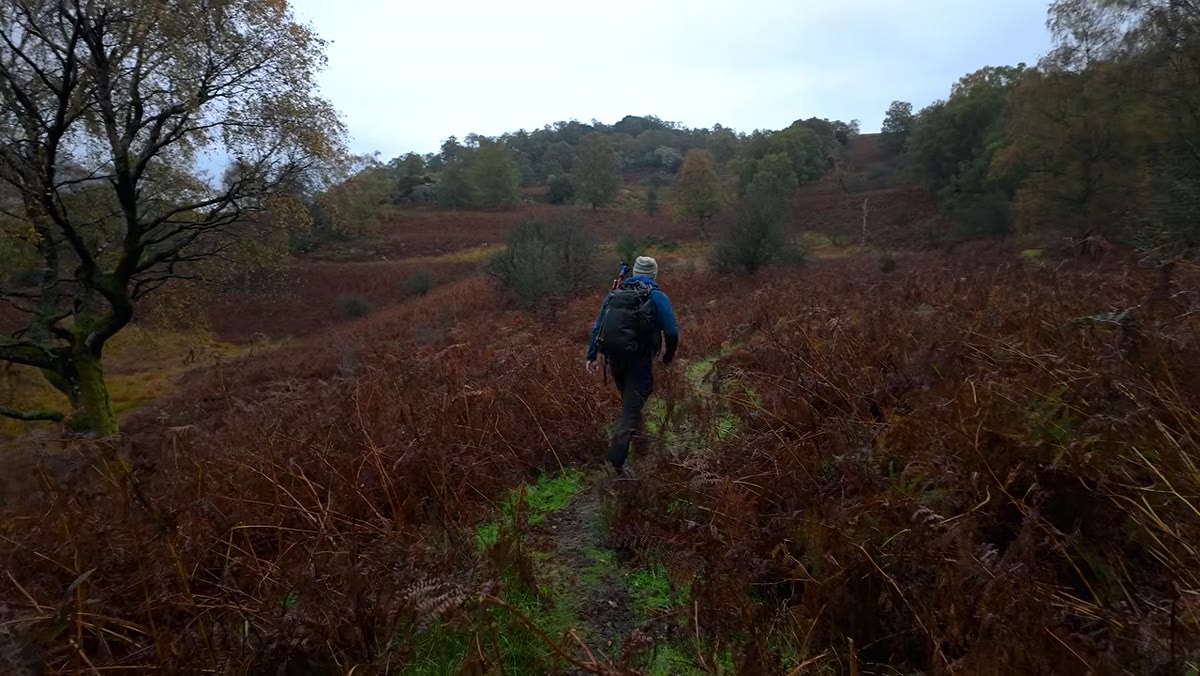 Photographer climbing toward a small elevated plateau
One of the quieter but more important decisions in this video is the repeated choice to keep moving. After the first shot, the photographer climbs a small plateau and spots a valley view with beautiful directional light breaking through. Getting to it means wading through a dense fern thicket, which is why the waterproof trousers finally go on - too late, but better than not at all.
Staying near the car park because it is convenient is one of the most reliable ways to make ordinary photographs. The extra fifteen minutes of walking, especially off the established trails, almost always yields both solitude and scenes that have not been photographed from every angle by everyone who visited that week. Know your terrain in advance - a quick look at OS maps or a topo app the night before can reveal elevated vantage points, ridgelines, and valley overlooks that reward the extra effort.
Step 5: Treat Midday Overcast Light as an Asset, Not a Compromise
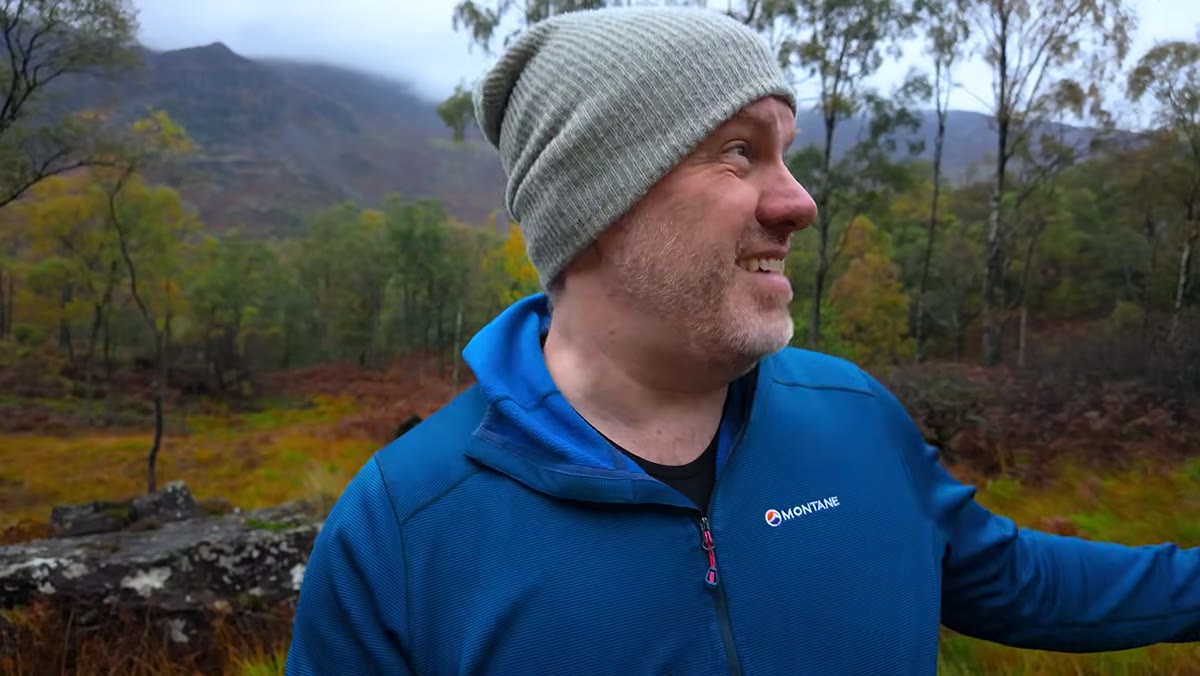 Wide view showing soft diffused light across the valley at 1pm
This tutorial was shot around 1pm. That is a time most landscape photographers are eating lunch, editing from the morning, or waiting for golden hour. The overcast conditions reframe that entirely. When cloud cover is total and consistent, the quality of light changes very little between 10am and 3pm. The harsh midday sun that flattens everything and blows out highlights simply does not exist. What you get instead is a soft, directional glow that wraps around subjects and holds detail in both highlights and shadows.
For anyone who structures their whole shooting calendar around the golden hours alone, rainy and overcast days offer something genuinely different: the entire day becomes workable. Take your time with composition. Bracket less. Chimping matters less because the exposure range is forgiving.
Step 6: Wait Out the Rain at the Right Moment
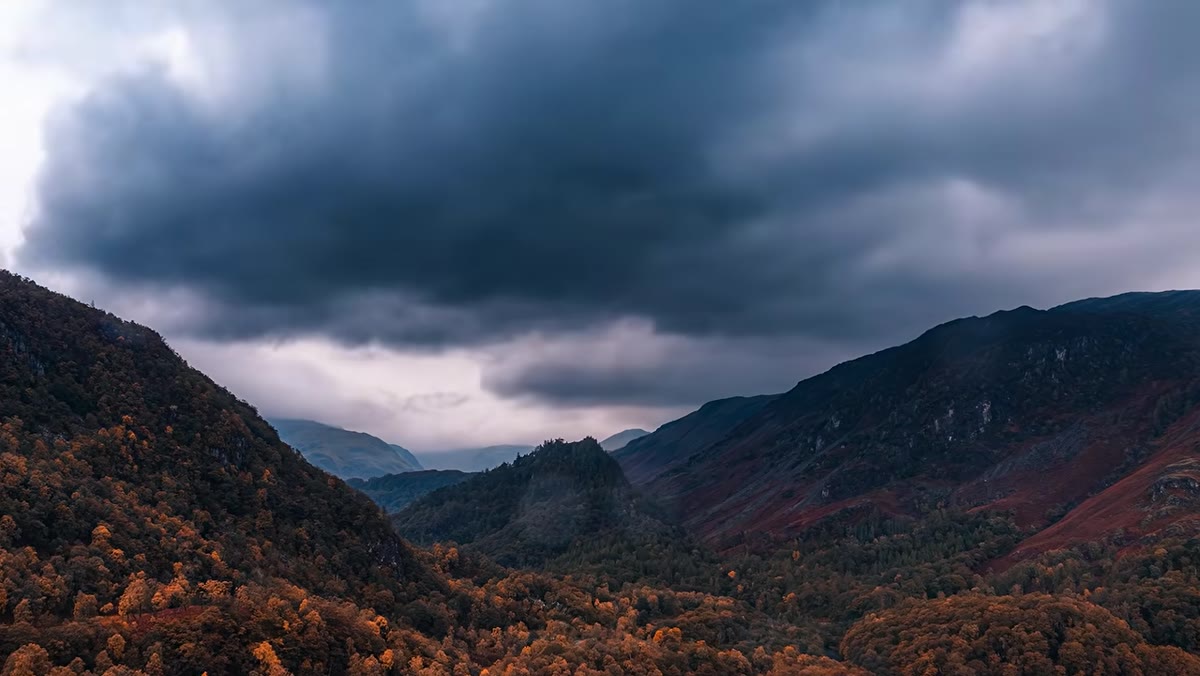 Photographer sheltering, watching rain move across the valley
Toward the later part of the shoot, the approach shifts to patience. Rather than packing up when a heavier shower rolls in, the technique is simply to wait. Rain cells in upland areas tend to move through. The moments immediately after a downpour - when the air is still saturated but the precipitation has stopped - often produce the most dramatic light, particularly if any sun begins to break through cloud edges.
Carry something waterproof to sit on, keep your lens cloth accessible, and use the waiting time to study the scene rather than stare at your phone. Notice how the light is shifting, where the shadows are tracking, what the best three frames might be when the conditions open up. The wait is part of the work.
What I Would Add From Twenty Years in the Field
The tutorial is excellent on the visual and technical side. What I would layer in from my own experience is the importance of pre-loading your emotional expectations before a difficult-conditions shoot. My mentor used to say that the mountain does not care about your schedule - and he was right. If you arrive expecting perfect light and leave disappointed by what actually happened, you will miss extraordinary images that existed in the conditions you got. Go in willing to let the day be what it is. Some of my most important photographs came from days I nearly skipped because the forecast looked discouraging.
The single most transferable idea from this tutorial is deceptively simple: rainy, overcast conditions are not obstacles to landscape photography. They are a different set of tools, and learning to use them opens up an enormous portion of the calendar that most photographers are currently ignoring. The soft light, the atmospheric haze, the layered mist in the valleys - none of that exists on a clear day.
Watch the full tutorial on YouTube and pay close attention to how the decisions evolve in real time. That is where the real teaching lives.
Comments
Leave a Comment