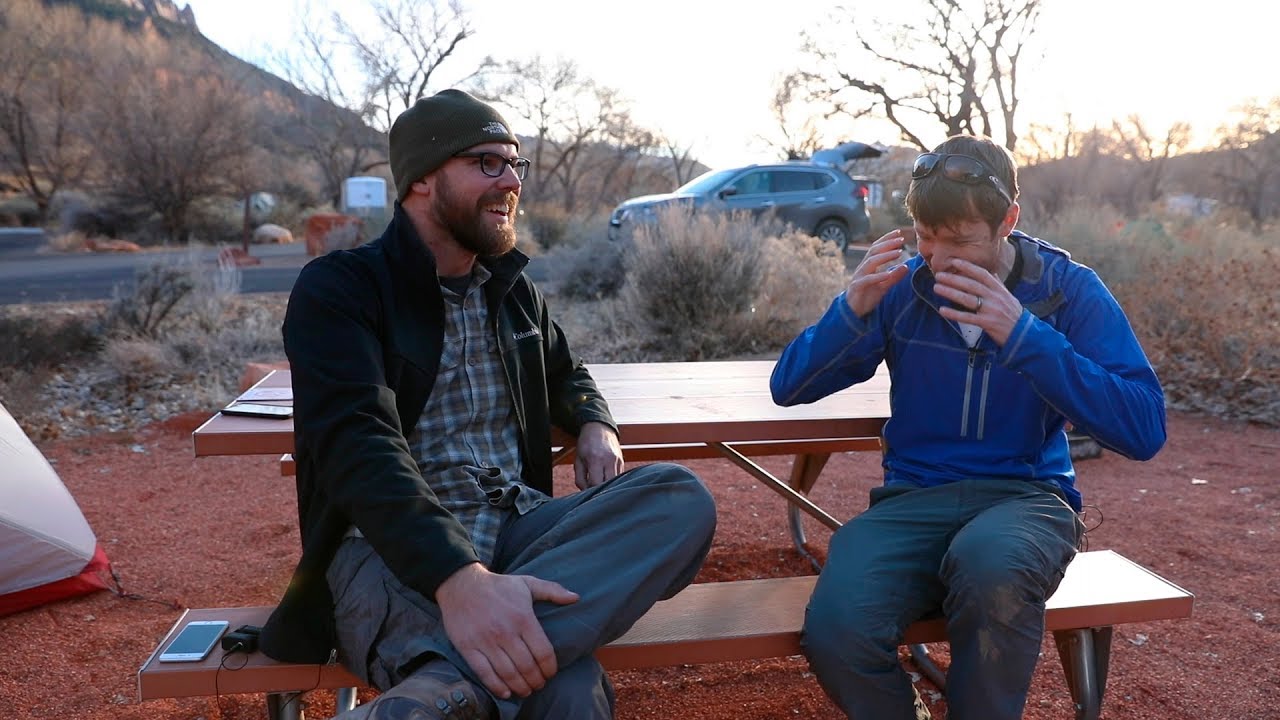
There’s a particular kind of humbling that happens when you’ve driven a long way, set up your gear before dawn, and the weather simply doesn’t care about your plans. I’ve been shooting landscapes full-time for two decades, and I still have to remind myself regularly that the conditions you get are the conditions you work with. That reminder came into sharp focus when I watched Thomas Heaton sit down with large format film photographer Ben Horne at Zion National Park for a wide-ranging conversation about exactly this kind of challenge. Watch the full tutorial on YouTube
What struck me about this conversation wasn’t the gear talk, though there’s plenty of substance there. It was the attitude underneath the technique. Ben Horne shoots 8x10 film. Every single frame costs money, takes time to load, and can’t be chimped on the back of a screen. That constraint forces a kind of deliberate seeing that most of us with digital cameras have quietly let atrophy. I still shoot film occasionally for exactly this reason. It slows you down in a way that actually speeds up your eye.
In this Thomas Heaton tutorial, the two photographers unpack what it’s really like to work in conditions that fight you, using their shared trip through Death Valley and Zion as the case study. What follows is a breakdown of the core lessons from that conversation, translated into practical field guidance you can take out on your next shoot.
Step 1: Accept That Unexpected Conditions Are the Assignment
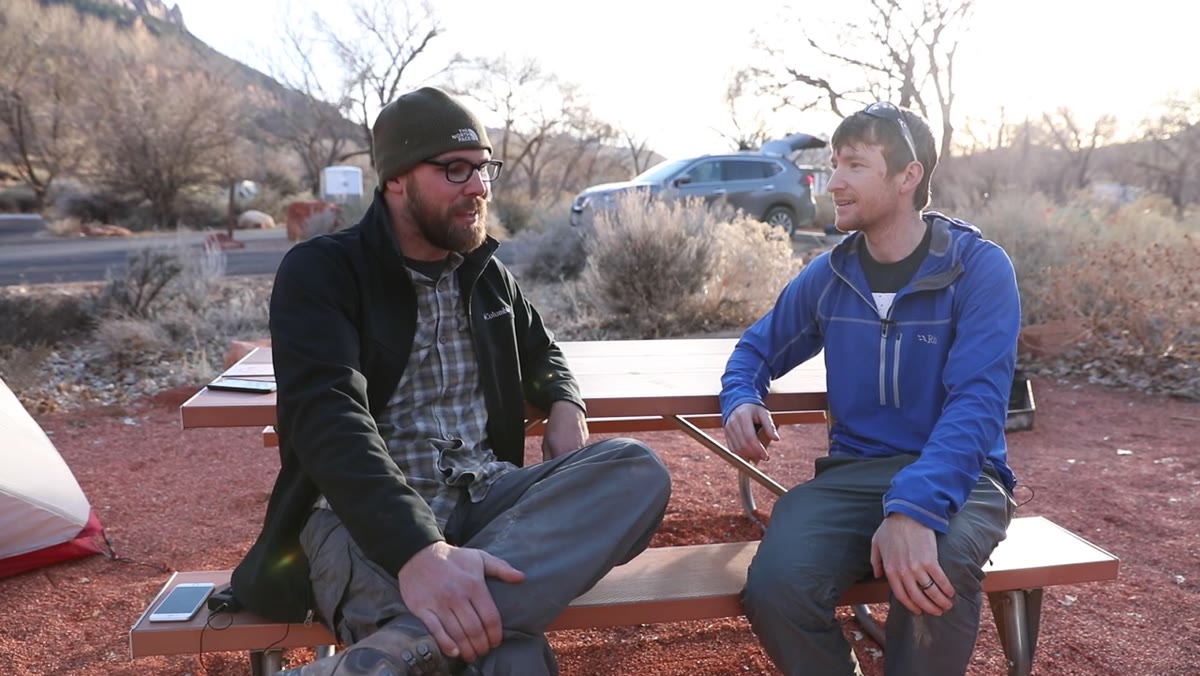 Ben and Thomas talking at campsite in Zion National Park
Heaton arrived in Death Valley expecting blue skies, dry heat, and that classic arid light. What he got was rain, mist, gray skies, and humidity that felt, by his own description, like being back in the UK. Ben Horne had been visiting Death Valley for about ten years and had never encountered conditions like it either.
The first step isn’t a camera setting. It’s a mental reset. When conditions diverge sharply from what you planned around, your first job is to stop mourning the shot you imagined and start reading the scene you’re actually in. Fog and mist in Death Valley is genuinely rare. That’s not a curse, that’s a narrow window that most photographers will never see. Reframe adverse weather as access to something unusual, because that’s literally what it is.
Step 2: Adapt Your Protection System Without Overthinking It
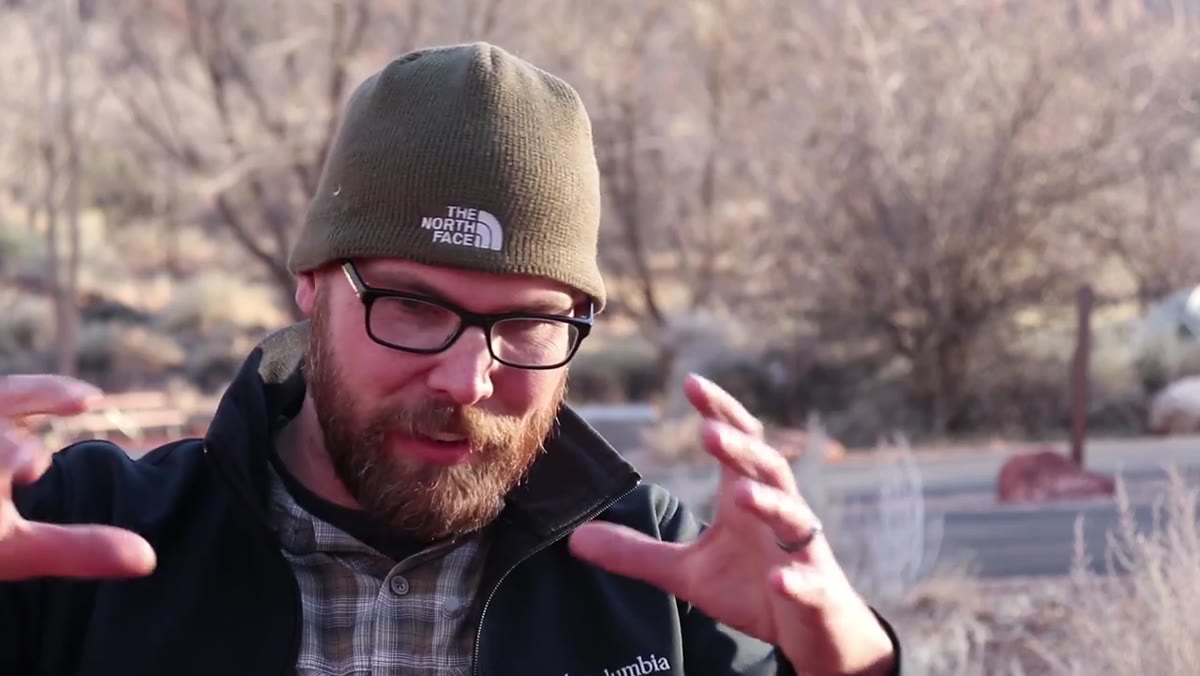 Ben describing how he covers his large format camera with a dark cloth
Ben described his rain management approach on the 8x10 kit and it’s elegantly low-tech. He uses his dark cloth, the same one he uses to read the ground glass on the back of the camera, thrown over the entire camera body. The lens hood gets wrapped forward to create a secondary shield. The result is a workable cocoon that lets him operate the camera in real rainfall without expensive weather sealing.
For those of us shooting digital, the lesson isn’t to skip weather sealing if you have it. The lesson is to build a system before you need it, not while you’re standing in a downpour. Know how your pack closes. Know which pockets your lens cloths are in. Have a rain cover that actually fits your rig, one you’ve practiced deploying in under 30 seconds. The lenses and accessories sitting on the ground are always the vulnerable point, so identify a dry staging surface before you start shooting, not after everything’s already wet.
Step 3: Shoot Anyway, Even When You Don’t Know If It’s Working
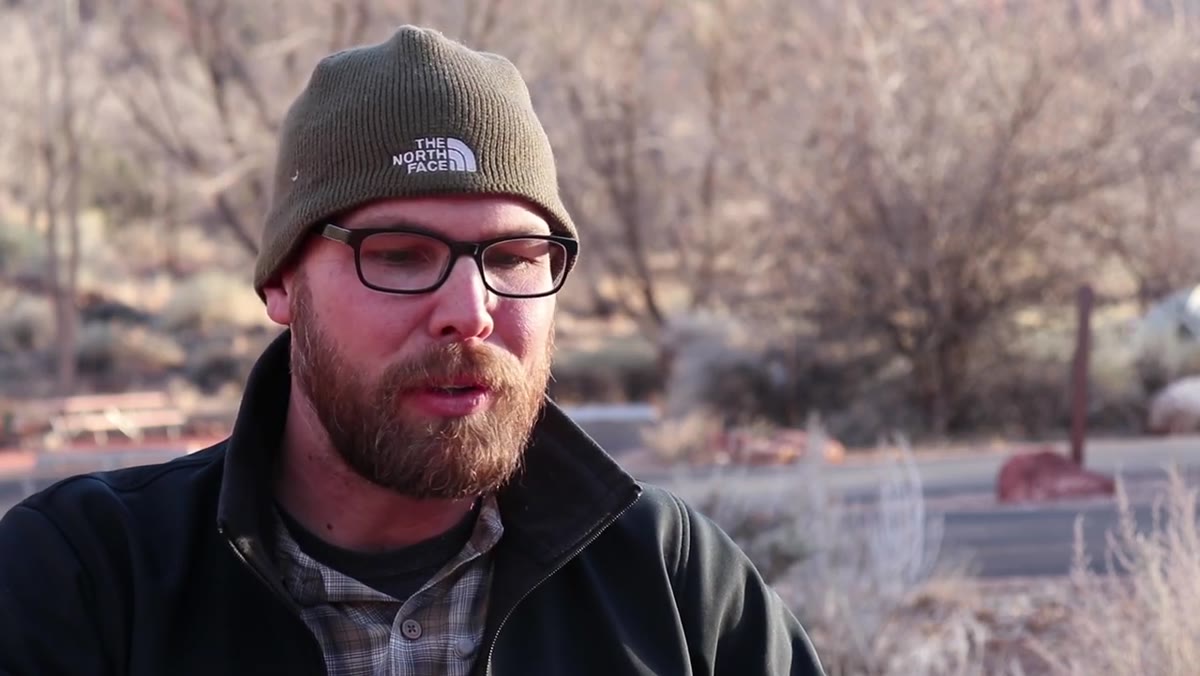 Ben discussing uncertainty about whether rainy-day shots will be usable
One of the most honest moments in the conversation is when Ben admits he genuinely doesn’t know whether anything he captured during the rain session will be worth developing. He’ll find out when the film comes back. That uncertainty doesn’t stop him from working.
This is harder than it sounds for digital shooters, because we’re conditioned to review and validate in real time. The habit of checking the histogram after every frame isn’t inherently bad, but it can become a crutch that breaks your concentration. Try setting a rule for yourself during difficult conditions: shoot a full sequence before you review anything. Trust your exposure, trust your composition instincts, and let the session breathe. You’ll often find you made better decisions when you weren’t second-guessing each one mid-shoot.
Step 4: Document the Trip, Not Just the Shots
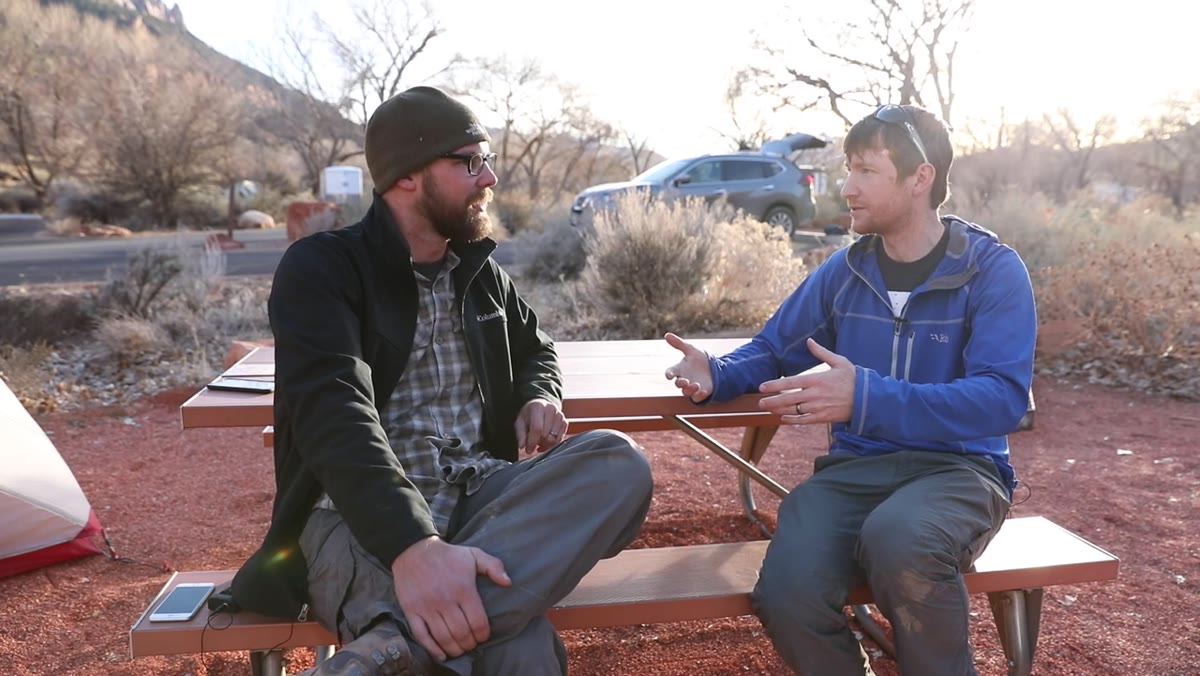 Thomas pointing out that Ben has been creating video journals since around 2009
Ben has been creating video journals of his photography trips since roughly 2009. Heaton makes a point of noting this because it speaks to something beyond YouTube strategy. When you document the process, including the failed mornings, the wrong-weather days, and the gear-problem afternoons, you build a reference library of your own decision-making over time.
I keep written field notes from every shoot. Not just exposure data, but light notes, timing observations, what I tried that didn’t work and why I think it didn’t. After 20 years those notes are worth more to me than almost any piece of gear I own. You don’t need to film it. A small notebook in your jacket pocket does the job. The discipline of recording forces you to actually process what happened rather than just moving on to the next location.
Step 5: Revisit the Same Locations Across Many Years
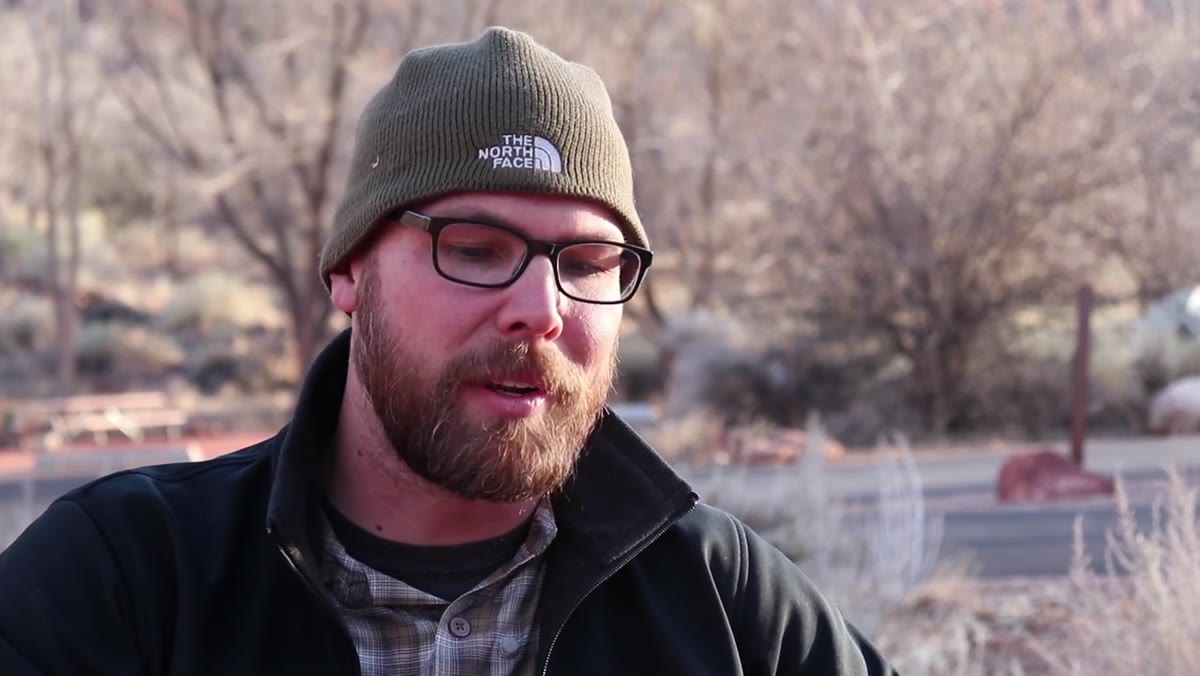 Ben confirming he has returned to Death Valley and Zion for approximately 10 years
Ben has returned to Death Valley and Zion for about a decade of annual winter trips. This isn’t a failure of imagination. It’s a deepening of knowledge. Each return visit layers new information over the last. You know where the light falls in January. You know which viewpoints get muddy after rain. You know which campsite gives you a 15-minute advantage on the morning walk.
Familiarity with a place is a creative asset, not a limitation. I keep returning to the same ridgelines in central Oregon year after year. The first few visits, I was finding the locations. The next few, I was learning their rhythms. Now I’m making pictures that could only come from genuine intimacy with the land. Pick two or three places and commit to them across multiple seasons and multiple years. The images that come from that depth of relationship are almost always your strongest work.
What I’d Add: The Value of Shared Silence in the Field
One thing the conversation doesn’t address directly but implies throughout is the quiet companionship of shooting near another photographer without shooting together. Heaton and Horne shared a campsite but worked separately each morning, occasionally crossing paths in the evening.
I’ve done this with photographer friends for years and it’s one of my favorite ways to work. You get the logistical support of not being entirely alone in a remote place, the occasional conversation that sharpens your thinking, but no compromise on what you go looking for each morning. If you have the chance to plan a trip like this with someone whose work you respect, take it. You don’t need to share a composition to benefit from sharing the experience.
The single most important takeaway from this conversation is something Ben Horne demonstrates by simply showing up to the same demanding locations with slow, expensive film year after year: the conditions that feel like obstacles are often the ones that produce your most memorable work, but only if you stay in the field long enough to meet them.
Watch the full tutorial on YouTube to hear Ben and Thomas work through the full trip in their own words.
Comments (2)
Quality content like this is rare. Keep it up.
Great article! I actually covered something related on my site — the color grading angle is really complementary to this.
Leave a Comment