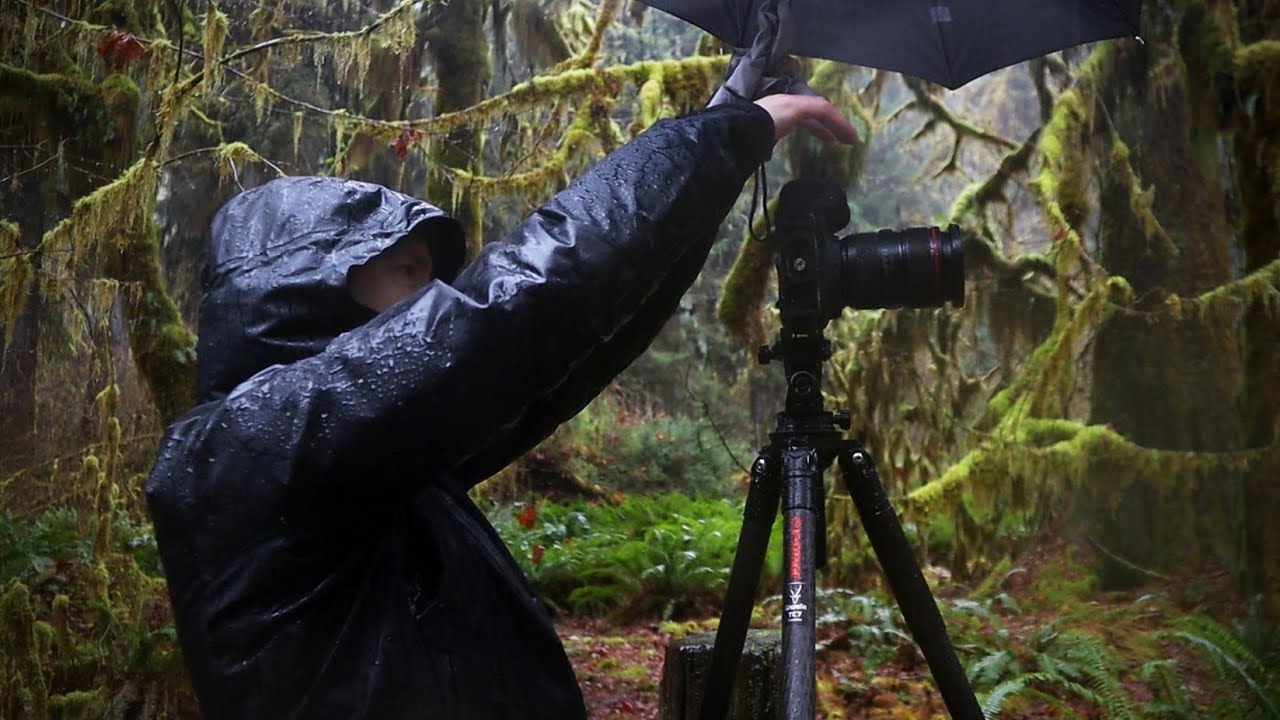
There’s a version of landscape photography that looks like the brochure. Golden hour, clear skies, a tripod planted on dry ground. Then there’s the version most of us actually live. It’s the version where you’re standing in a downpour wondering whether the shot is worth the risk to your camera body, and the answer is almost always yes, but you have to know what you’re doing. I’ve been shooting full-time for twenty years and wet conditions are still the ones that separate the frames I actually sell from the ones that look like every other image of that location.
That’s exactly why I found myself rewatching this Thomas Heaton tutorial from a free-roam day inside Olympic National Park. Watch the full tutorial on YouTube. Heaton is one of those photographers who thinks out loud in a useful way. He doesn’t just show you the result. He shows you the hesitation, the problem-solving, and the moments where the conditions are genuinely fighting you. In this particular session, he and his collaborator Nick are exploring the temperate rainforests of the Pacific Northwest on a soaking wet overcast day, and the footage is a masterclass in how to stay in the field when most photographers would retreat to the car.
What follows is my field-by-field breakdown of what Heaton demonstrates and what I’ve learned running similar shoots out of the Cascades over the years.
Step 1: Read the Weather as a Creative Asset, Not an Obstacle
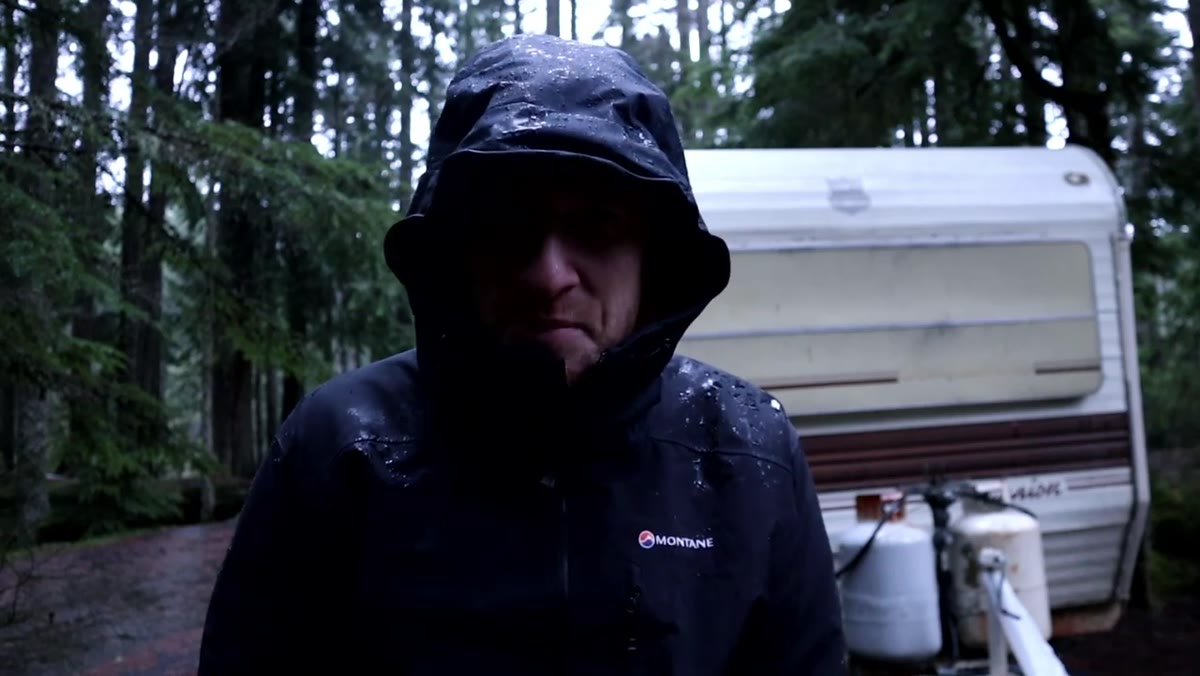 Heaton standing outside van in rain at Olympic National Park
Heaton frames the wet, overcast conditions as ideal before he’s even set foot on the trail. This is the first mental shift that matters. Flat grey light in a rainforest is not a limitation. It is the light. The canopy in a place like the Hoh or the Hall of Mosses is so dense that direct sunlight would actually cause brutal contrast problems. Overcast skies act like a giant softbox, letting the greens and mosses saturate without blowing highlights on the wet leaves.
Before you leave the car, make this call consciously: what is this light doing for my subject, not to my subject? In a conifer forest dripping with lichen and moss, rain adds micro-detail to every surface and brings the green palette to life in a way that two hours of post-processing cannot replicate.
Step 2: Assess Gear Risk Before You Unpack
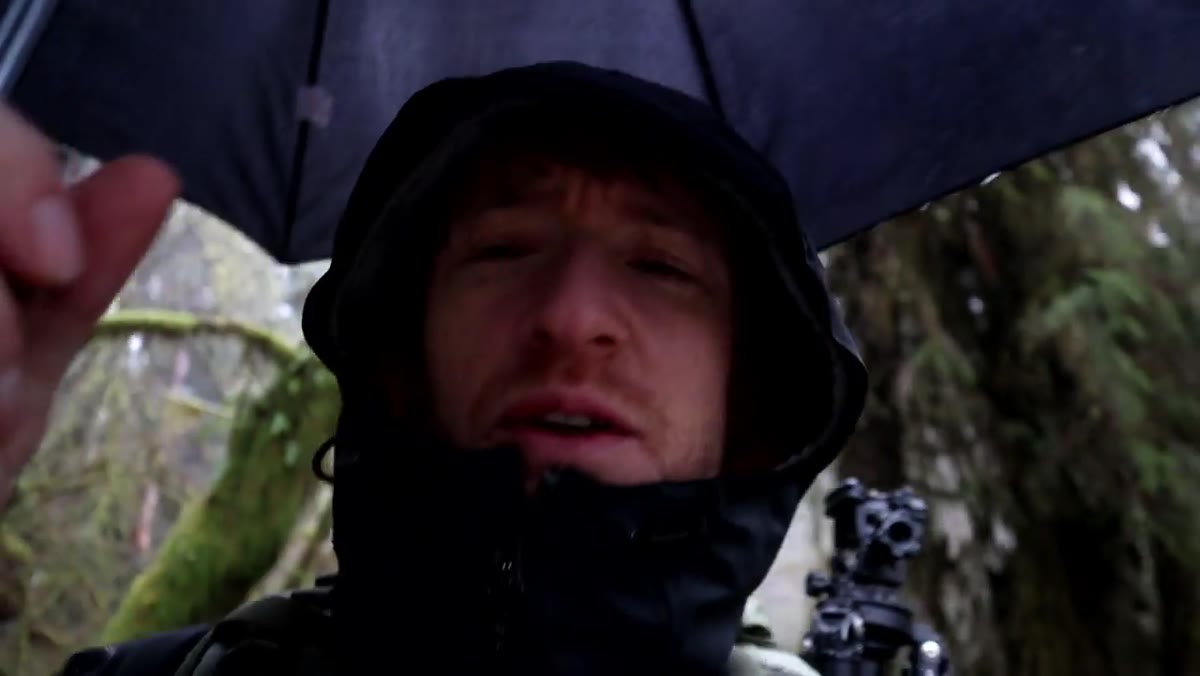 Heaton hesitating at trailhead in heavy rain
Heaton pauses at the trailhead and says what most of us think but rarely say on camera. The rain is heavy enough that he genuinely isn’t sure whether pulling out his equipment is a smart move. This is not drama. This is real field calculus.
Modern weather-sealed bodies are more capable than most photographers give them credit for, but weather sealing is not waterproofing. The practical answer is to bring a small umbrella sized for one person, keep a dry microfibre cloth inside a zip pocket, and shoot with lens hoods on. Know your camera’s weakest points, usually the control dials and the card slot door, and keep them oriented away from the primary direction of rain. Heaton mentions he has only a small umbrella and that’s enough to work with. You don’t need a rain tent. You need a plan.
Step 3: Stay Alert for Unexpected Wildlife
 Creek view from trail where otters were spotted below
Two minutes into the trail, Heaton and Nick spot a family of otters working the creek below. He doesn’t have the focal length to close the distance, but he stops, watches, and lets the encounter register before moving on. This is worth including in any field methodology.
Rainforest trails in the Pacific Northwest are productive wildlife corridors, especially in wet conditions when animals are active near water. Keep your ears on and your pace slow in the first section of any trail. The wildlife won’t wait for you to be ready, so having a second body or a longer lens accessible rather than buried in a bag gives you options. Even if you don’t get the shot, that kind of encounter recalibrates your attention for the whole session.
Step 4: Approach Famous Locations With Fresh Eyes
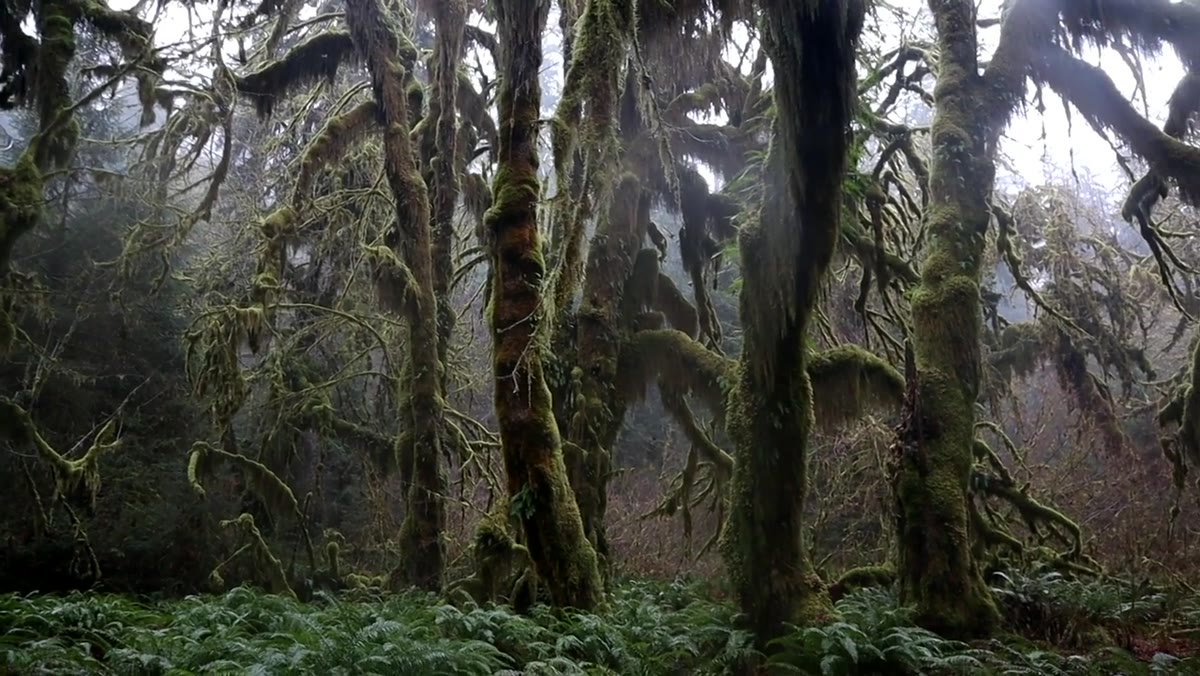 Heaton filming moss-covered trees in the forest
Heaton walks into what turns out to be a well-known grove of moss-draped trees and admits he has no prior image reference for it. He’s never seen the photographs other people have made there. And he treats this as luck. Coming to a location without a preloaded vision of what the “correct” shot looks like forces you to actually look.
This is a discipline worth practicing deliberately. Before a major shoot, I’ll sometimes avoid image searches for a location I haven’t visited. The first time I walked into a basalt canyon near Bend without having looked at a single reference image, I found a reflection pool that I’ve never seen in anyone else’s work. Heaton’s instinct here is sound. Let the place tell you what it wants to be.
Step 5: Acknowledge the Technical Fight and Adapt Your Workflow
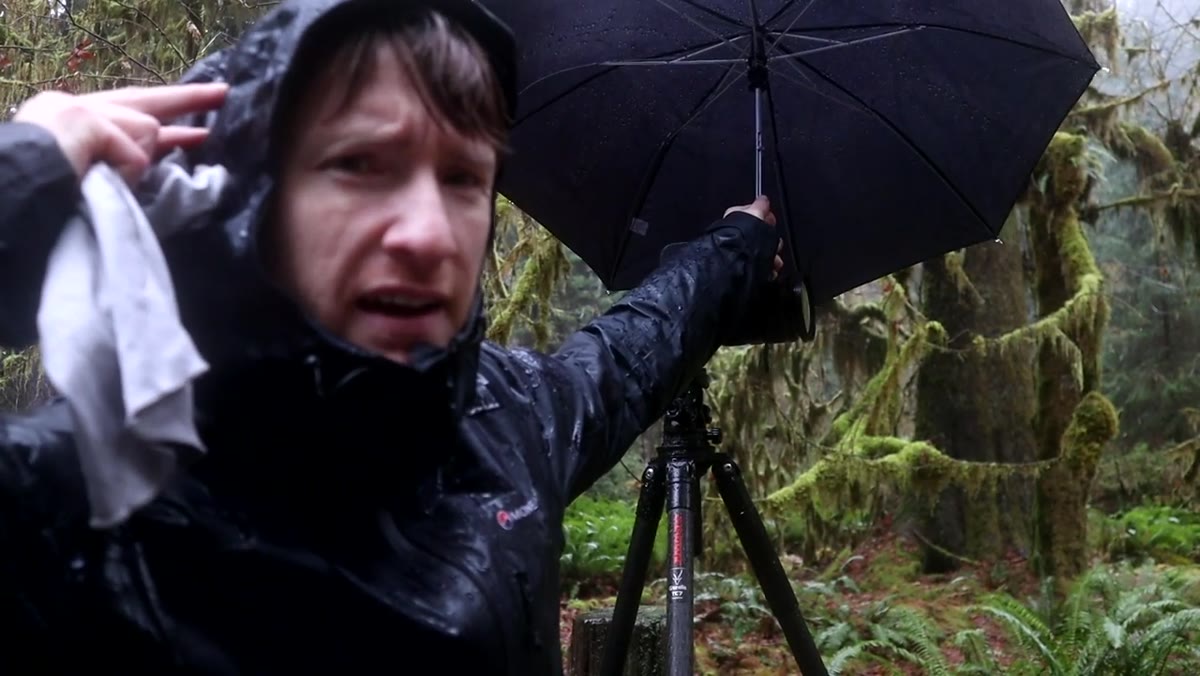 Heaton struggling to keep camera dry while shooting
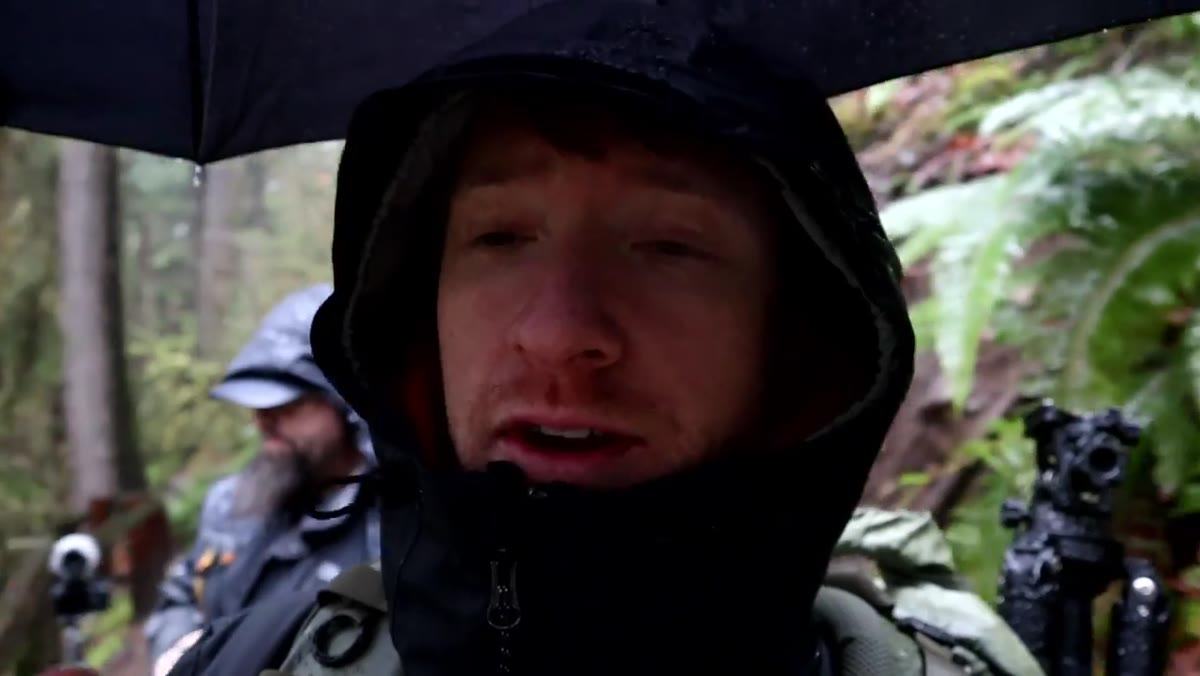
By around the seven-minute mark, Heaton is openly frustrated with the difficulty of keeping his stills camera dry while also managing the video camera he’s using to document the shoot. This is the moment most tutorials would cut away from. He keeps rolling.
The practical takeaway is to simplify your technical decisions under difficult conditions. Lock in your settings before you raise the camera rather than adjusting in the rain. For rainforest shooting I generally work at ISO 400 to 800, aperture around f/8 for depth across those textured tree surfaces, and I let the shutter float on a tripod. Use back-button focus so you’re not accidentally triggering autofocus hunt cycles on a surface-cluttered scene. The less you need to touch the camera mid-shot, the drier it stays.
What I’d Add From the Field
The Pacific Northwest rainforest is an environment I’ve visited from Oregon’s coast range up into Washington, and the single thing Heaton’s tutorial doesn’t have time to address is the importance of moving slowly through these scenes. The temptation is to find the big view, the cathedral shot with the giant trees framing a vanishing point trail. Those images are beautiful and also everywhere.
The frames that have sold consistently for me from similar environments are the intimate ones. A single fern backlit by diffused sky. A ten-inch patch of moss with a droplet suspended on each tip. These require getting your knees wet and shooting at ground level, which is not comfortable in the rain, but the light at that angle in a forest is extraordinary. Carry a small foam kneeling pad in your bag. It costs nothing and your future self will thank you.
The single most important thing Heaton models in this session is that discomfort and quality are not mutually exclusive. The conditions that make you want to pack up early are frequently the conditions that produce the most compelling images, because they thin the crowd and they transform the light. Get a weather-sealed body, bring a plan for keeping it dry, and stay out longer than you think you should.
Watch the full tutorial on YouTube and pay particular attention to how Heaton narrates his own hesitation. That honesty about the difficulty is as instructive as the technique itself.
Comments (1)
This saved me so much time on my last edit. Wish I'd found this sooner.
Leave a Comment