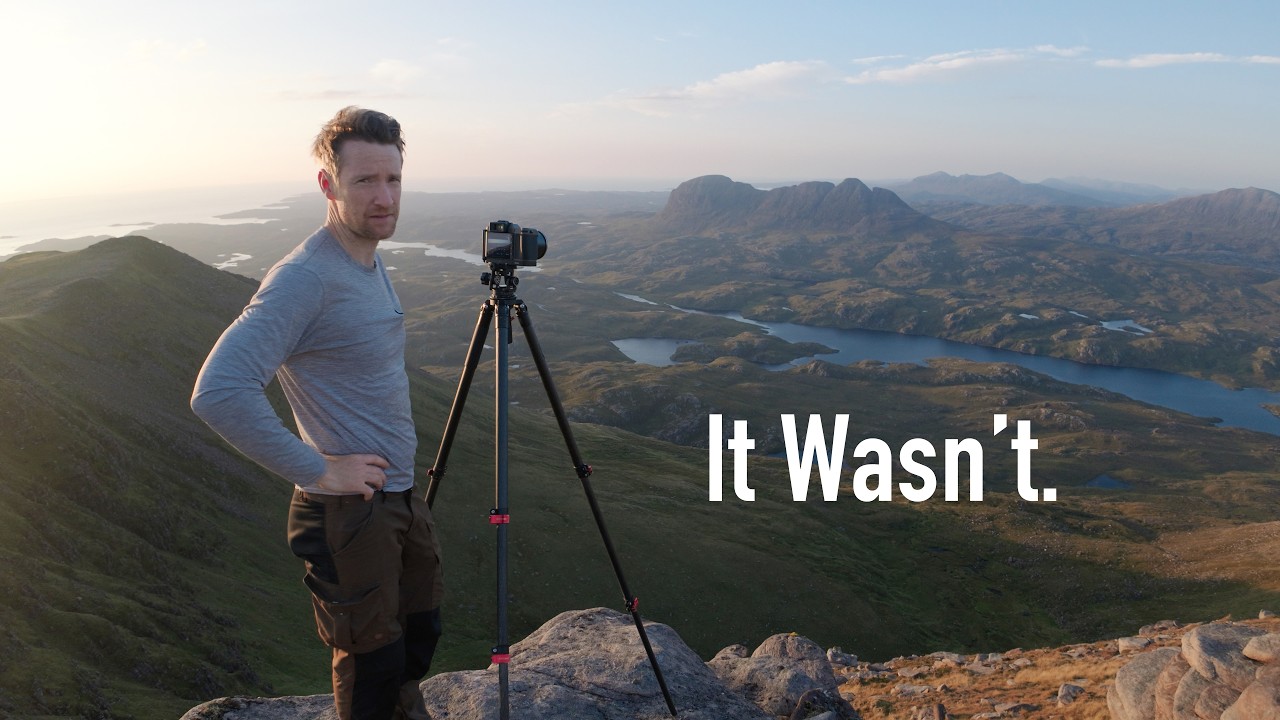
There’s a version of this job that looks effortless from the outside. Golden light, dramatic peaks, camera in hand. What the Instagram grid never shows is the van packed with gear you’re not sure you need, the trail that’s longer than it looked on the map, and the moment you realize the sun is dropping faster than your legs are moving. That tension — between preparation and spontaneity, between the shot you planned and the shot the mountain offers — is something I’ve lived a hundred times in twenty years behind the lens. My mentor used to say, “the mountain doesn’t care about your schedule,” and he was right. The ones who come home with the image are usually the ones who showed up with a plan and then let it go.
Watch the full tutorial on YouTube
In this Thomas Heaton tutorial, he hikes up Cul Mor, a Corbett in the Scottish Highlands, for a solo sunset photography session. What makes this video worth studying isn’t just the scenery. It’s watching a seasoned professional make real-time decisions: what gear to carry, how to stay safe alone in the hills, when to abandon the planned route in favor of a better vantage point. These are the judgment calls that separate a productive shoot from a miserable one. Let me break down what he does and why each decision matters.
Step 1: Commit to Carrying Everything You Might Need
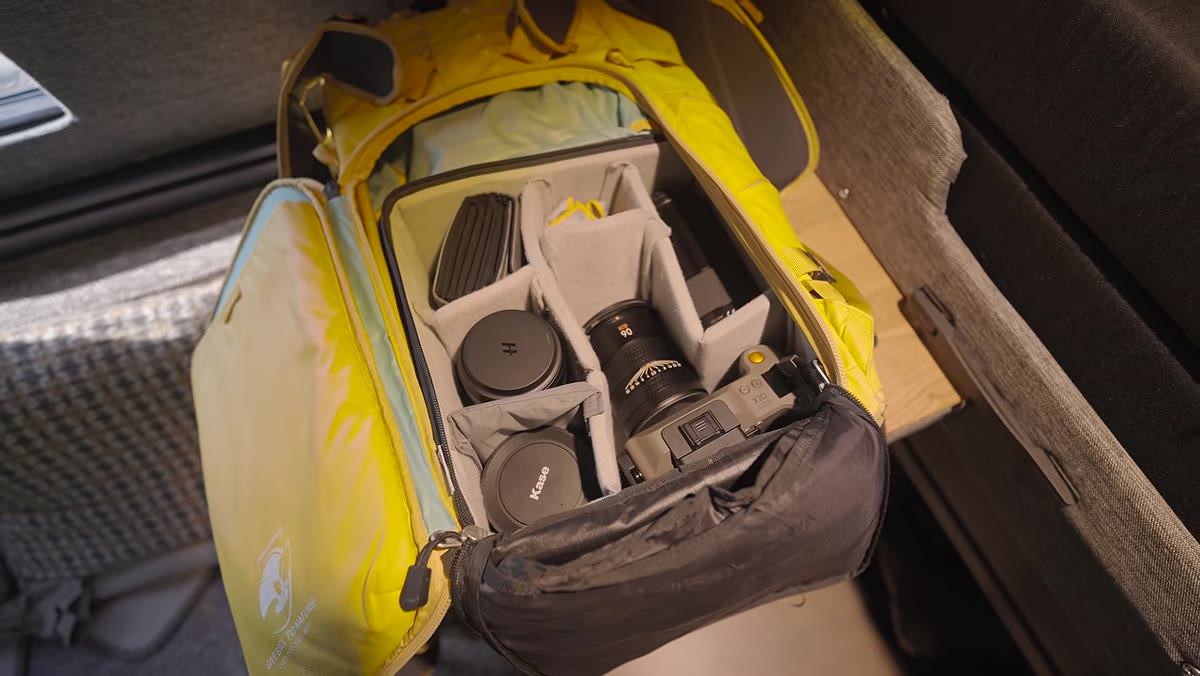 Thomas sorting through a large pile of camera gear in the van
When you’ve never shot a location before, you can’t pre-edit your kit based on what you think you’ll need. Heaton acknowledges this directly: he looks at his gear, knows it’s heavy, and packs it all anyway. That’s not indecision. That’s experience. I’ve made the mistake of leaving a longer lens behind because I assumed a location would favor wide-angle work, and I’ve watched the light do something extraordinary at 200mm with nothing to capture it. On an unfamiliar mountain, with light that might behave in any number of ways, bring the focal lengths. Your back will complain. The images are worth it.
Thomas sorting through a large pile of camera gear in the van
When you’ve never shot a location before, you can’t pre-edit your kit based on what you think you’ll need. Heaton acknowledges this directly: he looks at his gear, knows it’s heavy, and packs it all anyway. That’s not indecision. That’s experience. I’ve made the mistake of leaving a longer lens behind because I assumed a location would favor wide-angle work, and I’ve watched the light do something extraordinary at 200mm with nothing to capture it. On an unfamiliar mountain, with light that might behave in any number of ways, bring the focal lengths. Your back will complain. The images are worth it.
Step 2: Pack Safety Gear as Non-Negotiable Kit
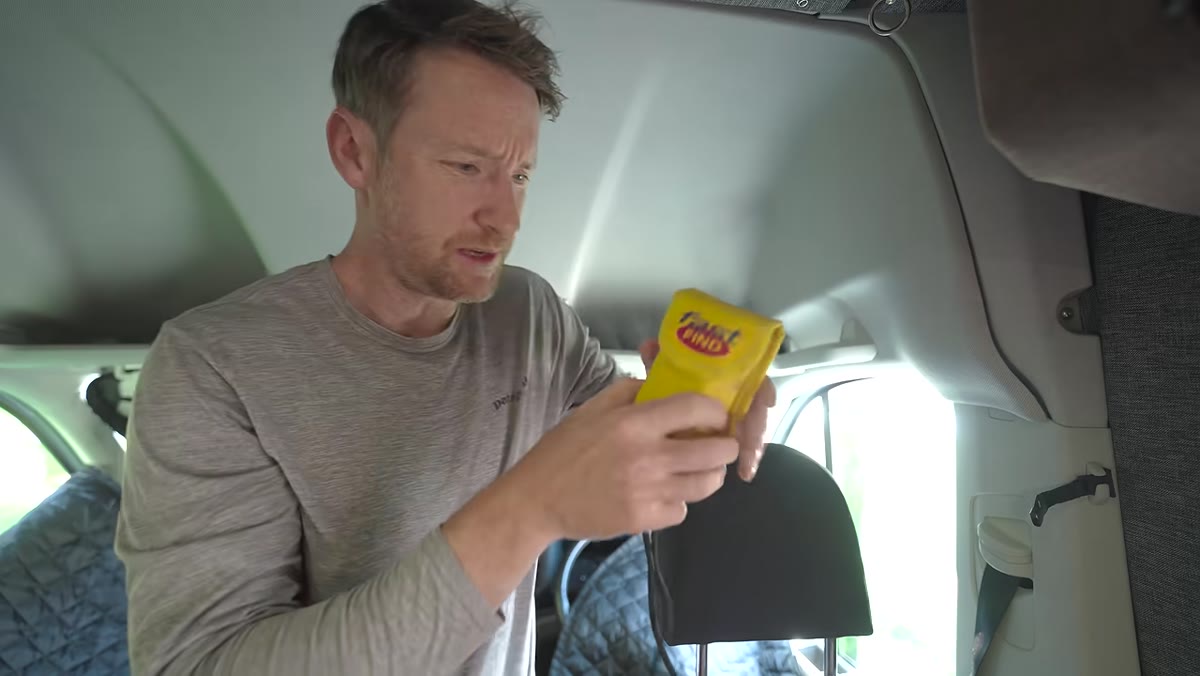 Fast Find GPS locator beacon held up to the camera
Heaton shows his Fast Find GPS locator beacon and explains his reasoning clearly: he’s going alone, descending in the dark, on a mountain where a well-known photographer once suffered a serious fall requiring mountain rescue. This isn’t paranoia. It’s proportional risk management. I carry a similar device on every remote shoot in the Oregon Cascades, along with a head torch with fresh batteries and a basic first aid kit. These items cost almost nothing in weight and potentially everything in outcome. If you’re shooting solo in any terrain that isn’t a groomed trail, a GPS beacon belongs in your bag before your second lens does.
Fast Find GPS locator beacon held up to the camera
Heaton shows his Fast Find GPS locator beacon and explains his reasoning clearly: he’s going alone, descending in the dark, on a mountain where a well-known photographer once suffered a serious fall requiring mountain rescue. This isn’t paranoia. It’s proportional risk management. I carry a similar device on every remote shoot in the Oregon Cascades, along with a head torch with fresh batteries and a basic first aid kit. These items cost almost nothing in weight and potentially everything in outcome. If you’re shooting solo in any terrain that isn’t a groomed trail, a GPS beacon belongs in your bag before your second lens does.
Step 3: Fuel Your Shoot Like an Athlete Fuels a Race
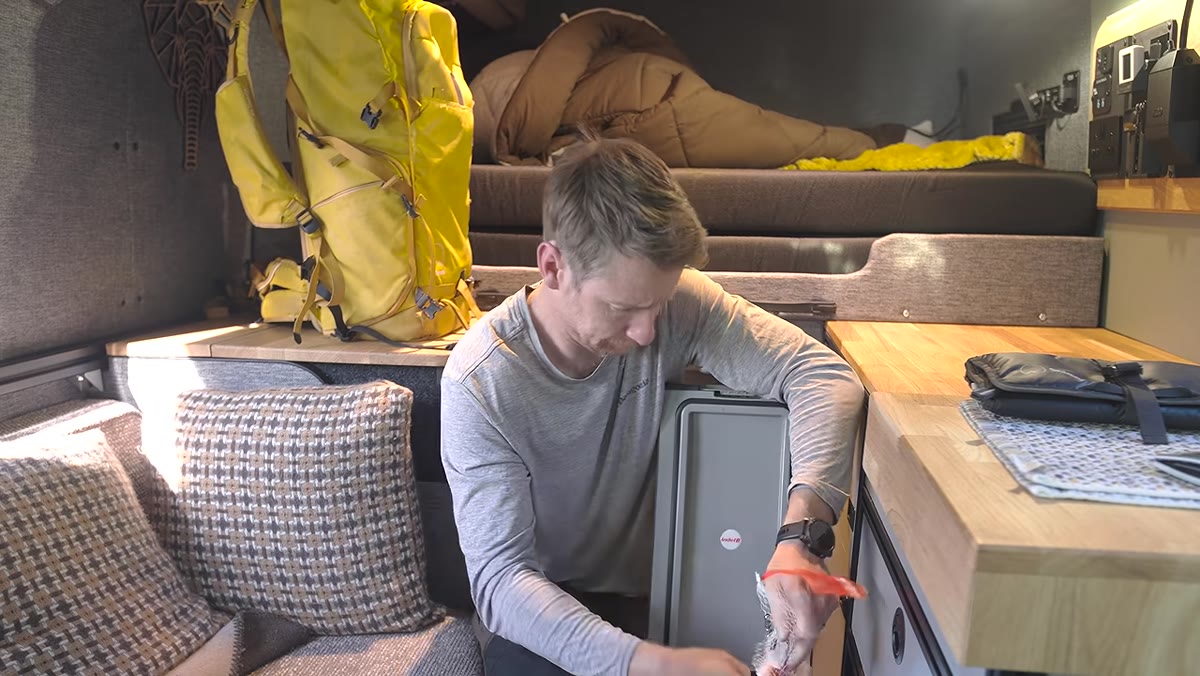 Food spread on the van seat including chicken, pastries, and snacks
Heaton packs more food than he thinks he needs, and he explains exactly why: you’re burning serious calories hiking with a full kit, you arrive tired, and if you’re also hungry, your willingness to shoot collapses. I’ve been that person. Six hours into a hiking shoot, sitting on a ridgeline in the Cascades with an incredible scene in front of me and zero motivation to set up the tripod because I’d underestimated how much I needed to eat. Pack real food, not just a granola bar. Cheese, protein, something with fat and calories. Your creative instincts are directly connected to your physical state, and no amount of golden light will save a shoot if your brain is running on empty.
Food spread on the van seat including chicken, pastries, and snacks
Heaton packs more food than he thinks he needs, and he explains exactly why: you’re burning serious calories hiking with a full kit, you arrive tired, and if you’re also hungry, your willingness to shoot collapses. I’ve been that person. Six hours into a hiking shoot, sitting on a ridgeline in the Cascades with an incredible scene in front of me and zero motivation to set up the tripod because I’d underestimated how much I needed to eat. Pack real food, not just a granola bar. Cheese, protein, something with fat and calories. Your creative instincts are directly connected to your physical state, and no amount of golden light will save a shoot if your brain is running on empty.
Step 4: Use the Trailhead and Parking Logistics to Your Advantage
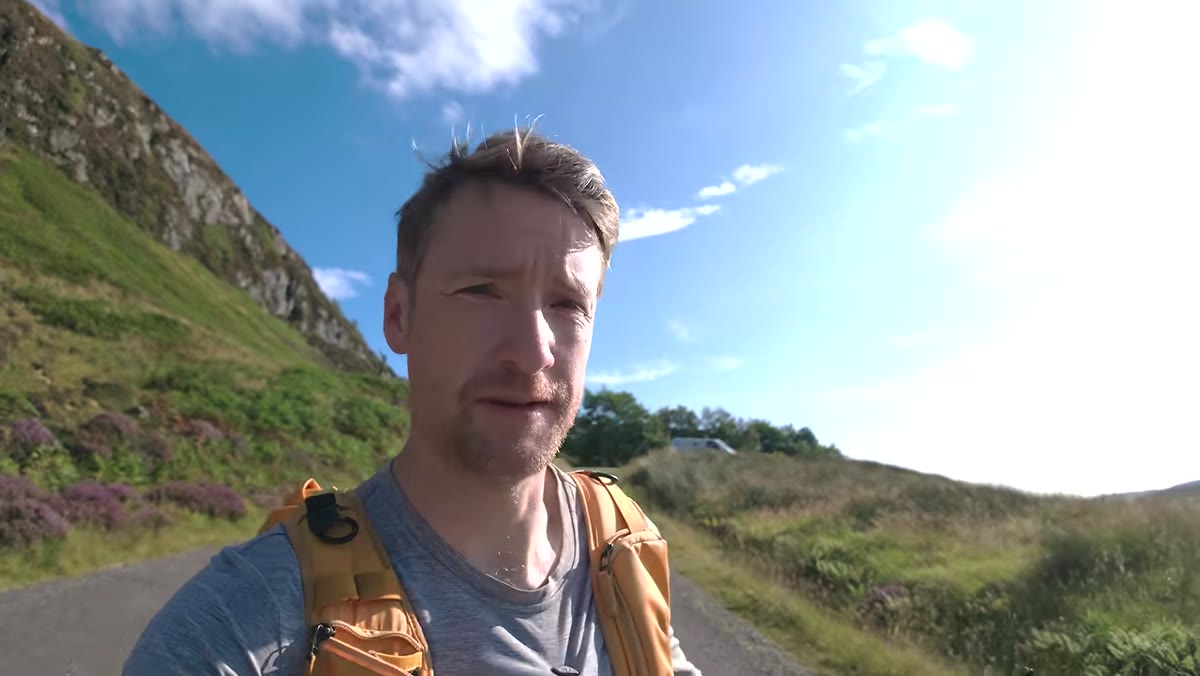 Heaton at the car park noting the overnight parking availability
This might seem like a minor detail but it’s actually a significant part of planning a sunset-into-dark shoot. Heaton notes that the car park at the base of Cul Mor allows overnight parking, which he’s secured for ten pounds. That single logistical confirmation removes a major variable: he doesn’t need to rush his descent to avoid a parking ticket or a locked gate. When you’re scouting a location, check parking access, closing times, and overnight policies before you commit to a sunset shoot. The last thing you want is to be sprinting down a mountain because your car is at risk. Good light requires patience, and patience requires not having manufactured deadlines.
Heaton at the car park noting the overnight parking availability
This might seem like a minor detail but it’s actually a significant part of planning a sunset-into-dark shoot. Heaton notes that the car park at the base of Cul Mor allows overnight parking, which he’s secured for ten pounds. That single logistical confirmation removes a major variable: he doesn’t need to rush his descent to avoid a parking ticket or a locked gate. When you’re scouting a location, check parking access, closing times, and overnight policies before you commit to a sunset shoot. The last thing you want is to be sprinting down a mountain because your car is at risk. Good light requires patience, and patience requires not having manufactured deadlines.
Step 5: Reassess Your Route in Real Time Based on Light and Priority
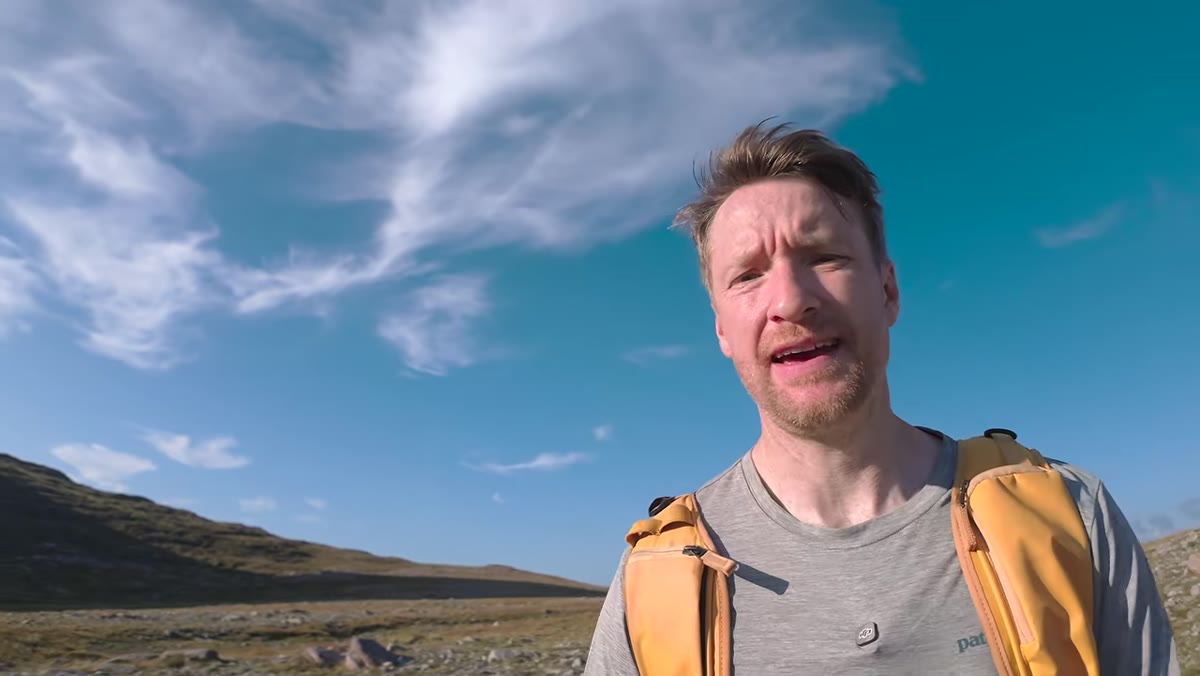 Heaton on the hillside explaining the two peaks and route options
This is the decision I found most instructive. Partway up, Heaton identifies a fork in his intended route. The standard path summits Cul Mor itself and then traverses to a secondary peak that he believes offers the better photographic position. But with the sun already descending, doing both means arriving at the prime spot too late. His solution: bypass the summit entirely and cut directly to the secondary ridge via a steeper corrie route. He’s explicit about his reasoning. He’s not there to bag the Corbett. He’s there to make photographs. That distinction matters enormously. Define your objective before you leave the van, and let it govern every decision on the hill. If the objective is a great image at the best light, then the summit is optional.
Heaton on the hillside explaining the two peaks and route options
This is the decision I found most instructive. Partway up, Heaton identifies a fork in his intended route. The standard path summits Cul Mor itself and then traverses to a secondary peak that he believes offers the better photographic position. But with the sun already descending, doing both means arriving at the prime spot too late. His solution: bypass the summit entirely and cut directly to the secondary ridge via a steeper corrie route. He’s explicit about his reasoning. He’s not there to bag the Corbett. He’s there to make photographs. That distinction matters enormously. Define your objective before you leave the van, and let it govern every decision on the hill. If the objective is a great image at the best light, then the summit is optional.
Step 6: Embrace the Steep Section as the Price of Admission
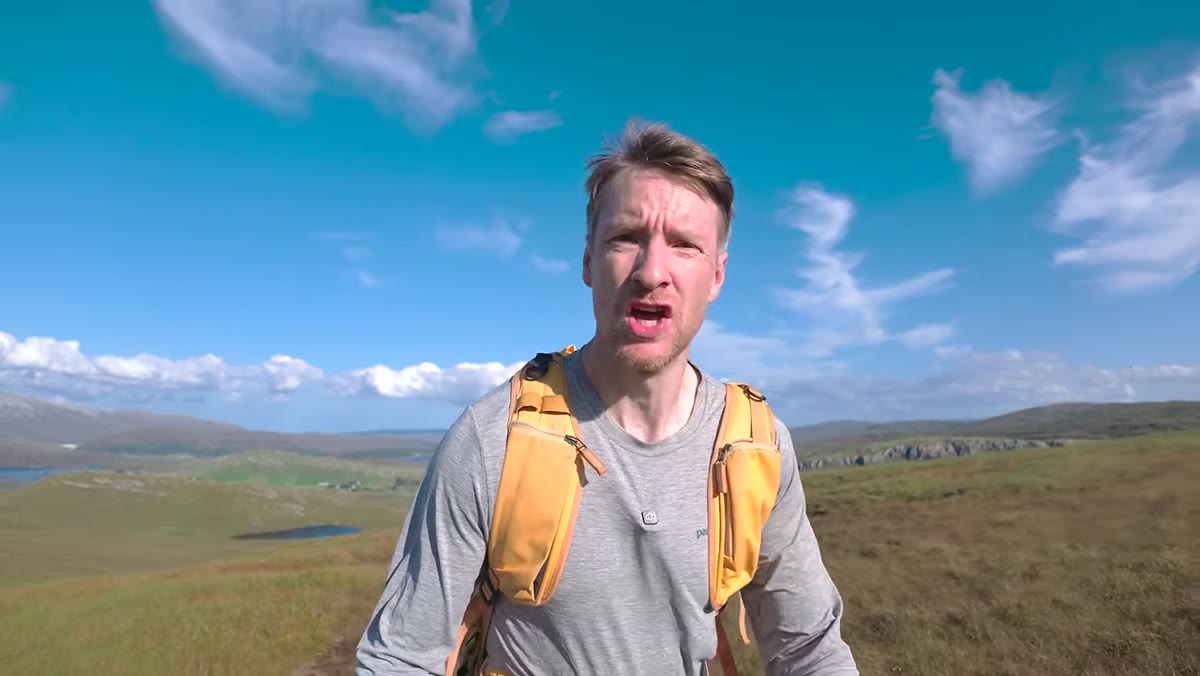 Heaton pausing on the trail with steeper terrain visible ahead
After roughly 45 minutes of steady hiking, the terrain ahead turns sharper and more demanding. Heaton’s response is simply to put his head down and go. This is worth naming as its own step because it’s a mindset as much as a physical action. The best landscape positions are almost never the easiest to reach. The extra elevation, the scramble, the wet feet in trail runners – these are the filters that keep the majority of photographers from standing where you’re standing. Embrace the climb. It’s part of the craft.
Heaton pausing on the trail with steeper terrain visible ahead
After roughly 45 minutes of steady hiking, the terrain ahead turns sharper and more demanding. Heaton’s response is simply to put his head down and go. This is worth naming as its own step because it’s a mindset as much as a physical action. The best landscape positions are almost never the easiest to reach. The extra elevation, the scramble, the wet feet in trail runners – these are the filters that keep the majority of photographers from standing where you’re standing. Embrace the climb. It’s part of the craft.
A Note from My Own Experience
I want to add something Heaton doesn’t explicitly state but that I believe runs through every decision he makes in this video: route flexibility is a skill, not a compromise. I once planned a dawn shoot on a ridge in the Three Sisters Wilderness and changed my destination entirely at 5am because the cloud formation was building over a different drainage. That detour produced the image I now sell more than any other. The plan gets you to the mountain. Your ability to read the situation gets you the shot. Study your maps and your weather, make a solid plan, and then be completely willing to throw it out.
The single most important takeaway from this tutorial is this: preparation and adaptability are not opposites. They work together. The more thoroughly you prepare – gear, safety, food, logistics, route knowledge – the more mental space you have to respond creatively when conditions change. Heaton shows up with everything he needs and then makes a real-time route call that puts him in the right place at the right time. That combination is the whole job.
Watch the full tutorial on YouTube to follow Heaton up Cul Mor and see how the light actually falls when he reaches the top.
Comments
Leave a Comment