Every few years I go through the same uncomfortable ritual. I start noticing a limitation in my gear, I open a browser tab, and then seventeen tabs later I’m cross-referencing sensor readout speeds on a forum at midnight while my coffee goes cold. Camera buying is genuinely hard, not because there aren’t enough options, but because there are too many, and most of the advice online is either sponsored or written by someone who’s never stood in a river at 5am wondering whether their sensor is actually the problem.
That’s why I appreciated this breakdown from Mark Denney. In this Mark Denney tutorial on choosing a landscape photography camera, he walks through the eight questions he asked himself when purchasing a second body, and the framework is sharp enough to apply whether you’re buying your first camera or your fifth. What caught my attention is that he treats this like a decision process rather than a gear review, which is rare and genuinely useful. I’ve been shooting landscapes full-time for twenty years, and I still found myself nodding along.
The structure below follows the order Denney works through in the video. If you’re standing at the edge of a purchase, read through all eight before you open a single product page.
Step 1: Define the Problem You’re Actually Trying to Solve
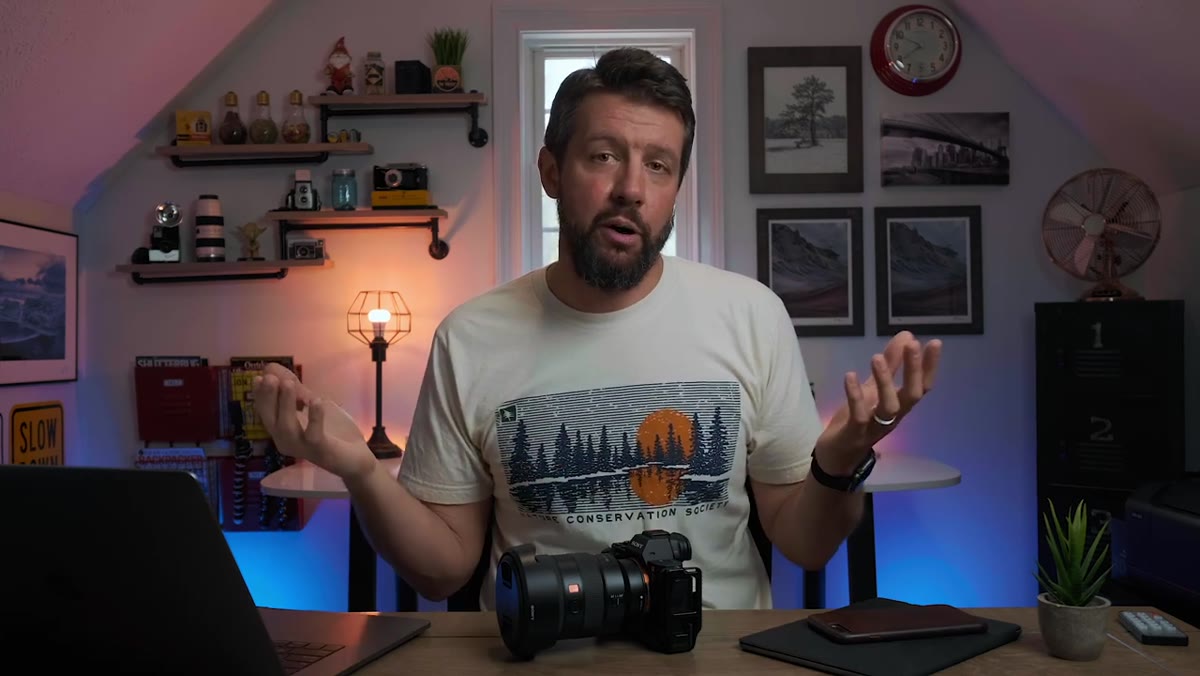 Mark explaining the problem he was trying to solve
Before you look at a single spec sheet, ask yourself what is actually broken. Denney found that he was using his primary stills camera for video work as well, which was manageable for studio content but became genuinely awkward once he started shooting on location. His solution was a dedicated second body for video, one he could also bring into the field for landscape work. That’s a specific, honest answer to a specific problem.
Mark explaining the problem he was trying to solve
Before you look at a single spec sheet, ask yourself what is actually broken. Denney found that he was using his primary stills camera for video work as well, which was manageable for studio content but became genuinely awkward once he started shooting on location. His solution was a dedicated second body for video, one he could also bring into the field for landscape work. That’s a specific, honest answer to a specific problem.
If this is your first camera, this question doesn’t apply and you can skip to step two. But if you’re upgrading or adding a body, be ruthless here. “Better image quality” is not a problem. A sensor that clips highlights before you can recover them in post, or a body too heavy to carry on a long ridge approach, those are problems. Name the actual friction.
Step 2: Set Your Budget Before You Start Shopping
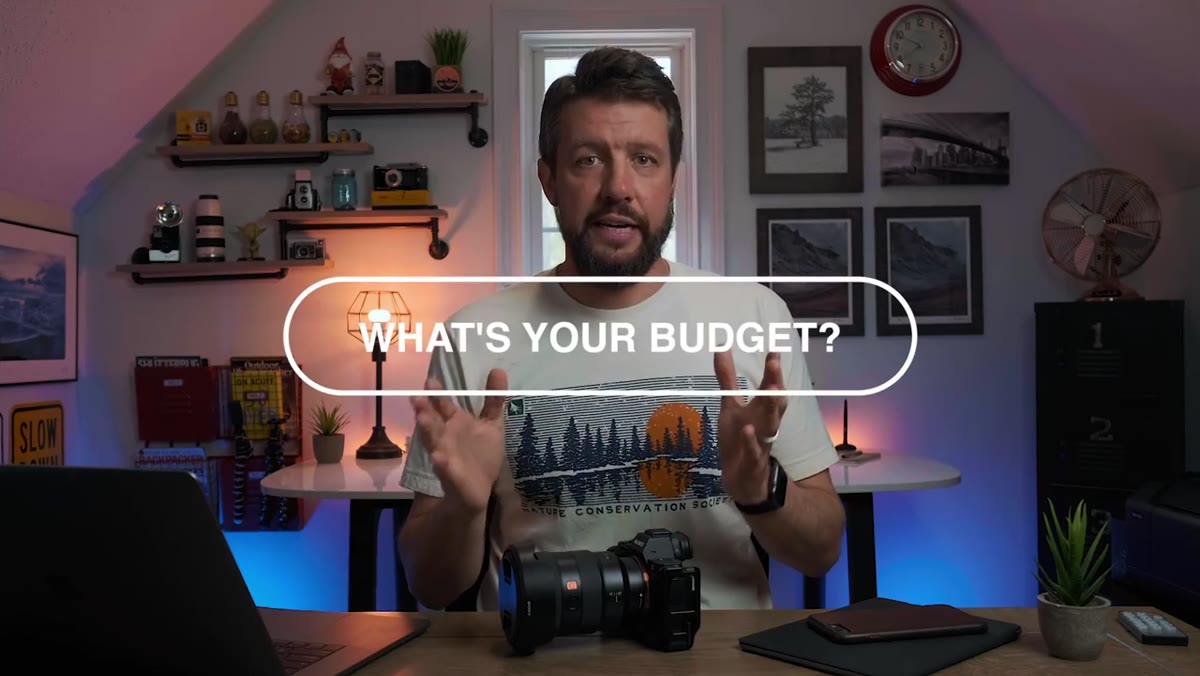 Mark describing his $1,300 to $1,700 budget range
This sounds obvious and it never is. Denney set his target at around thirteen hundred dollars with a hard ceiling of seventeen hundred. He found the Fuji XT3 on sale for fifteen hundred, landed inside the range, and stopped shopping. That last part matters as much as the first.
Mark describing his $1,300 to $1,700 budget range
This sounds obvious and it never is. Denney set his target at around thirteen hundred dollars with a hard ceiling of seventeen hundred. He found the Fuji XT3 on sale for fifteen hundred, landed inside the range, and stopped shopping. That last part matters as much as the first.
The gear ecosystem is designed to pull you upward. You look at a body, you notice the next model up has one feature you want, and two hours later you’re justifying a camera that costs twice your original number. Set the ceiling first. Write it down. Then start looking. I’d also recommend deciding in advance whether your budget covers body only or body plus lens, because those are very different conversations.
Step 3: Identify Which Camera System You Want to Commit To
 Mark listing major camera brands and systems
Denney runs through the major brand options - Canon, Nikon, Sony, Fuji, Panasonic, Lumix - and points out that this question matters most if you already own glass. Lenses are where the real money lives in this craft. Switching systems means leaving behind your glass or carrying an adapter, and neither option is free or frictionless.
Mark listing major camera brands and systems
Denney runs through the major brand options - Canon, Nikon, Sony, Fuji, Panasonic, Lumix - and points out that this question matters most if you already own glass. Lenses are where the real money lives in this craft. Switching systems means leaving behind your glass or carrying an adapter, and neither option is free or frictionless.
If you’re starting fresh, this is actually your most open moment and worth thinking through carefully. I’d suggest handling bodies in a camera store before deciding. The ergonomics of how a camera sits in cold hands, in gloves, in the dark before sunrise, are not things you can read about in a review.
Step 4: Choose Your Sensor Size
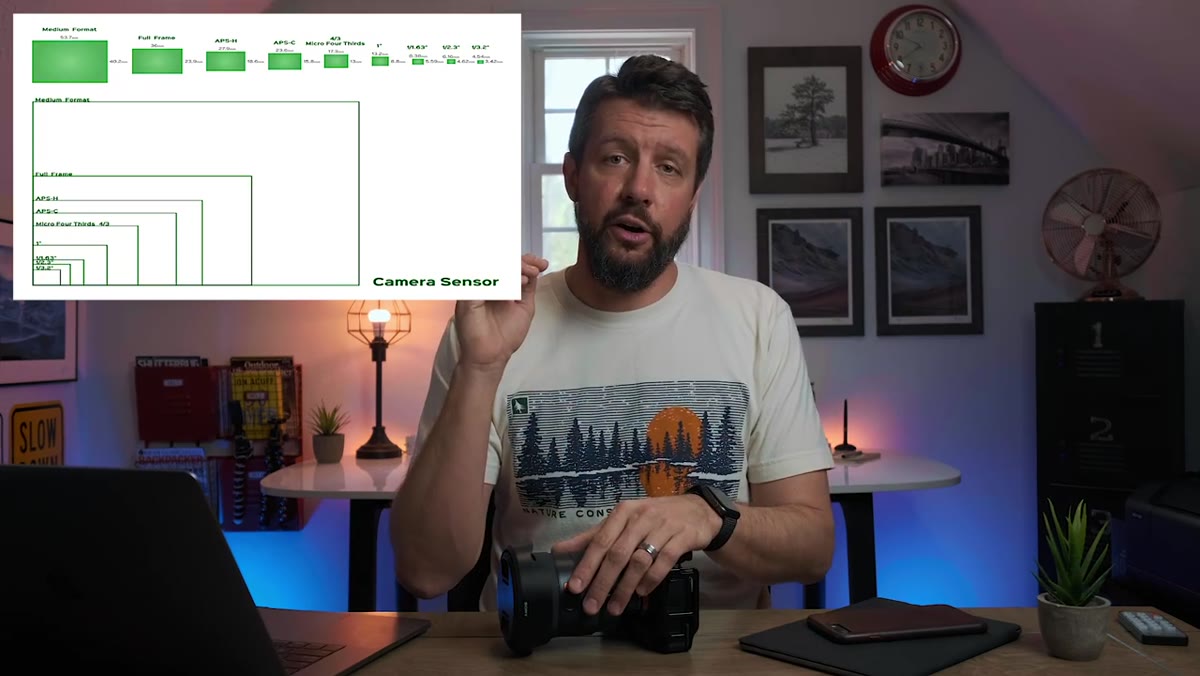
 Mark breaking down full frame, APS-C, and Micro Four Thirds
Full frame, APS-C, and Micro Four Thirds each make different trade-offs, and for landscape photography specifically, those trade-offs have real consequences in the field. Full frame sensors give you the most dynamic range and low-light performance, which matters when you’re shooting a twenty-second exposure in the blue hour. But they also mean larger, heavier bodies and considerably more expensive glass.
Mark breaking down full frame, APS-C, and Micro Four Thirds
Full frame, APS-C, and Micro Four Thirds each make different trade-offs, and for landscape photography specifically, those trade-offs have real consequences in the field. Full frame sensors give you the most dynamic range and low-light performance, which matters when you’re shooting a twenty-second exposure in the blue hour. But they also mean larger, heavier bodies and considerably more expensive glass.
APS-C is where I’d point most photographers who are starting out or working with a limited pack weight. The image quality from modern APS-C sensors is extraordinary, and the size and weight savings are meaningful when you’re miles from the trailhead. Micro Four Thirds takes the compact advantage further, at some cost to low-light performance. None of these is wrong. They’re just different tools for different priorities.
Step 5: Decide Between Mirrorless and DSLR
 Mark discussing mirrorless versus DSLR trade-offs
Denney is direct here: mirrorless is where the industry has moved, and if you’re buying new today, it’s the practical choice. That said, if you already own a DSLR system with a collection of lenses, there is nothing wrong with staying there. The images don’t know the difference.
Mark discussing mirrorless versus DSLR trade-offs
Denney is direct here: mirrorless is where the industry has moved, and if you’re buying new today, it’s the practical choice. That said, if you already own a DSLR system with a collection of lenses, there is nothing wrong with staying there. The images don’t know the difference.
For landscape work specifically, the electronic viewfinder in a mirrorless body is genuinely useful. Being able to see a real-time exposure preview in the viewfinder before you trip the shutter changes how you work in tricky light. It’s one of those features I dismissed until I actually used it in the field at dusk.
Step 6: Consider Weather Sealing
 Mark on weather sealing as a practical landscape consideration
This one is non-negotiable for me, and Denney flags it as a serious consideration for landscape shooters. Weather sealing is not about being reckless with expensive equipment. It’s about not having to make decisions with your feet when the light is right and the weather is turning. I’ve stood in rain, fog, blowing snow, and ocean spray with a weather-sealed body and trusted it. That trust is worth something.
Mark on weather sealing as a practical landscape consideration
This one is non-negotiable for me, and Denney flags it as a serious consideration for landscape shooters. Weather sealing is not about being reckless with expensive equipment. It’s about not having to make decisions with your feet when the light is right and the weather is turning. I’ve stood in rain, fog, blowing snow, and ocean spray with a weather-sealed body and trusted it. That trust is worth something.
Not every budget allows for full weather sealing, but know what you’re getting into if you buy a body without it. Keep a rain sleeve in your bag. Use it before you think you need to.
A Note From the Field: The Gear Is Never the Ceiling
I’ve watched photographers buy their way into paralysis. Better body, better lens, better tripod, and somehow the images don’t get better because the bottleneck was never the equipment. I still shoot film occasionally, partly because it forces me to think before pressing the shutter, to commit to a composition and an exposure rather than fire off thirty frames and sort it out later.
The questions Denney outlines are valuable precisely because they slow you down. They ask you to think about what you actually need instead of what looks impressive on paper. A camera that matches your budget, fits your system, handles the weather you shoot in, and doesn’t break your back on the trail is a camera that will get used. A camera you bought to solve a spec-sheet anxiety is one that sits on a shelf while you save up for the next one.
The single most useful thing I took from this tutorial is the first question: what problem are you actually trying to solve? Everything else flows from an honest answer to that. If you don’t have a clear answer, you’re not ready to buy yet, and that’s a good thing to know before you spend fifteen hundred dollars.
Watch the full tutorial on YouTube to hear Denney work through all eight questions in his own words, including the ones later in the video that cover resolution needs and the value of renting before committing.
Comments
Leave a Comment