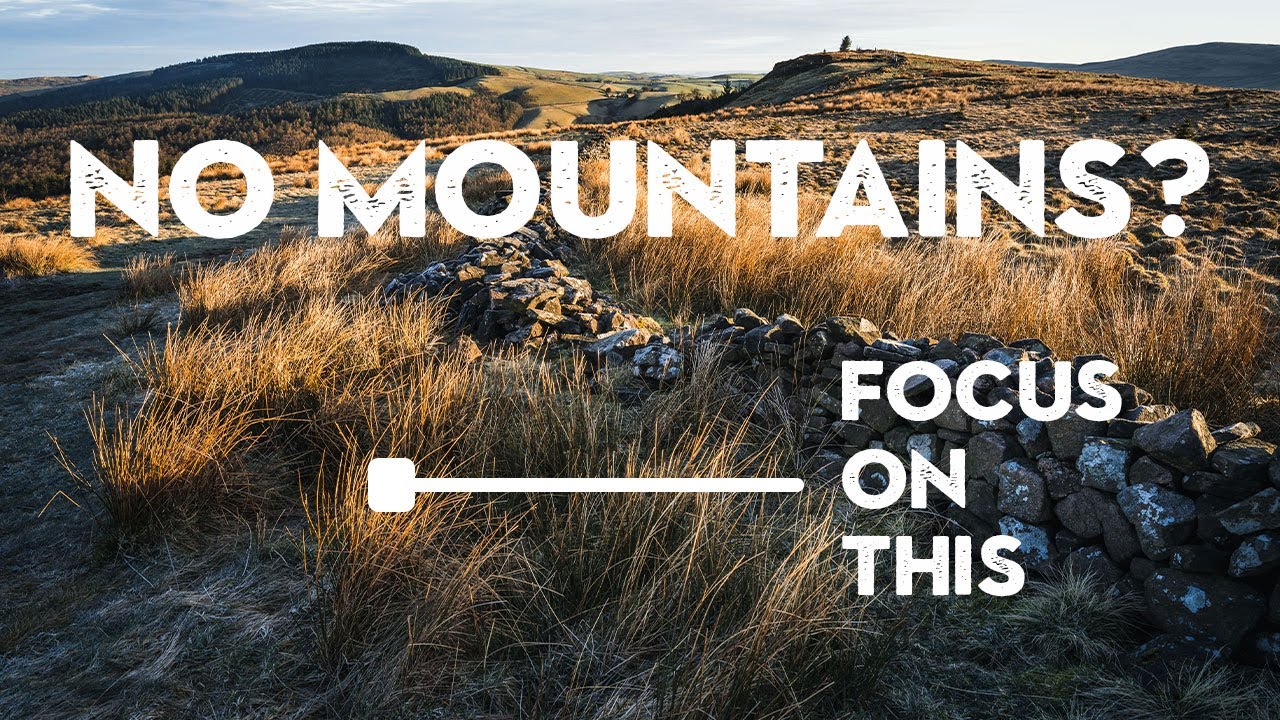
There’s a particular kind of despair that sets in when you pull up to a flat location and realize the horizon isn’t going to save you. No dramatic peaks, no crashing water, nothing to anchor the eye. I’ve been there more times than I’d like to admit, standing at the edge of some wide, unremarkable plain in central Oregon at 4:45 in the morning, wondering why I got out of bed. The answer, every time, is the foreground. The middle ground and background can be quiet if the foreground is doing something.
Watch the full tutorial on YouTube
In this Nigel Danson tutorial, he heads out to the edge of the Cheshire Plain in England, a landscape that’s gentle at best, with just a few low hills to work with. It’s minus six, there’s frost on the ground, and the sky is largely clear. On paper, that sounds like a session to skip. What Danson actually produces is a sharp, considered lesson in how to read a flat location and use whatever is underfoot to build a compelling frame. This is the kind of practical, in-the-field thinking that changed how I approach difficult days. Here’s how the technique works, step by step.
Step 1: Reframe the Problem Before You Touch the Camera
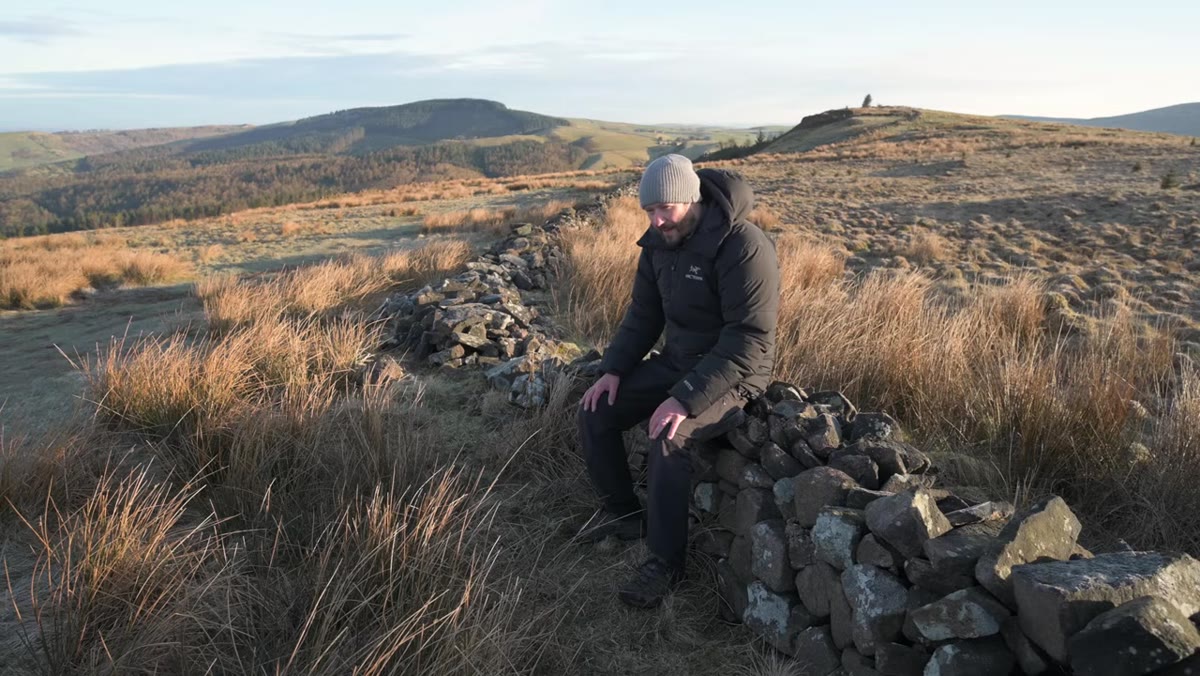 Nigel walking through flat, open landscape at dawn
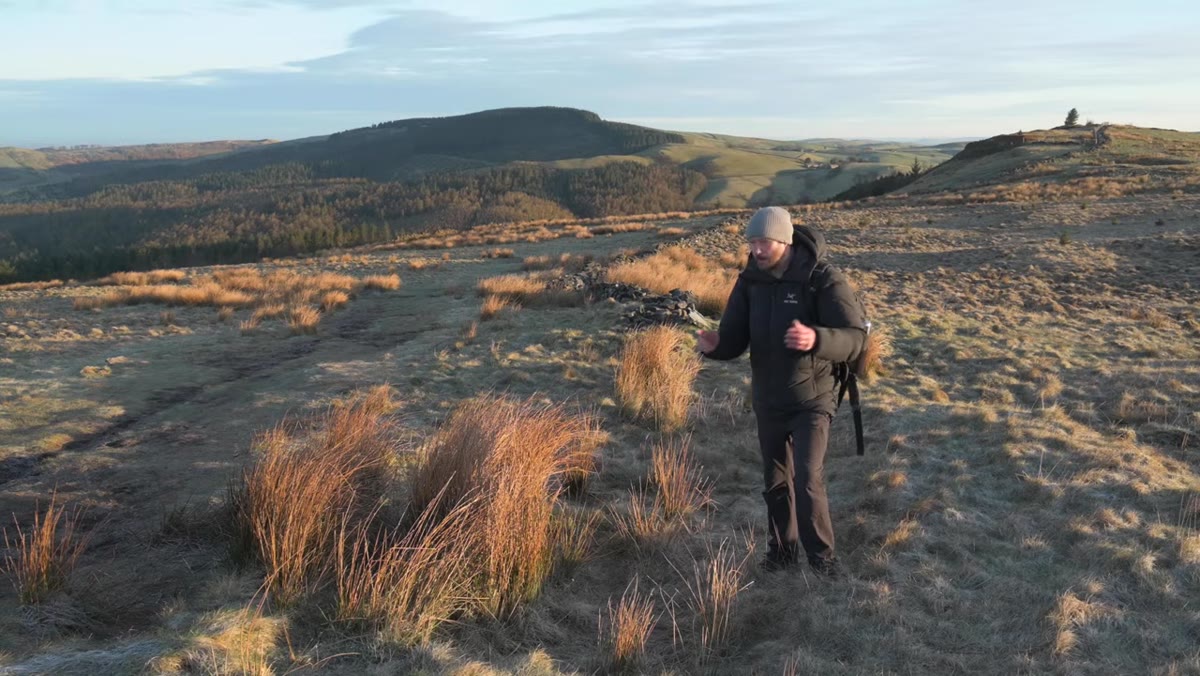
When you’re working in flat terrain, the first mistake most photographers make is looking outward for a subject. Danson’s approach is to immediately look down. Before he even sets up a tripod, he’s scanning the ground for texture, structure, and anything that can anchor the composition from the bottom of the frame. Frost-covered grass, rocks, stone walls, a gate, a cluster of reeds. These aren’t consolation prizes. They are the photograph.
Nigel walking through flat, open landscape at dawn
When you’re working in flat terrain, the first mistake most photographers make is looking outward for a subject. Danson’s approach is to immediately look down. Before he even sets up a tripod, he’s scanning the ground for texture, structure, and anything that can anchor the composition from the bottom of the frame. Frost-covered grass, rocks, stone walls, a gate, a cluster of reeds. These aren’t consolation prizes. They are the photograph.
This mental shift is everything. The subject of your image doesn’t have to be the most visually dominant thing on the horizon. It can be a mossy rock two feet in front of your lens. The distant hill becomes context, atmosphere, a backdrop. The foreground becomes the thing your viewer actually touches first.
Step 2: Scout for Light Direction Before Locking In a Composition
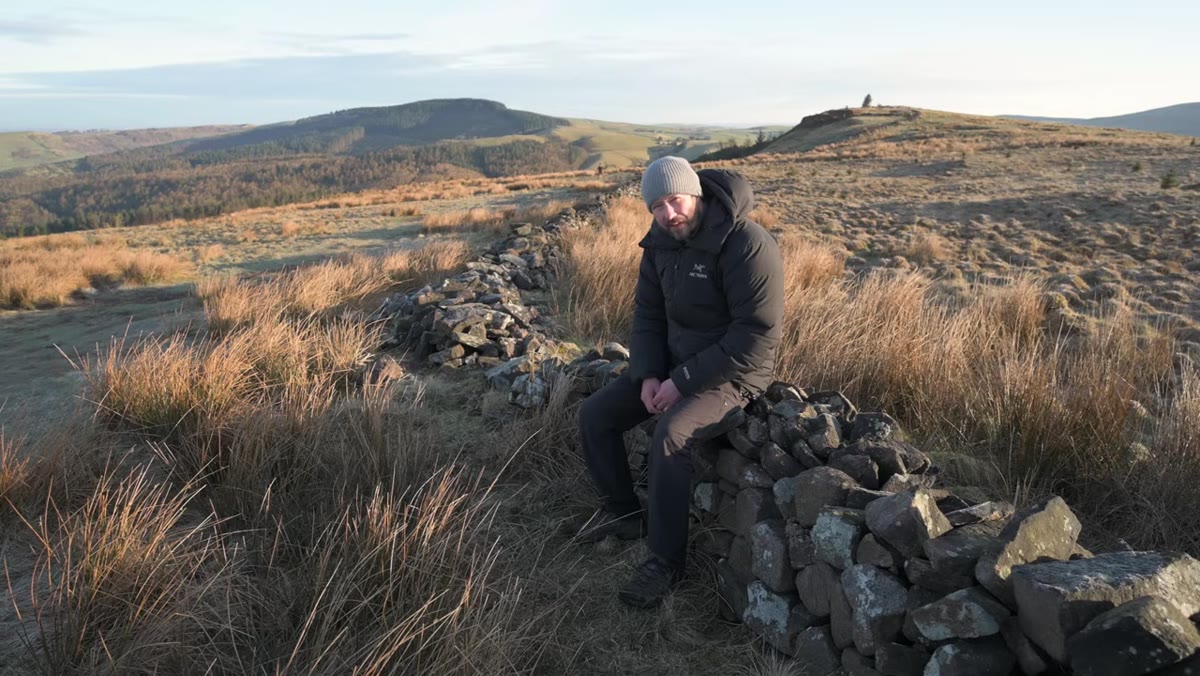 Wide shot of open field, hills visible in soft pre-dawn light
Danson spends time walking the location before committing to a setup, and he’s doing something specific while he walks. He’s tracking where the sun will rise and thinking about how that light will move across the ground. Side lighting is his target. When low light rakes across grass, rocks, or frost at a shallow angle, it reveals texture that flat, overhead light would completely flatten out.
Wide shot of open field, hills visible in soft pre-dawn light
Danson spends time walking the location before committing to a setup, and he’s doing something specific while he walks. He’s tracking where the sun will rise and thinking about how that light will move across the ground. Side lighting is his target. When low light rakes across grass, rocks, or frost at a shallow angle, it reveals texture that flat, overhead light would completely flatten out.
This is worth building into your own scouting habit. Use an app like PhotoPills or The Photographer’s Ephemeris to know the sun’s angle before you arrive. When you’re on location, don’t just look at the background. Crouch down and look at the ground at the angle your lens will see it. Even a small patch of textured earth or frosted grass can become extraordinary when the light hits it from the side at five degrees above the horizon.
Step 3: Find the Foreground Element That Creates a Visual Path
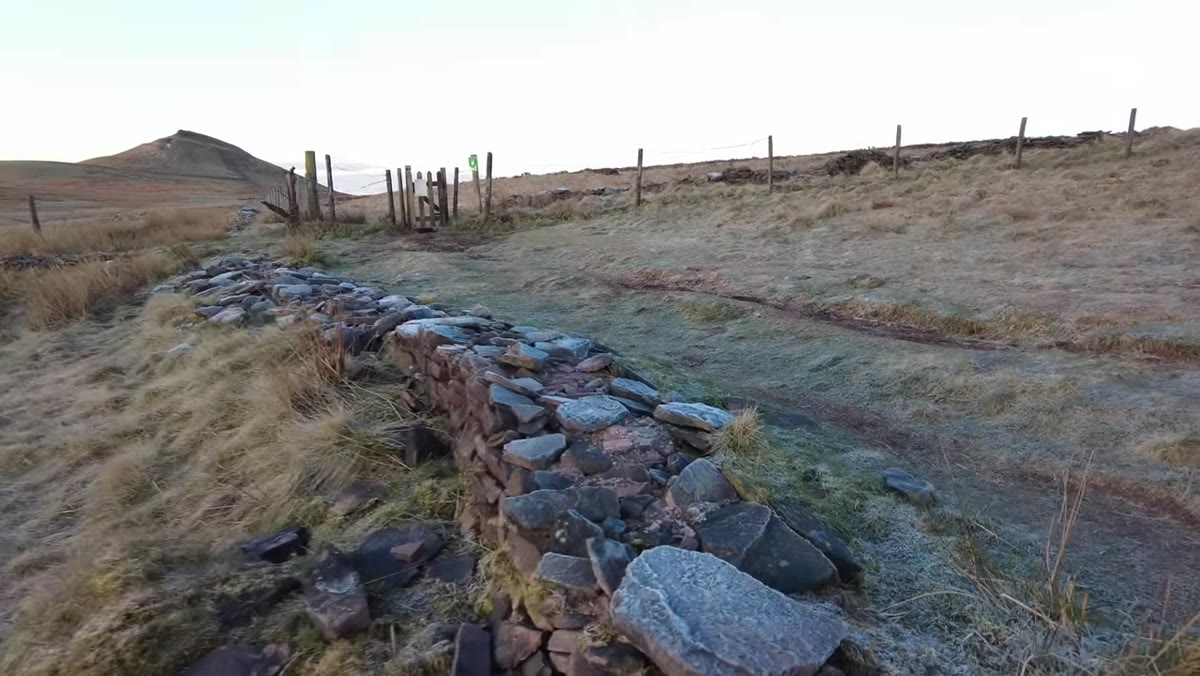 Camera low, rocks in sharp foreground, gate and mountain behind
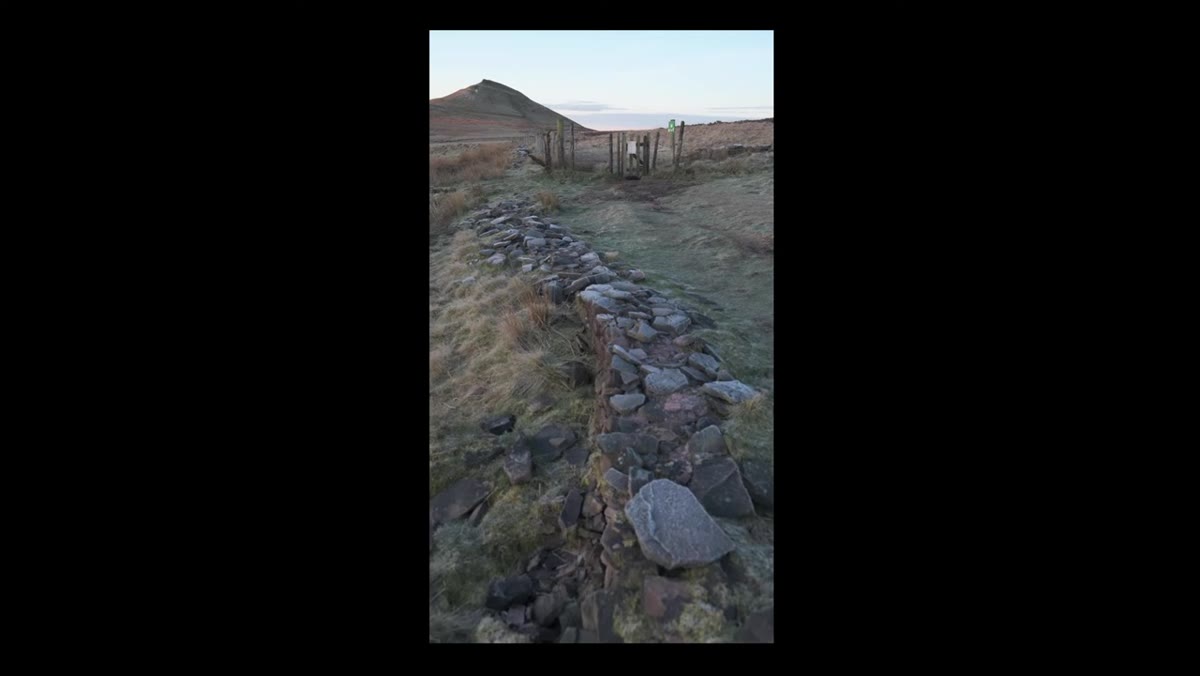
Once Danson locates his spot, he describes a specific compositional logic: the foreground element should lead the eye rather than just sit in the frame. He positions a frost-covered rock low in the frame, and then the composition flows through a gate in the middle ground, and continues back to the distant hill. Each layer gives the eye somewhere to travel.
Camera low, rocks in sharp foreground, gate and mountain behind
Once Danson locates his spot, he describes a specific compositional logic: the foreground element should lead the eye rather than just sit in the frame. He positions a frost-covered rock low in the frame, and then the composition flows through a gate in the middle ground, and continues back to the distant hill. Each layer gives the eye somewhere to travel.
When you’re placing your foreground, think in layers. Ask yourself: where does the eye enter, where does it pause, and where does it land? A single textured rock is more powerful when there’s something behind it to complete the journey. The foreground doesn’t need to be large or dramatic. It needs to have a visual relationship with what’s behind it.
Step 4: Get Your Camera Low and Close
 Camera positioned very low to the ground near rocks
Danson gets physically low here, and the effect is significant. A wide-angle lens close to the ground and close to the foreground subject does two things at once. It exaggerates the size and presence of that foreground element, making it feel immediate and tactile. And it compresses the background just enough to keep the distant hill relevant without letting it dominate.
Camera positioned very low to the ground near rocks
Danson gets physically low here, and the effect is significant. A wide-angle lens close to the ground and close to the foreground subject does two things at once. It exaggerates the size and presence of that foreground element, making it feel immediate and tactile. And it compresses the background just enough to keep the distant hill relevant without letting it dominate.
The practical version of this: put your tripod as low as it will go, or ditch it and put the camera directly on the ground. Get your front element within a foot or two of the foreground subject if you can. This is where a good ball head with a low-angle mode earns its keep. If you’re handholding, brace your elbows on the earth. The closer and lower you are, the more dramatic the relationship between near and far becomes.
Step 5: Plan for Focus Stacking When Depth Is Extreme
 Camera setup on tripod, rocky foreground and distant hill in frame
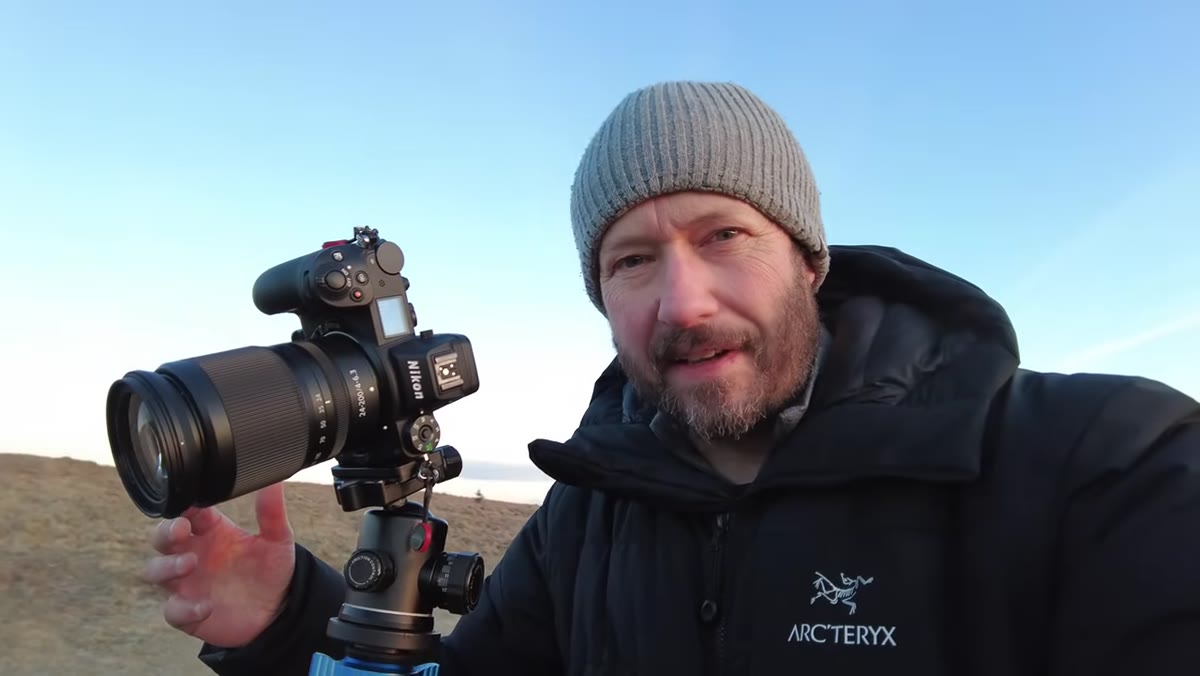
Danson flags this early: when your foreground is very close and your background is hundreds of meters away, a single focus point won’t give you sharpness across the whole frame, even stopped down to f/11 or f/16. His solution is focus stacking. He plans to take multiple exposures focused at different distances, then blend them in post.
Camera setup on tripod, rocky foreground and distant hill in frame
Danson flags this early: when your foreground is very close and your background is hundreds of meters away, a single focus point won’t give you sharpness across the whole frame, even stopped down to f/11 or f/16. His solution is focus stacking. He plans to take multiple exposures focused at different distances, then blend them in post.
The field workflow is simple. Take one shot focused on the near foreground (the rock, the grass, whatever your anchor is). Take a second shot focused on the middle ground. Take a third on infinity. Keep your camera absolutely still on the tripod between frames. In Lightroom or Photoshop, use the Auto-Align and Auto-Blend layers function under Edit, then Merge to HDR Pro or directly through the Photomerge focus stacking option. Three frames is usually enough. Five if the scene is complex.
Step 6: Shoot Into the Sidelight and Let Texture Do the Work
 Golden sidelight raking across frosted grass and rock surface
The payoff comes when the sun clears the horizon and the sidelight hits. Danson notes that this quality of light reveals the contours in things that look completely flat just twenty minutes earlier. The grasses suddenly have depth. The frost on the rocks becomes three-dimensional. The hillside in the background shows every fold and crease.
Golden sidelight raking across frosted grass and rock surface
The payoff comes when the sun clears the horizon and the sidelight hits. Danson notes that this quality of light reveals the contours in things that look completely flat just twenty minutes earlier. The grasses suddenly have depth. The frost on the rocks becomes three-dimensional. The hillside in the background shows every fold and crease.
Don’t rush this moment. If you’ve set your composition and your focus stack plan, you’re ready. Let the light move. Shoot a sequence as the angle changes. The first few minutes of direct sidelight are often the most dramatic, but sometimes it gets better as the sun climbs a degree or two and the color shifts. Bracket your exposures and give yourself options.
What I’d Add: Blue Sky Isn’t the Enemy
One thing Danson mentions briefly, and I think deserves more emphasis, is that a blue sky morning is actually a good time to work foreground. When the sky is uninteresting, the natural move is to minimize it. Drop your horizon line. Fill the frame with land. A strong foreground pulls the composition downward and reduces how much blank blue you’re fighting. I’ve had some of my most satisfying foreground shots on cloudless mornings that I almost skipped because the sky looked boring. The mentor who taught me to shoot years ago used to say the mountain doesn’t care about your schedule. Neither does the light. You work with what’s there, and sometimes what’s there is two inches in front of your boot.
The single most useful thing I took from this tutorial is the mental reset it demands. Stop looking for the obvious subject. Look at what’s underfoot. In flat country, in difficult light, in conditions you almost didn’t drive out for, the foreground is almost always where the photograph lives. Danson’s approach is methodical, unhurried, and grounded in exactly the kind of practical thinking that separates a productive session from a wasted one.
Watch the full tutorial on YouTube to see how he builds the composition in real time. Watching him work is worth as much as the technique itself.
Comments (2)
This is the kind of content that keeps me coming back.
This is fantastic. I've been recommending this approach to my readers too.
Leave a Comment