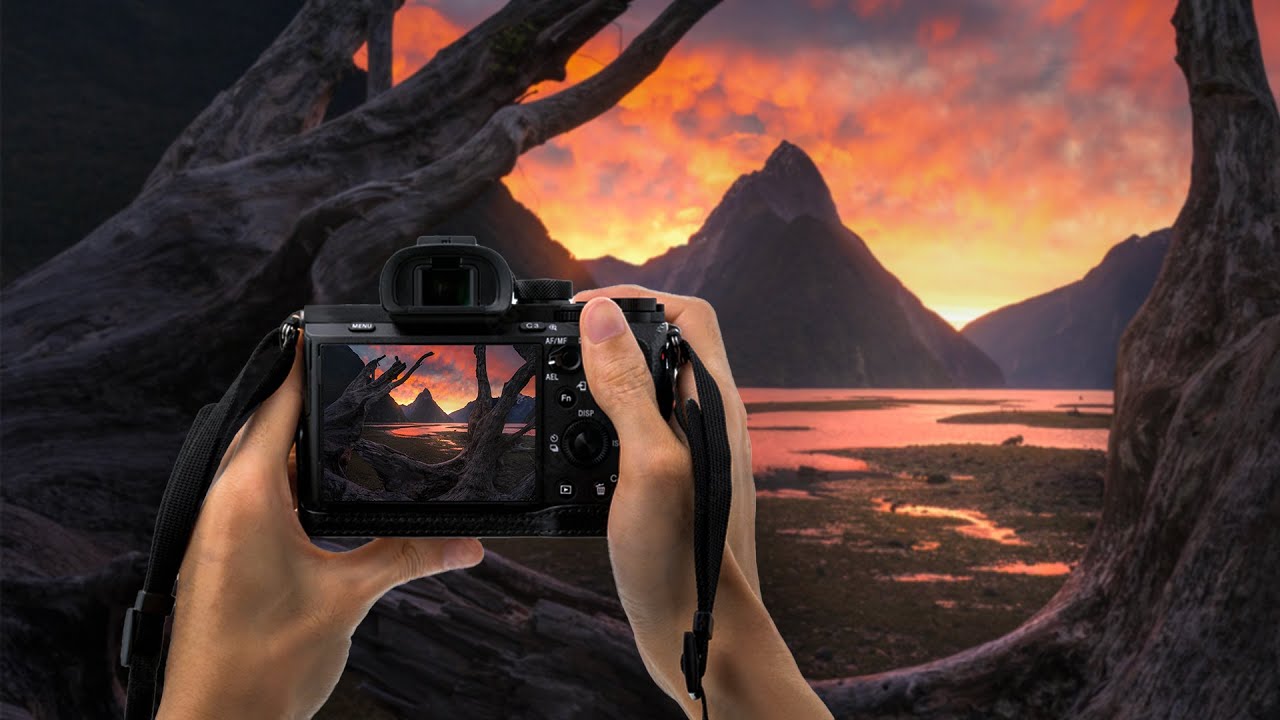
There’s a particular kind of wilderness photography that breaks every routine you’ve built. No tripod spot scouted the night before. No predetermined composition saved in your notes app. You wake up, the mountain has rearranged itself with fresh snow and low cloud, and you have roughly ten minutes to figure out what you’re looking at before it changes again. That’s the challenge William Patino works inside for an entire week every year, and watching how he handles it reminded me why I got into this work in the first place.
Watch the full tutorial on YouTube
In this William Patino tutorial, he documents a five-day photography workshop in New Zealand’s Fiordland, conducted entirely from a boat moving through the southern fiords. What makes this more than a highlight reel is the way Patino narrates his decision-making in real time, in real conditions, often mid-sentence while conditions are actively changing around him. If you photograph in any location where weather is a primary variable, the field logic he demonstrates here is directly transferable.
Step 1: Treat the Boat as a Mobile Base, Not a Limitation
 William introducing the 5-day boat-based expedition workshop
Most photographers approach remote locations by trying to reach a fixed viewpoint and wait. Working from a boat flips that model. Patino’s entire framework depends on staying in constant communication with his skipper, Brad, so that anchoring decisions and movement decisions are made together with photography in mind. The swell matters for overnight safety. Cloud movement matters for where the light is likely to break. These are not separate concerns.
William introducing the 5-day boat-based expedition workshop
Most photographers approach remote locations by trying to reach a fixed viewpoint and wait. Working from a boat flips that model. Patino’s entire framework depends on staying in constant communication with his skipper, Brad, so that anchoring decisions and movement decisions are made together with photography in mind. The swell matters for overnight safety. Cloud movement matters for where the light is likely to break. These are not separate concerns.
If you’re planning any trip where you’re dependent on a guide, a boat, or a driver, build that person into your creative process from day one. Brief them on what you’re looking for. The best spontaneous moments Patino captures happen because the logistics are already handled, leaving him free to respond to the light.
Step 2: Read the Post-Storm Window the Moment You Wake Up
 Fresh snow on peaks, partially clearing sky after overnight storm
Patino describes a pattern that I’ve seen pay off repeatedly in mountain environments: overnight rain or snow followed by a cold, partially clearing morning is one of the highest-value weather windows you can photograph in. Everything is wet and reflective. Temperatures are shifting fast. Cloud and fog move through valleys like slow water, and the scene is different every ten minutes.
Fresh snow on peaks, partially clearing sky after overnight storm
Patino describes a pattern that I’ve seen pay off repeatedly in mountain environments: overnight rain or snow followed by a cold, partially clearing morning is one of the highest-value weather windows you can photograph in. Everything is wet and reflective. Temperatures are shifting fast. Cloud and fog move through valleys like slow water, and the scene is different every ten minutes.
The instinct for most photographers is to wait for a fully clear sky. Resist it. The clearing itself is the photograph. Get out while the peaks are still appearing and disappearing through fog. Patino’s footage from this morning segment is some of the most atmospheric in the entire video, and most of it would have been gone by the time the sky fully opened.
Step 3: Use Focal Length to Control What the Ridge Does
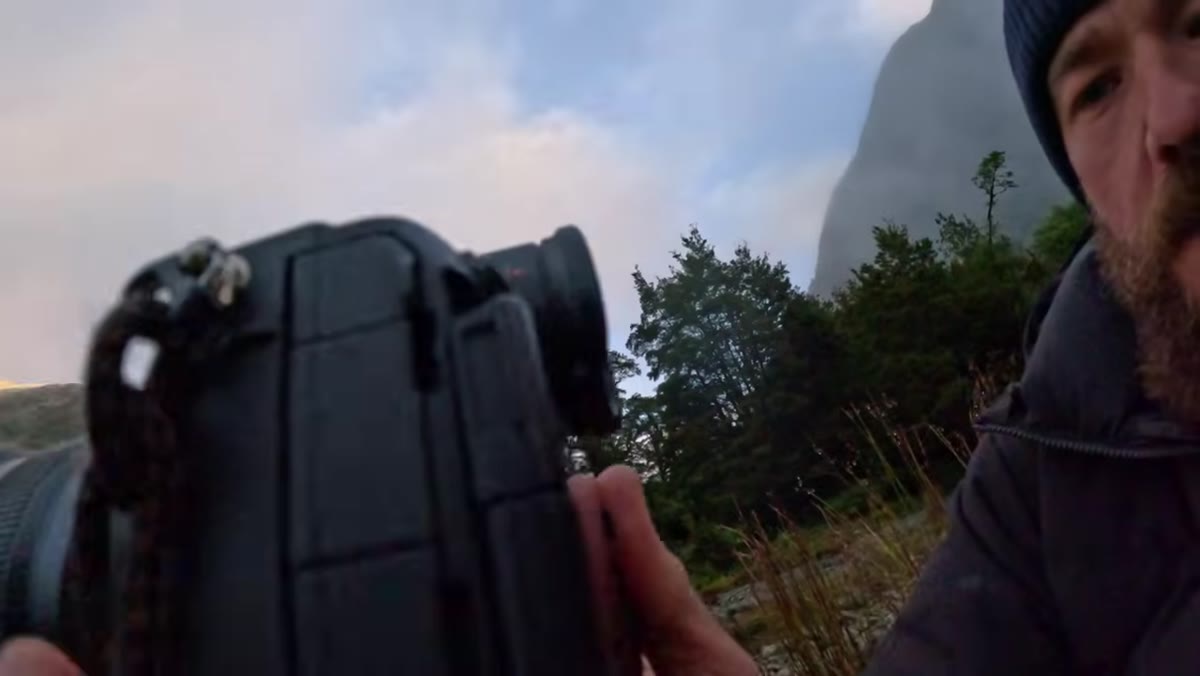 Discussing focal length choice around 20-21mm to exclude right-hand ridge
This is a small, practical note from Patino that carries a lot of weight. He’s working a scene and mentions pulling his focal length from wider to around 20 to 21mm specifically to exclude a ridge on the right side of the frame that is competing with the main subject. It’s a single sentence in the video, but it’s the kind of decision that separates a crowded frame from a clean one.
Discussing focal length choice around 20-21mm to exclude right-hand ridge
This is a small, practical note from Patino that carries a lot of weight. He’s working a scene and mentions pulling his focal length from wider to around 20 to 21mm specifically to exclude a ridge on the right side of the frame that is competing with the main subject. It’s a single sentence in the video, but it’s the kind of decision that separates a crowded frame from a clean one.
Focal length is not just about how much you include. It’s about what you exclude, and more subtly, how the spatial relationships between elements shift as you zoom. A few millimeters can change whether a foreground element feels integrated or disconnected from a background. Before you reach for a different position, try adjusting focal length first. Move your feet after that if the compression or separation still isn’t right.
Step 4: Follow Streams Into the Interior
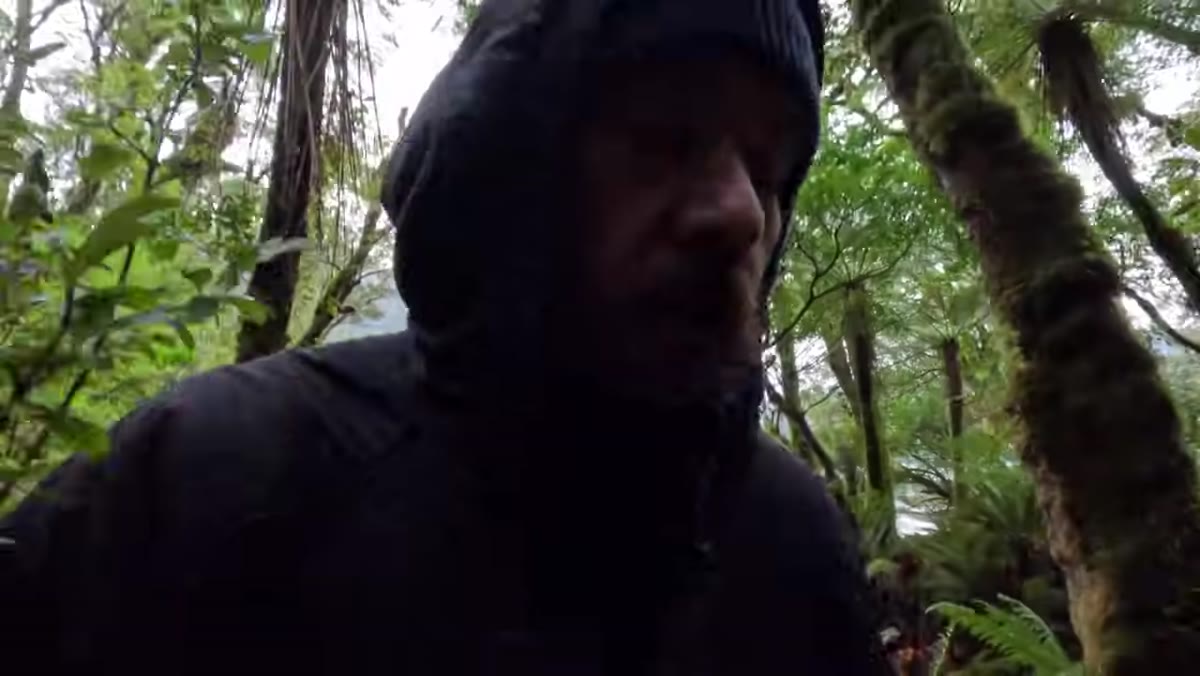 William walking upstream through mossy forest and stream system
One of the most repeatable location-finding techniques Patino demonstrates is simply following a stream inland from the coast or a main valley. He frames it straightforwardly: streams lead to waterfalls, to mossy interiors, to compositions that aren’t visible from any map or overview. The terrain rewards exploration on foot.
William walking upstream through mossy forest and stream system
One of the most repeatable location-finding techniques Patino demonstrates is simply following a stream inland from the coast or a main valley. He frames it straightforwardly: streams lead to waterfalls, to mossy interiors, to compositions that aren’t visible from any map or overview. The terrain rewards exploration on foot.
From a practical standpoint, streams also give you a ready-made foreground in almost any direction you point the camera. The water itself, the rocks, the foam patterns, all of it is usable. Patino points this out while moving through what looks like New Zealand’s temperate rainforest, and the light quality inside those tree canopies is completely different from what’s happening outside. Two entirely separate images, accessible within a few minutes of each other.
Step 5: Slow Shutter at Waterfalls, But Stay Honest About Spray
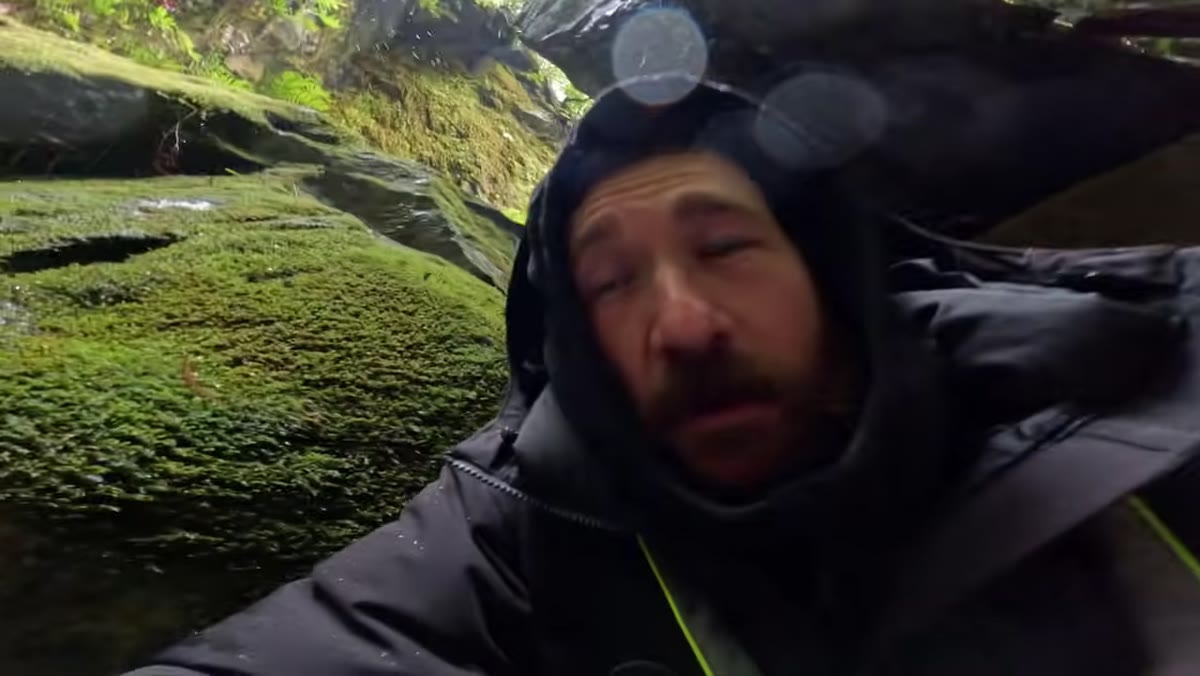 Ultrawide composition at waterfall with slow shutter foam in foreground
At a waterfall near the end of one of the inland explorations, Patino sets up with an ultrawide lens and uses a slow shutter to streak the foam in the foreground across the frame. The technique itself is standard, but he immediately acknowledges the constraint: spray coming off the falls makes lens protection a constant issue. He has someone positioned in the rocks nearby, presumably helping watch the gear.
Ultrawide composition at waterfall with slow shutter foam in foreground
At a waterfall near the end of one of the inland explorations, Patino sets up with an ultrawide lens and uses a slow shutter to streak the foam in the foreground across the frame. The technique itself is standard, but he immediately acknowledges the constraint: spray coming off the falls makes lens protection a constant issue. He has someone positioned in the rocks nearby, presumably helping watch the gear.
Don’t let spray ruin a sharp image by sneaking up on you. Check your lens between every few shots in high-spray environments. A single water droplet on the front element will destroy sharpness in a way that no amount of post-processing fixes. In conditions like this, I keep a microfiber cloth in my jacket pocket, not my bag, so I’m not fumbling through a pack every time I need it.
Step 6: Keep Working Through Midday in Winter
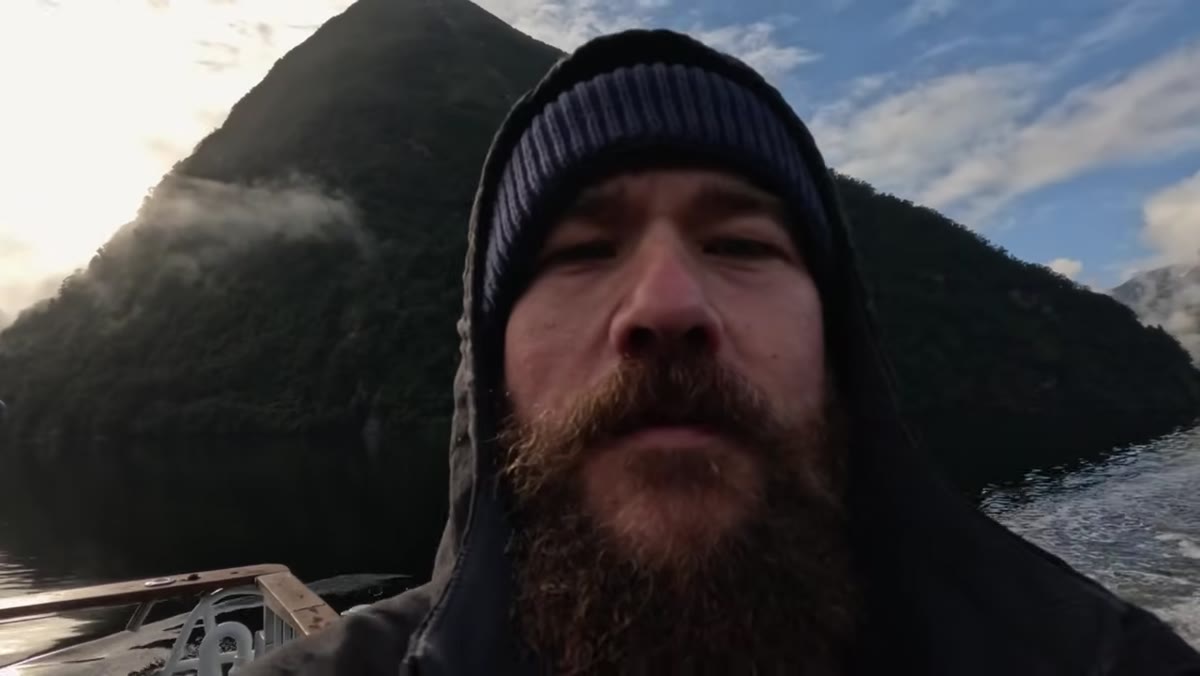 Midday light on fiord described as “as good as it gets”
Patino makes a point about winter light that I think gets underemphasized in photography education: at high latitudes in winter, the sun never climbs high enough to produce the harsh overhead light that forces most photographers inside between 10am and 3pm. The angle stays low all day. The light stays directional, soft, and photogenic for hours.
Midday light on fiord described as “as good as it gets”
Patino makes a point about winter light that I think gets underemphasized in photography education: at high latitudes in winter, the sun never climbs high enough to produce the harsh overhead light that forces most photographers inside between 10am and 3pm. The angle stays low all day. The light stays directional, soft, and photogenic for hours.
If you’re shooting in winter, in the mountains, or at high latitudes, throw out the golden-hour-only mindset. Patino explicitly says midday in Fiordland in winter is “as good as it gets,” and the footage backs that up. It doesn’t mean you ignore sunrise and sunset, it means you keep your eyes open and your camera accessible between those windows too.
What I’d Add From My Own Experience
The thing Patino models that I think is hardest to teach is the willingness to stay present between the planned shots. A mentor once told me that the mountain doesn’t care about your schedule, and I’ve spent twenty years learning what that actually means in practice. It means the shot you planned for sunrise might show up at 11am instead. It means the creek you walked past on the way to your location might be better than where you were going. Patino’s workshop footage is full of these in-between moments, and they’re not accidents. They happen because he keeps moving, keeps looking, and doesn’t treat any part of the day as downtime.
The single most useful takeaway from this tutorial is the emphasis on weather windows over weather perfection. The storm aftermath, the clearing fog, the fresh snow, these are the conditions that create images worth traveling for. Showing up on the first clear day after bad weather is usually more valuable than waiting for a forecast that promises nothing interesting.
Watch the full tutorial on YouTube
Comments (3)
I've watched a dozen tutorials on this and yours is the clearest by far.
The before and after really sells it. Incredible difference.
Great article! I actually covered something related on my site — the compositing angle is really complementary to this.
Leave a Comment