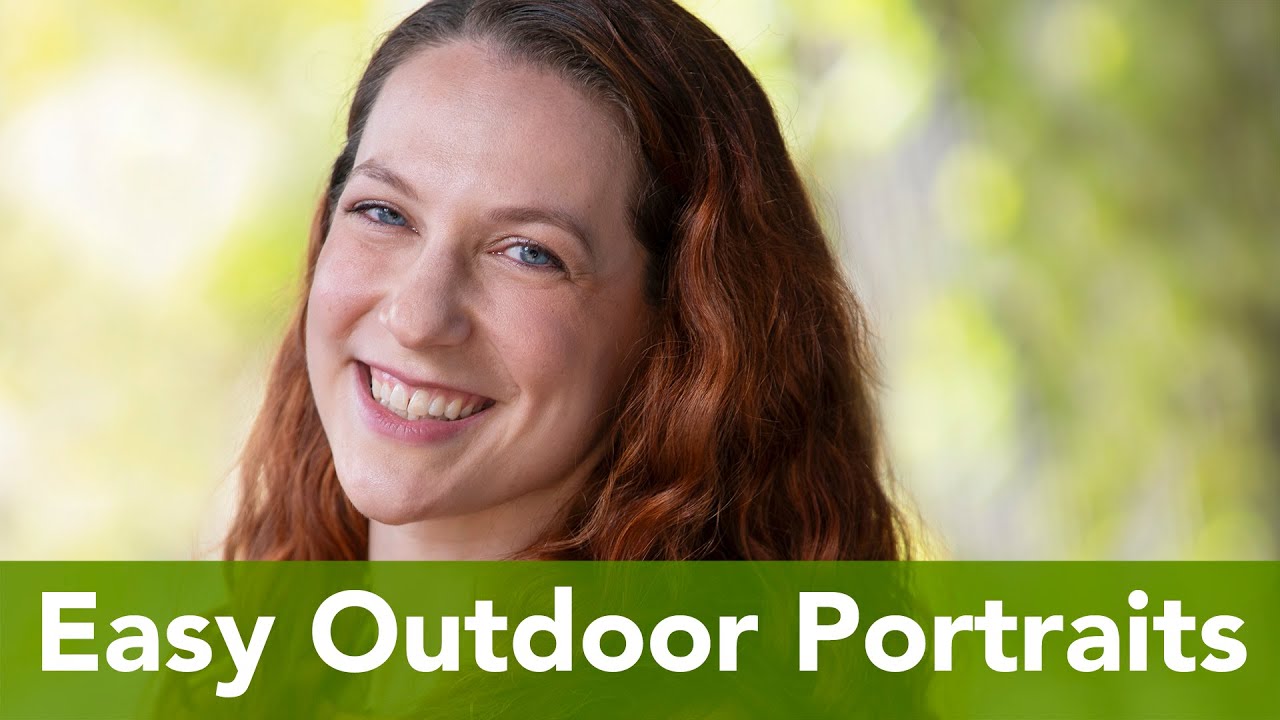
Most of my working life is spent in landscapes where there are no people in the frame. I’m chasing light across ridgelines, parking on forest roads before sunrise, standing in rivers at temperatures that my kids find genuinely alarming. Portraiture isn’t my primary language. But I lead photography workshops, and every single workshop includes at least one participant who freezes the moment the sun comes out. They look at the hard shadows falling across a face and they don’t know what to do.
That’s exactly why I kept coming back to this tutorial. Watch the full tutorial on YouTube - Jay P. Morgan from The Slanted Lens shot it at what he openly admits is an unremarkable Hollywood street corner, and that honesty is what makes it useful. He wasn’t working a dramatic coastal vista or a moody forest. He was working with a parking lot and a red building and a leafless tree. The ideas he demonstrates there translate directly to the kinds of “good enough” outdoor locations we find ourselves in during workshops, whether that’s a trailhead parking area or the edge of a field we pulled off the highway to shoot.
His core mantra is worth memorizing before you watch a single frame: find shade, create shade, or shoot with a backlight. Three options. That’s the whole system. The steps below walk you through how he applies each one in the field.
Step 1: Look for Small Pockets of Shade, Not Big Ones
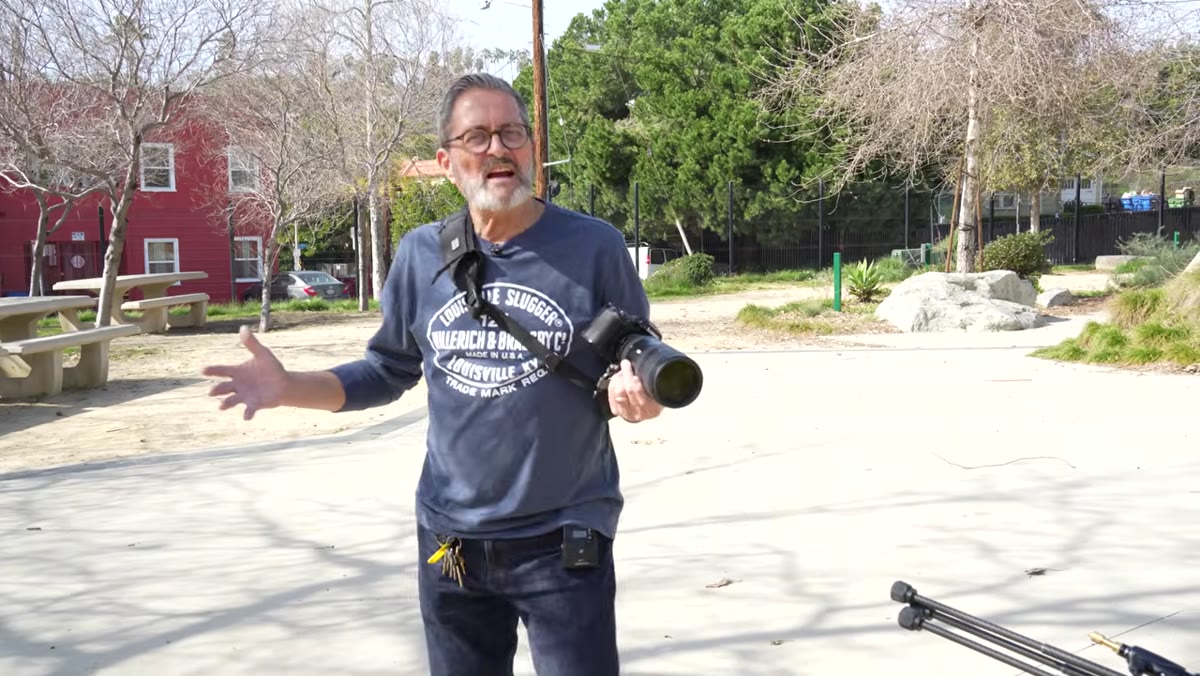 Photographer positioning subject beneath a single tree’s shadow edge
The first instinct most people have is to look for a massive tree canopy or the shadow side of a large building. Morgan pushes back on this immediately. What you actually need is a small patch of shade, just enough to take direct sunlight off the face. A single tree, a light pole, an overhang, a parked van - anything that breaks the sun’s angle to the subject’s face is workable.
Photographer positioning subject beneath a single tree’s shadow edge
The first instinct most people have is to look for a massive tree canopy or the shadow side of a large building. Morgan pushes back on this immediately. What you actually need is a small patch of shade, just enough to take direct sunlight off the face. A single tree, a light pole, an overhang, a parked van - anything that breaks the sun’s angle to the subject’s face is workable.
His practical trick for finding the exact spot: have your subject look at their own shadow on the ground. When the shadow of their head is clearly cast behind them without the sun cutting across the face, they’re in the right position. Move them an inch too far and you lose it. This sounds fussy, but it takes about 15 seconds to dial in once you know what you’re looking for.
Step 2: Use a Long Lens to Compress and Isolate the Background
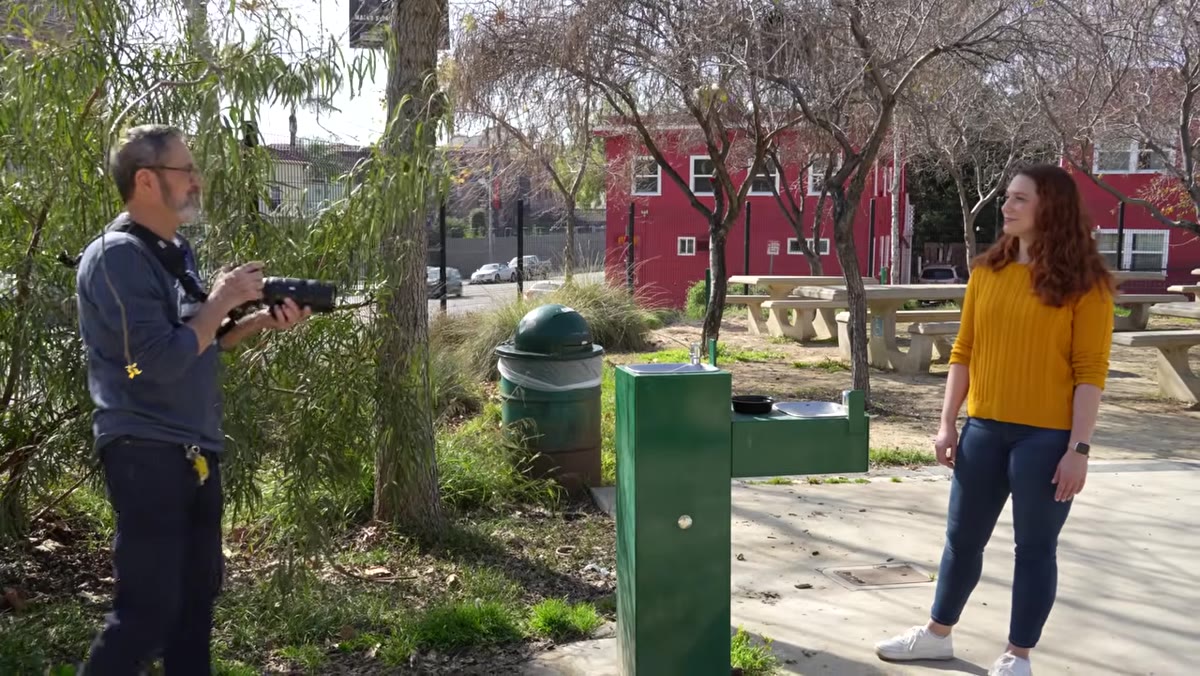 Photographer backing up with telephoto lens, green background falling to bokeh
Once your subject is in shade, the background becomes your next decision. Morgan steps back to a 200mm lens at f/2.8, which does two things simultaneously: it compresses the distance between the subject and whatever greenery or color exists behind them, and it throws that background into soft bokeh. A mediocre backdrop - bare trees, a wall, scattered shrubs - becomes a wash of tone and color at that focal length.
Photographer backing up with telephoto lens, green background falling to bokeh
Once your subject is in shade, the background becomes your next decision. Morgan steps back to a 200mm lens at f/2.8, which does two things simultaneously: it compresses the distance between the subject and whatever greenery or color exists behind them, and it throws that background into soft bokeh. A mediocre backdrop - bare trees, a wall, scattered shrubs - becomes a wash of tone and color at that focal length.
This is a technique I use constantly in landscape work when I want to isolate a single element, a wildflower against a hillside, a lone pine against a foggy ridge. The same physics apply to portraits. You don’t need a beautiful background. You need a background with interesting color or tonal separation, and a long lens handles the rest.
Step 3: Work the Angles Around Your Subject Without Moving Them
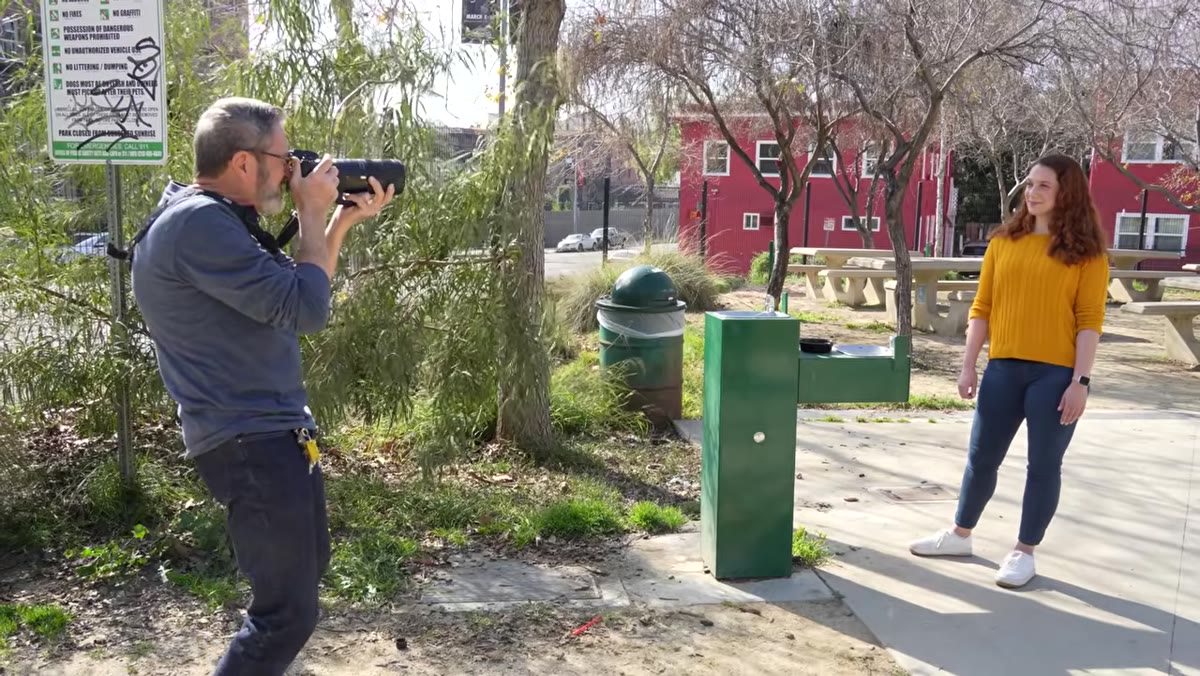 Photographer circling stationary subject, testing different background compositions
Once the subject is placed in shade and the exposure is set, Morgan doesn’t stay locked in one position. He walks around the subject, testing how different camera angles change the background. Moving even 20 degrees left or right can shift what appears behind the subject from a cluttered street scene to a clean wall of green. The subject stays put. The photographer moves.
Photographer circling stationary subject, testing different background compositions
Once the subject is placed in shade and the exposure is set, Morgan doesn’t stay locked in one position. He walks around the subject, testing how different camera angles change the background. Moving even 20 degrees left or right can shift what appears behind the subject from a cluttered street scene to a clean wall of green. The subject stays put. The photographer moves.
This is pure field scouting instinct. I do the same thing when I’m previsualing a landscape composition - I walk the scene before I set up the tripod. The difference here is that the “scene” is the relationship between a stationary person and everything behind them. Treat yourself as the variable, not the subject.
Step 4: Use a Solid-Colored Wall or Building as a Controlled Background
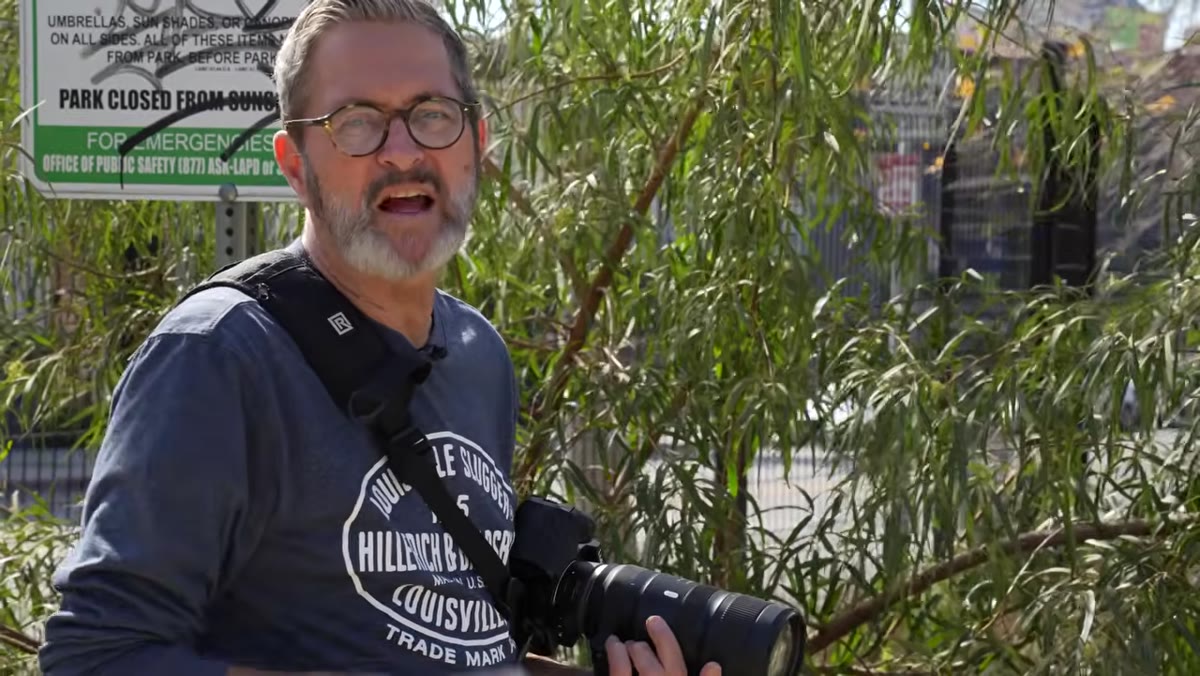 Subject placed near red building wall with rim light from sun behind
Moving to a second location, Morgan spots a red building and immediately sees two opportunities: the wall gives a clean, saturated backdrop, and the angle of the sun creates a natural rim light along the edge of the subject’s face and shoulder. He places the subject so the sun wraps just around the edge of the building, kissing the far side of the face without blowing out the exposure on the lit side.
Subject placed near red building wall with rim light from sun behind
Moving to a second location, Morgan spots a red building and immediately sees two opportunities: the wall gives a clean, saturated backdrop, and the angle of the sun creates a natural rim light along the edge of the subject’s face and shoulder. He places the subject so the sun wraps just around the edge of the building, kissing the far side of the face without blowing out the exposure on the lit side.
The lesson here is to see solid-colored architecture the way a landscape photographer sees a color gradient in the sky - as a tonal field that can anchor the image emotionally. Red, warm yellow, deep ochre: these colors in a background read as warmth even when you’re shooting in flat or mixed light.
Step 5: When There’s No Shade, Turn the Subject into the Backlight
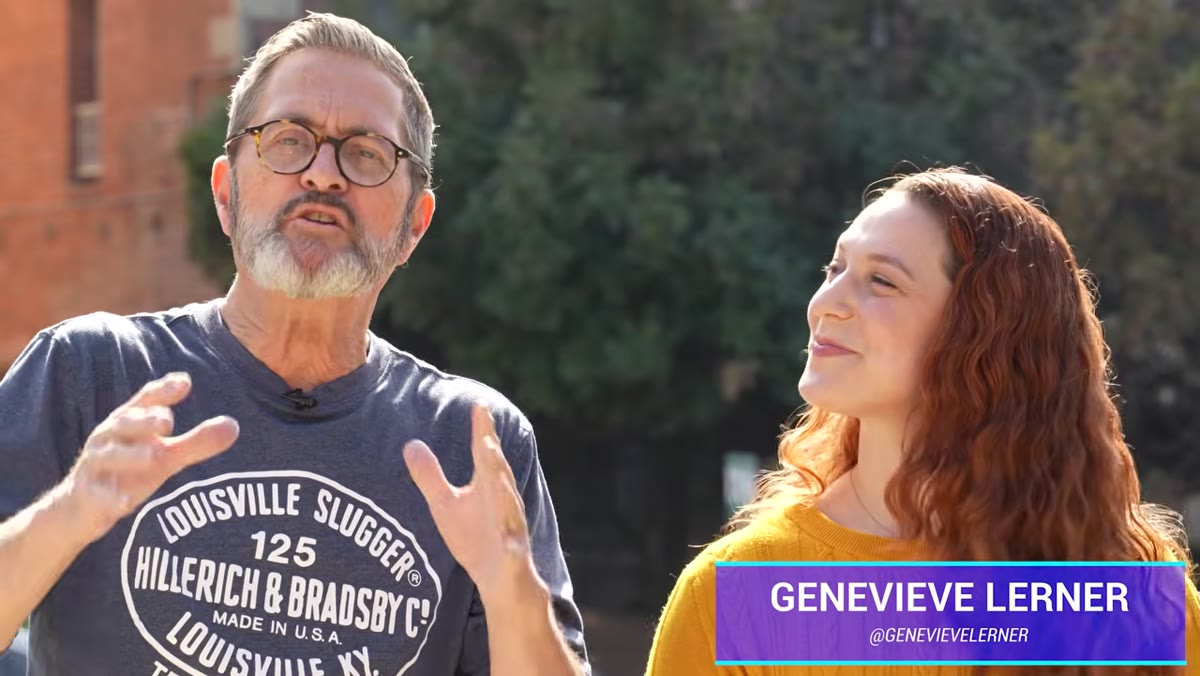 Subject positioned with direct sun behind, face in open shadow
Morgan’s third pillar - shoot with backlight - is the one I reach for most during golden hour landscape sessions that unexpectedly include people. When shade simply doesn’t exist, put the sun behind the subject. The face falls into open shadow, which is even and diffuse. The rim of hair and shoulder catches the sun and separates the subject from the background. Expose for the face and the backlight becomes a glow rather than a problem.
Subject positioned with direct sun behind, face in open shadow
Morgan’s third pillar - shoot with backlight - is the one I reach for most during golden hour landscape sessions that unexpectedly include people. When shade simply doesn’t exist, put the sun behind the subject. The face falls into open shadow, which is even and diffuse. The rim of hair and shoulder catches the sun and separates the subject from the background. Expose for the face and the backlight becomes a glow rather than a problem.
In this setup, watch your histogram carefully. The background sky will often be significantly overexposed if you’re exposing correctly for the face. That’s a creative choice you’re making deliberately, not a mistake. If you want to hold detail in both, this is where a reflector or a strobe becomes worth carrying.
A Landscape Photographer’s Note on Patience and Pre-Reading Light
I still shoot film occasionally - not often, but enough to keep the habit of thinking hard before I press the shutter. That discipline applies directly to what Morgan is teaching here. Before you position your subject anywhere, spend two minutes walking the location and reading where the shade edges fall. Look at how the light changes in just a few feet of movement. Watch the shadow lines on the ground.
I learned this kind of patience from a mentor early in my career who used to say the mountain doesn’t care about your schedule. The light doesn’t either. But the difference between a flat, squinting portrait and a genuinely compelling one is almost always just a few feet of movement and 30 seconds of observation before the shutter fires. That’s the habit this tutorial is really teaching underneath the gear talk.
The single most important idea Morgan lays out is that location quality is almost irrelevant once you understand how to manage light. An average street corner becomes a usable portrait studio the moment you find the shade line, choose your lens length, and commit to walking around your subject until the background works. That’s it. You don’t need a better location. You need a better process.
Watch the full tutorial on YouTube and pay particular attention to how quickly Morgan moves between setups. He’s not laboring over any single shot. He’s reading the environment, placing the subject, and moving on. That confidence comes from having a repeatable system, and this tutorial gives you exactly that.
Comments (2)
Love how you break down complex stuff into manageable steps.
I've watched a dozen tutorials on this and yours is the clearest by far.
Leave a Comment