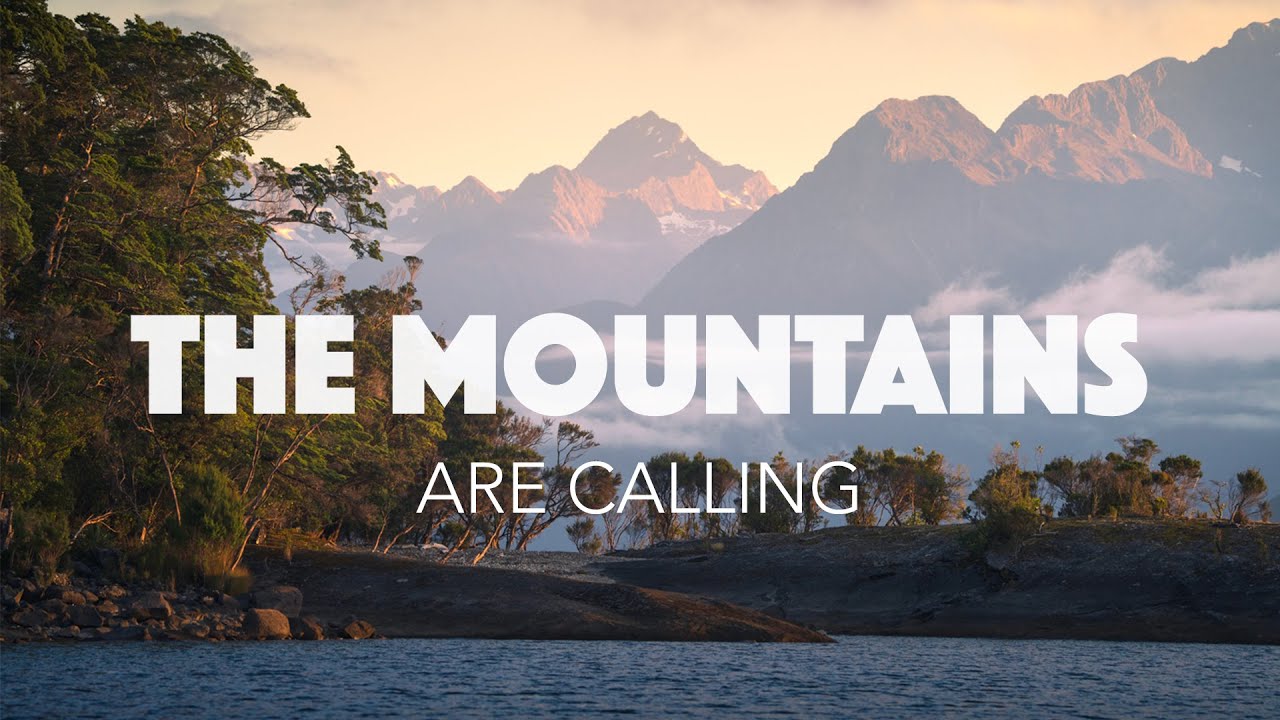
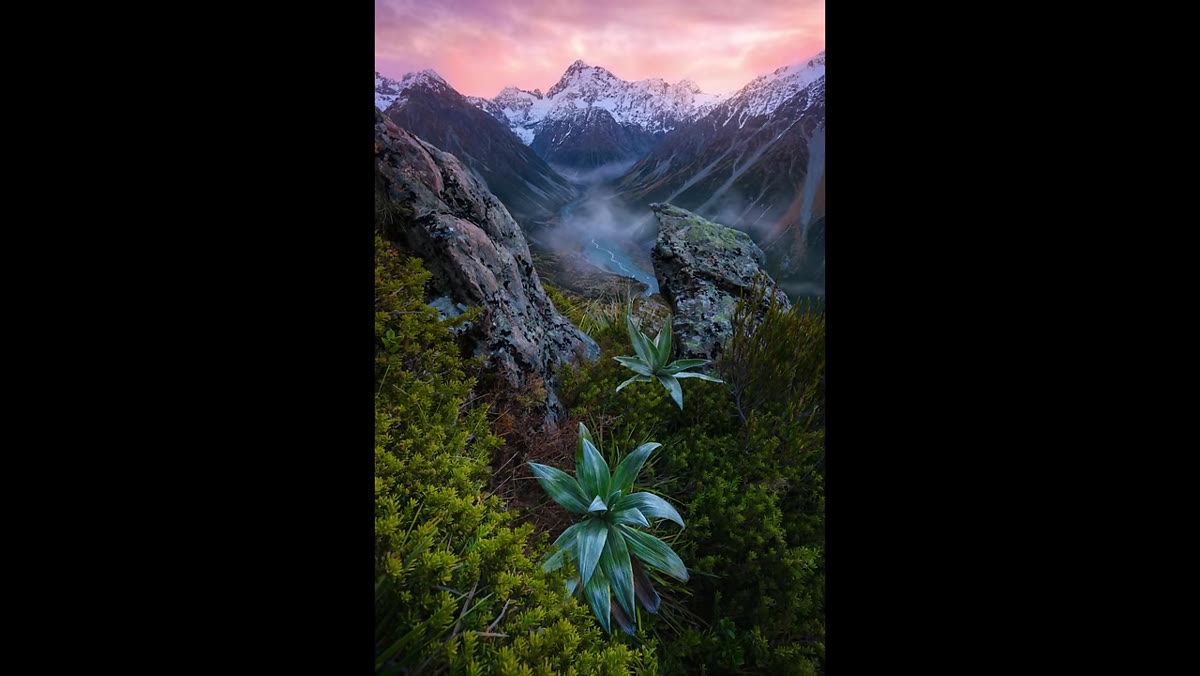
There’s a particular kind of dread that comes from showing up somewhere you’ve never been with no plan and golden light already fading. I’ve done it more times than I’d like to admit. Twenty years into this work and I still feel the pull to just drive toward something beautiful and figure it out when I get there. The problem is that impulse costs you shots. The photographers who consistently come home with strong, original images aren’t necessarily the ones with the best gear or the best luck. They’re the ones who put in the quiet hours before the alarm goes off, studying the land before they ever set foot on it.
That’s why I keep coming back to this tutorial from New Zealand-based landscape photographer William Patino. Watch the full tutorial on YouTube. Patino shoots out of Fiordland, one of the most dramatic and least-photographed wilderness regions on earth, and his scouting workflow reflects someone who has thought hard about how to find genuinely original compositions rather than repeating what everyone else has already captured. What he lays out is methodical, tool-specific, and immediately transferable to wherever you’re shooting, whether that’s coastal Oregon or the Swiss Alps.
Step 1: Start With a Curiosity Mindset, Not a Shot List
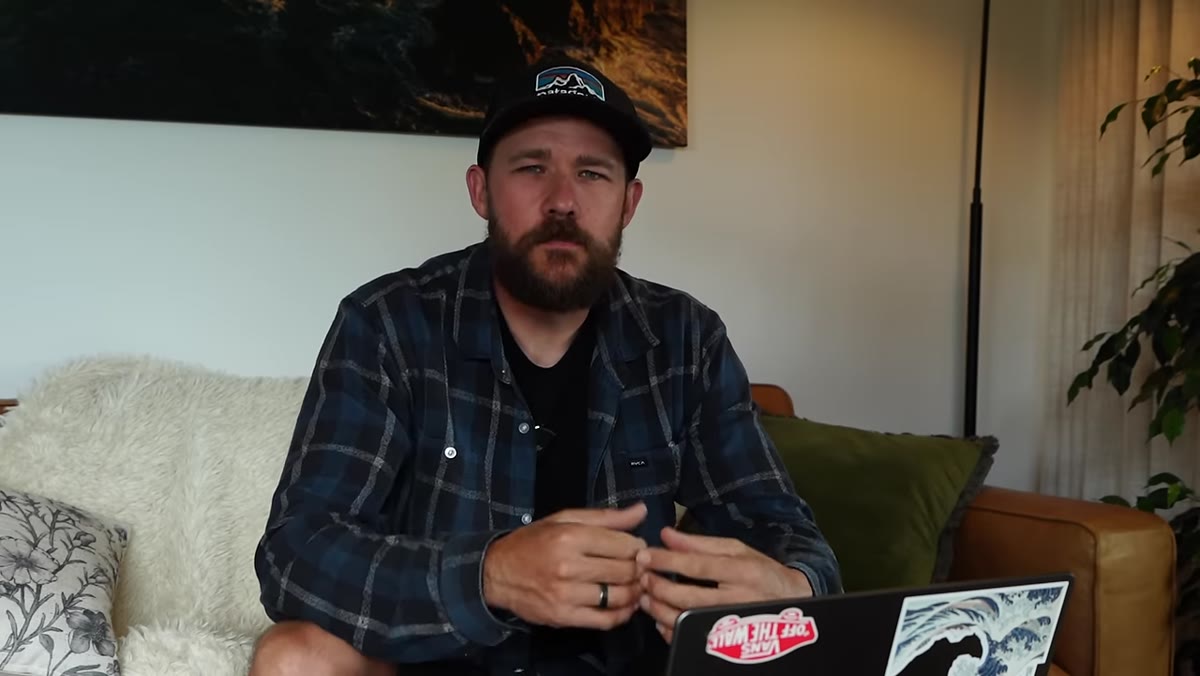
 Will speaking to camera about curiosity driving his photography
Before Patino opens a single tool, he makes a philosophical point worth sitting with. He’s deliberately drawn to places that haven’t been heavily photographed. He lets curiosity lead rather than arriving with a preconceived image in mind. This sounds simple, but it runs counter to how most of us plan shoots. We search Instagram, save reference shots, and then try to recreate them. Patino argues that the more interesting work happens when you approach a landscape without a template. Give yourself permission to look at a place fresh and ask what’s actually here, not what it’s supposed to look like.
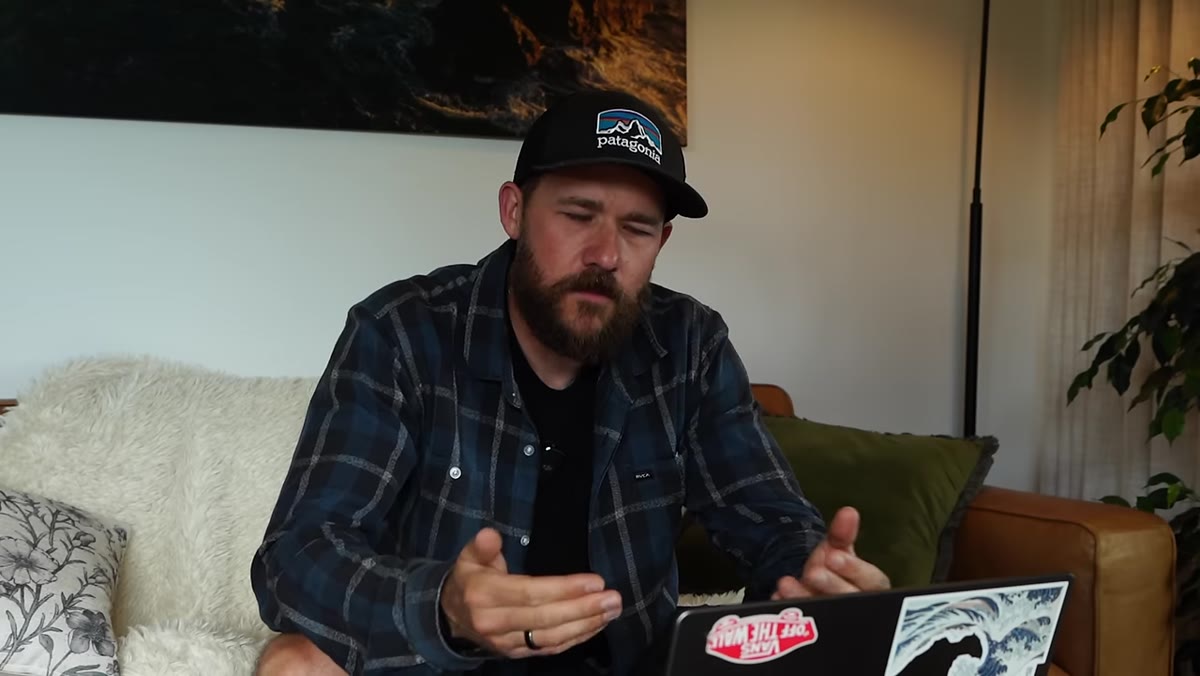
Will speaking to camera about curiosity driving his photography
Before Patino opens a single tool, he makes a philosophical point worth sitting with. He’s deliberately drawn to places that haven’t been heavily photographed. He lets curiosity lead rather than arriving with a preconceived image in mind. This sounds simple, but it runs counter to how most of us plan shoots. We search Instagram, save reference shots, and then try to recreate them. Patino argues that the more interesting work happens when you approach a landscape without a template. Give yourself permission to look at a place fresh and ask what’s actually here, not what it’s supposed to look like.
Step 2: Open Google Earth and Take a Virtual Scenic Flight
 Google Earth interface zoomed into Fiordland lake region
Patino’s primary pre-scouting tool is Google Earth, and he uses it in a specific way. Start by finding your general target area and zooming in. Once you’re oriented, drop down to near-ground level using the tilt function so you’re looking at the landscape the way you would from a shooting position rather than from directly overhead. This is the key move. Satellite imagery viewed from above flattens mountains and hides their character entirely. When you tilt to eye level, peaks reveal their actual profiles, ridgelines show their angles, and you start to see how the terrain will frame a composition. Use right-click drag to rotate around points of interest and simulate moving around the landscape. Think of it as a free helicopter scout.
Google Earth interface zoomed into Fiordland lake region
Patino’s primary pre-scouting tool is Google Earth, and he uses it in a specific way. Start by finding your general target area and zooming in. Once you’re oriented, drop down to near-ground level using the tilt function so you’re looking at the landscape the way you would from a shooting position rather than from directly overhead. This is the key move. Satellite imagery viewed from above flattens mountains and hides their character entirely. When you tilt to eye level, peaks reveal their actual profiles, ridgelines show their angles, and you start to see how the terrain will frame a composition. Use right-click drag to rotate around points of interest and simulate moving around the landscape. Think of it as a free helicopter scout.
Step 3: Identify a Characteristic Peak or Dominant Subject
 Google Earth view rotating around Mount Lyall summit profile
Patino is specifically hunting for what he calls a characteristic peak, some part of a mountain range that has a clearly defined, visually interesting shape. He notes that mountains change dramatically depending on your angle and elevation, so rotating around a peak in Google Earth can reveal a knife-edge ridge or a symmetrical triangle that’s completely invisible from another direction. He uses Mount Lyall as his demonstration, showing how the summit shifts from a broad, undefined mass to a sharp, compelling form as the viewing angle changes. What you’re looking for is a natural resting place for the eye. If a peak doesn’t have a distinctive silhouette from any angle in Google Earth, it probably won’t hold a composition in the field either.
Google Earth view rotating around Mount Lyall summit profile
Patino is specifically hunting for what he calls a characteristic peak, some part of a mountain range that has a clearly defined, visually interesting shape. He notes that mountains change dramatically depending on your angle and elevation, so rotating around a peak in Google Earth can reveal a knife-edge ridge or a symmetrical triangle that’s completely invisible from another direction. He uses Mount Lyall as his demonstration, showing how the summit shifts from a broad, undefined mass to a sharp, compelling form as the viewing angle changes. What you’re looking for is a natural resting place for the eye. If a peak doesn’t have a distinctive silhouette from any angle in Google Earth, it probably won’t hold a composition in the field either.
Step 4: Look for Natural Foreground and Shooting Positions
 Google Earth showing beach on lake shore below mountain range
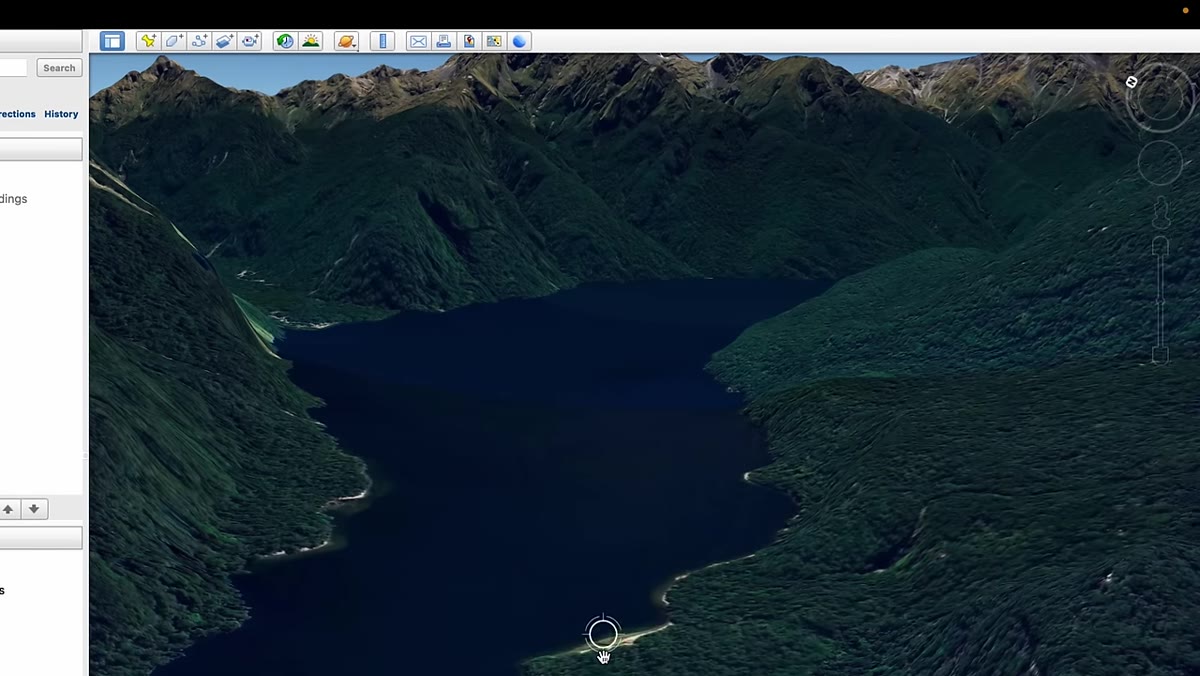
Once Patino finds a peak with strong character, he zooms back out slightly and looks for logical places to shoot from. In his example, he spots a beach along the lakeshore directly below the mountain he’s eyeing. That beach solves multiple problems at once: it gives him access, a foreground element, and a clear sightline to the peak. He also notes the presence of forest nearby, which adds compositional layering. The exercise here is systematic. Identify your subject first, then work backward to find where you’d physically stand. Look for beaches, clearings, rocky outcroppings, ridgelines, or any flat access point that faces your subject. Mark these spots for the next phase.
Google Earth showing beach on lake shore below mountain range
Once Patino finds a peak with strong character, he zooms back out slightly and looks for logical places to shoot from. In his example, he spots a beach along the lakeshore directly below the mountain he’s eyeing. That beach solves multiple problems at once: it gives him access, a foreground element, and a clear sightline to the peak. He also notes the presence of forest nearby, which adds compositional layering. The exercise here is systematic. Identify your subject first, then work backward to find where you’d physically stand. Look for beaches, clearings, rocky outcroppings, ridgelines, or any flat access point that faces your subject. Mark these spots for the next phase.
Step 5: Layer In Topographic Maps for Elevation Context
 Laptop screen showing topographic map alongside Google Earth
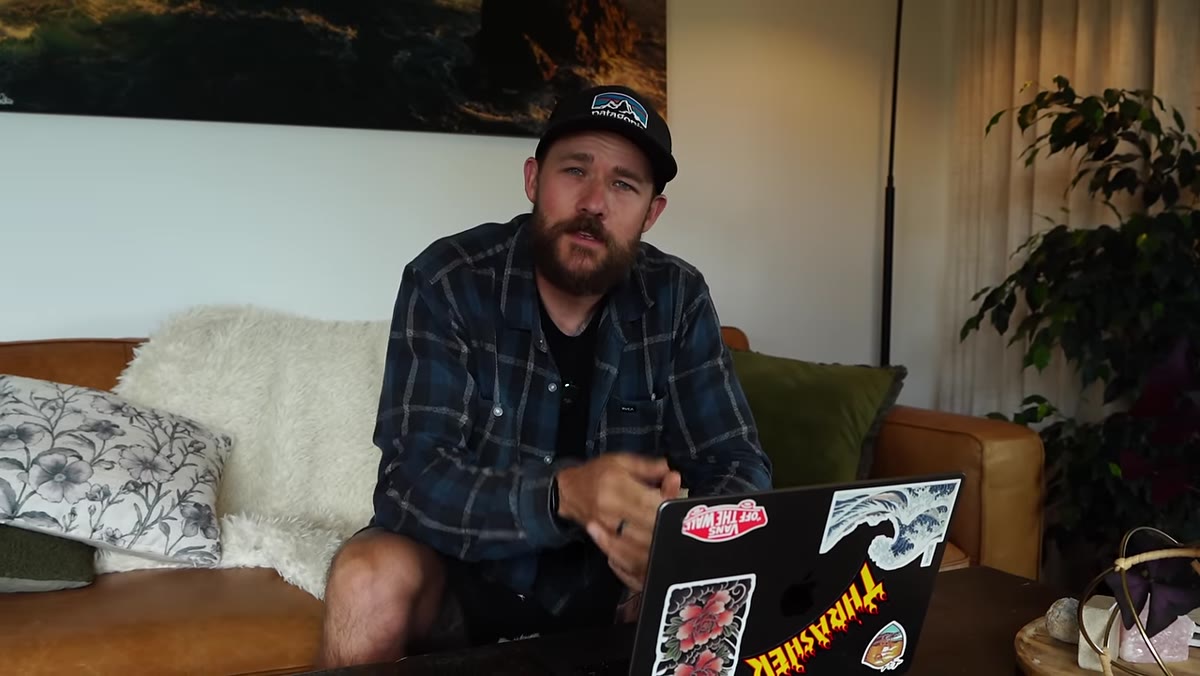
Google Earth handles visual scouting well, but topographic maps fill in what satellite imagery can’t show you: actual elevation change, slope angle, and the effort involved in getting somewhere. Patino cross-references topo maps with his Google Earth finds to understand the terrain between him and his shooting position. For any remote location, this matters. A beach that looks 300 meters from a forest road on Google Earth might involve a steep scramble down a bluff, or it might be a gentle five-minute walk. Topo maps tell you which it is before you load the boat. In the US, CalTopo is excellent for this. In New Zealand and much of the world, the topo layer built into Google Earth itself gives you enough to start.
Laptop screen showing topographic map alongside Google Earth
Google Earth handles visual scouting well, but topographic maps fill in what satellite imagery can’t show you: actual elevation change, slope angle, and the effort involved in getting somewhere. Patino cross-references topo maps with his Google Earth finds to understand the terrain between him and his shooting position. For any remote location, this matters. A beach that looks 300 meters from a forest road on Google Earth might involve a steep scramble down a bluff, or it might be a gentle five-minute walk. Topo maps tell you which it is before you load the boat. In the US, CalTopo is excellent for this. In New Zealand and much of the world, the topo layer built into Google Earth itself gives you enough to start.
Step 6: Verify With a Boat or Field Scout Before Committing to a Shoot
 Boat on lake with mountain range visible in background
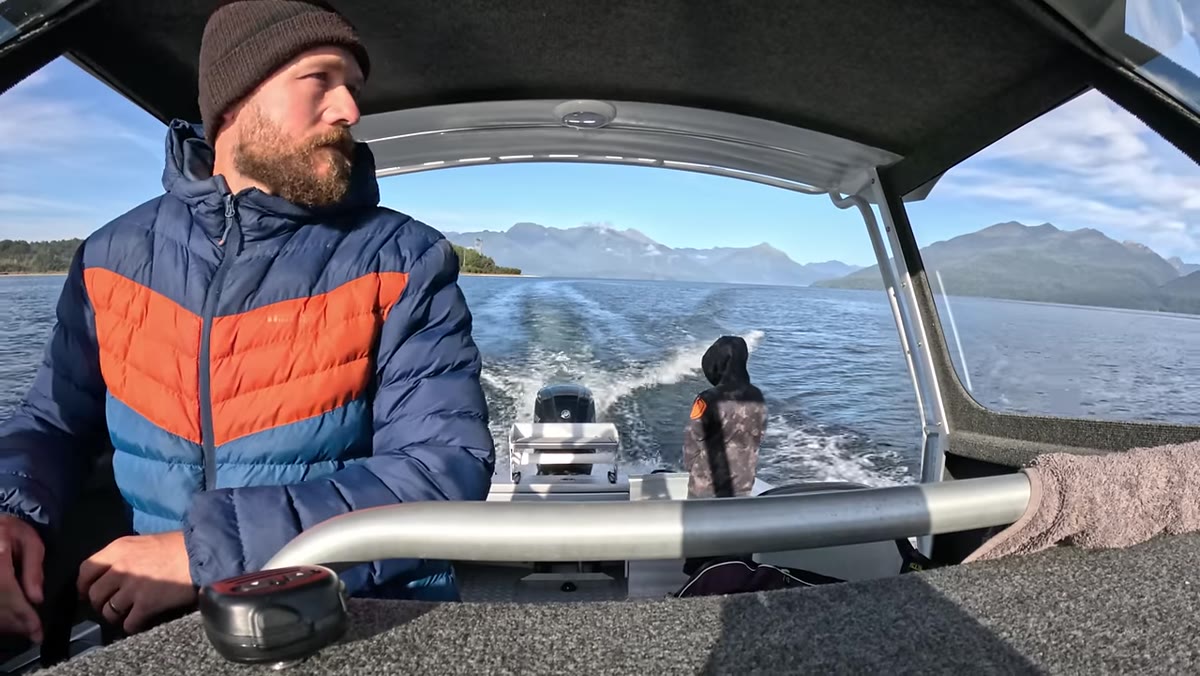
Patino has been using a boat over the past year to reach lake-access-only locations, and he treats the first visit as a scouting trip, not a photography trip. This distinction matters. When you scout separately from shooting, you’re free to assess without pressure. You can walk the beach, test angles, check where the light will land in the morning, and leave without needing to come home with a finished image. That patience pays off on the actual shoot. A mentor once told me the mountain doesn’t care about your schedule, and I’ve found that advice lives in this step more than any other. Go once to look. Go again to photograph.
Boat on lake with mountain range visible in background
Patino has been using a boat over the past year to reach lake-access-only locations, and he treats the first visit as a scouting trip, not a photography trip. This distinction matters. When you scout separately from shooting, you’re free to assess without pressure. You can walk the beach, test angles, check where the light will land in the morning, and leave without needing to come home with a finished image. That patience pays off on the actual shoot. A mentor once told me the mountain doesn’t care about your schedule, and I’ve found that advice lives in this step more than any other. Go once to look. Go again to photograph.
What I’d Add From My Own Experience Shooting in Unfamiliar Terrain
I use Patino’s workflow almost exactly as described, but I add one layer: I check sun position using PhotoPills or The Photographer’s Ephemeris after I’ve identified a shooting position in Google Earth. Knowing the azimuth and elevation of the sun at sunrise or sunset tells me whether a given beach or clearing actually gets light on the mountain face I want to photograph, or whether the peak will be in shadow all morning. In Fiordland, which is famous for its deep valleys and steep walls, this matters enormously. In central Oregon it matters too. Beautiful summit, wrong face, wrong season, and you’re standing in shade watching the light hit somewhere you can’t reach. Add the sun position check before you ever put boots on the ground.
The single most important idea Patino puts forward is this: original photography comes from original scouting. Every iconic shot that gets copied thousands of times started with someone willing to walk ten minutes past the obvious. The tools he uses, Google Earth, topo maps, a boat, a willingness to visit twice, are all in service of that one idea. Build the habit of looking before you shoot, and your compositions will stop looking like everyone else’s.
Watch the full tutorial on YouTube to see Patino walk through the Google Earth workflow live and follow him into the field on the actual scout.
Comments
Leave a Comment