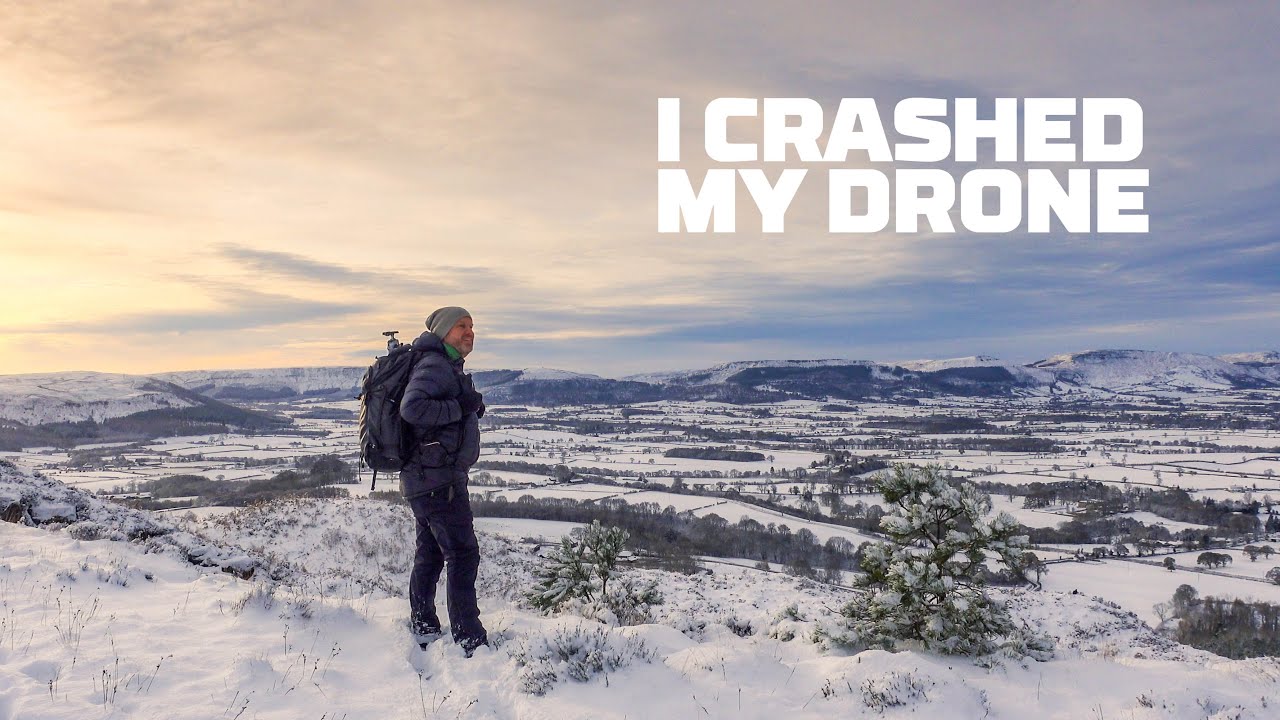
Snow is one of the most unforgiving and rewarding conditions you will ever shoot in. The window is brutal. Snow on branches at golden hour is a gift that lasts maybe forty minutes before the sun climbs high enough to strip it all away. I have been chasing that window for two decades out here in the high desert of Oregon, driving into the Cascades before first light on the off chance that the overnight snowfall stuck to the trees the way I was hoping. Most of the time it doesn’t. But when it does, you had better already know your settings and your composition before you get there, because you won’t have time to figure it out on location.
That’s exactly why I found this tutorial from Adam at First Man Photography so worth studying. Watch the full tutorial on YouTube – Adam captures a full snowy golden-hour shoot in real time, talking through every decision as he makes it. What makes it valuable isn’t the gear (though he’s shooting the Canon R5 for the first time on video). It’s the thinking: how he reads the light, how he protects the shot from his own footprints, how he handles a composition that’s almost but not quite perfect. These are field problems I’ve faced every single winter, and watching another working photographer solve them live is a faster education than most books.
Step 1: Know Your Location Before the Snow Falls
 Photographer hiking uphill through snow toward a lone tree and stone wall
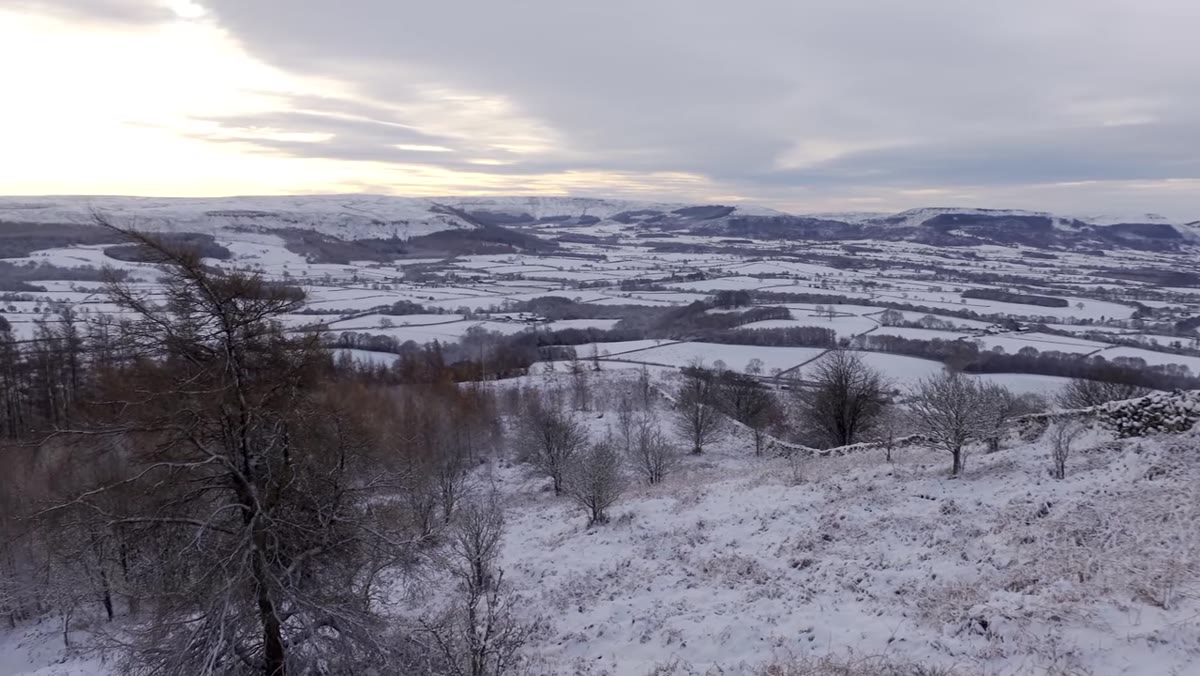
Adam is explicit about this: he got to that composition so fast because he already knew the location. He’d been there before in other conditions. The snow was a variable he hadn’t planned, but the tree, the dry stone wall, the sightlines to the hills behind – that was all pre-scouted. If you show up to an unfamiliar location in snow, you’re burning your golden hour on orientation instead of shooting.
Pick your winter locations in autumn or even summer. Walk the ground, note where the walls and trees sit relative to the sunrise direction, and mark it. When overnight snow hits and your alarm goes off at 4am, you already know exactly where to point the car.
Step 2: Get There With the Right Vehicle (and Accept the Physical Cost)
 Steep icy hill access road leading to shooting location
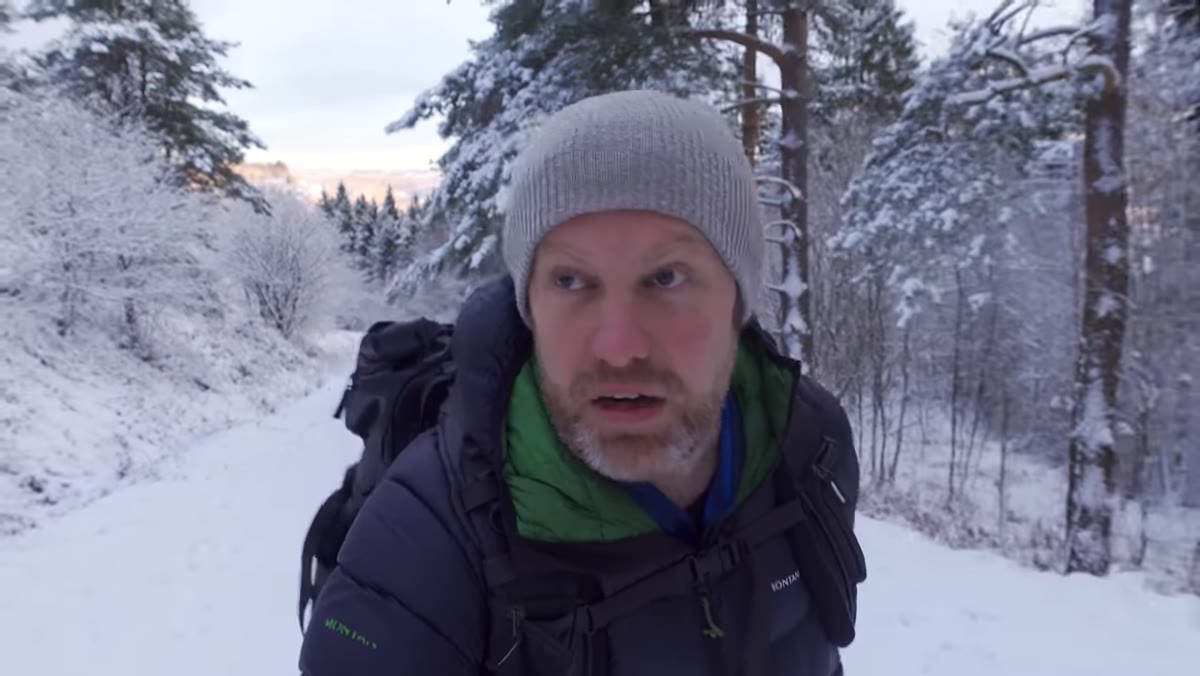
Adam mentions almost in passing that he got to this location solely because he had four-wheel drive. That’s worth taking seriously. A lot of the best snowy landscape spots require driving icy back roads or parking and hiking uphill through significant accumulation – often in the dark, often carrying a tripod and a full camera bag.
Plan for the physical reality of winter shooting. Dress in breathable layers you can move hard in. Expect that the hike to your spot will take longer in snow. Leave earlier than you think you need to. Adam is visibly winded climbing to his tree, which is exactly what happens when you’re carrying glass and metal up a snow-covered hill in cold air. Don’t let that catch you off guard.
Step 3: Protect the Foreground – Don’t Walk Through Your Own Shot
 Pristine snow in foreground with untouched grass blades visible at frame edge
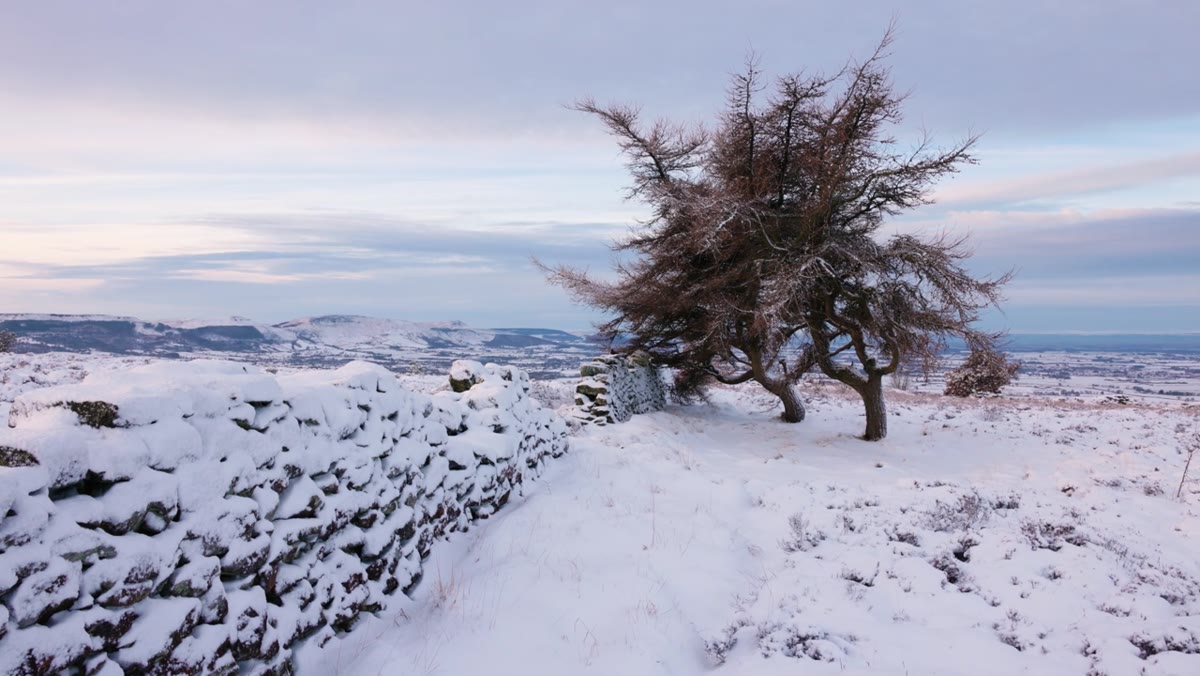
This is one of the most practical field decisions in the whole video. Adam normally enters this location through a gap in the wall, but doing so would have taken him directly through the foreground he wanted to shoot. He spotted blades of grass coming up through pristine snow on the left side of the frame, and he went the long way around to avoid disturbing it. That meant harder going through deep snow, but the foreground stayed clean.
Before you move toward your composition, stop and look at the full path your feet will take. Snow is unforgiving. One boot print in the wrong place and you’re either cloning it out in post or reframing the shot. Walk around, not through.
Step 4: Set Tripod Height to Control Background Depth
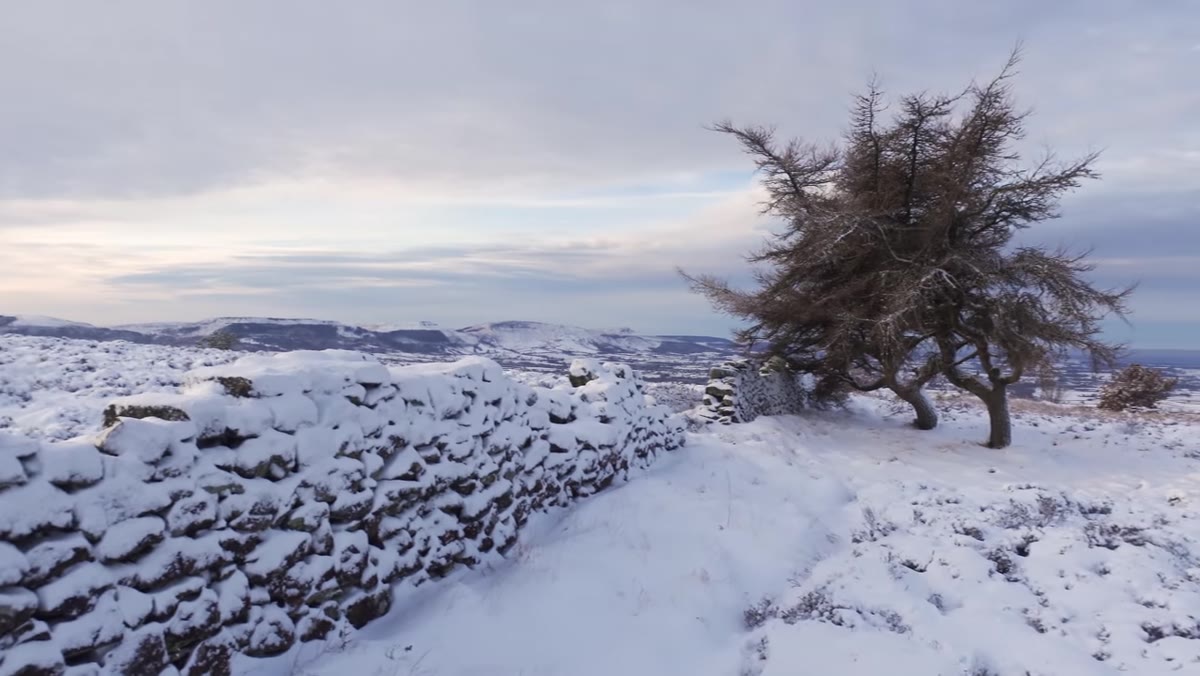 High tripod position revealing distant hills behind the stone wall and tree
Adam keeps his tripod high for a specific reason: he wants to see the hills in the distance behind the wall. When he drops the tripod lower, the hills disappear behind the terrain and the composition flattens out. The wall, which forms a leading line from the bottom left of the frame, only works if there’s something in the background worth leading toward.
This is a principle worth internalizing. Tripod height isn’t about comfort, it’s about background management. Before you lock down, crouch low, stand high, look through the viewfinder at every height in between, and ask what each position reveals or conceals in the background.
Step 5: Place the Subject on the Thirds and Manage Weak Corners
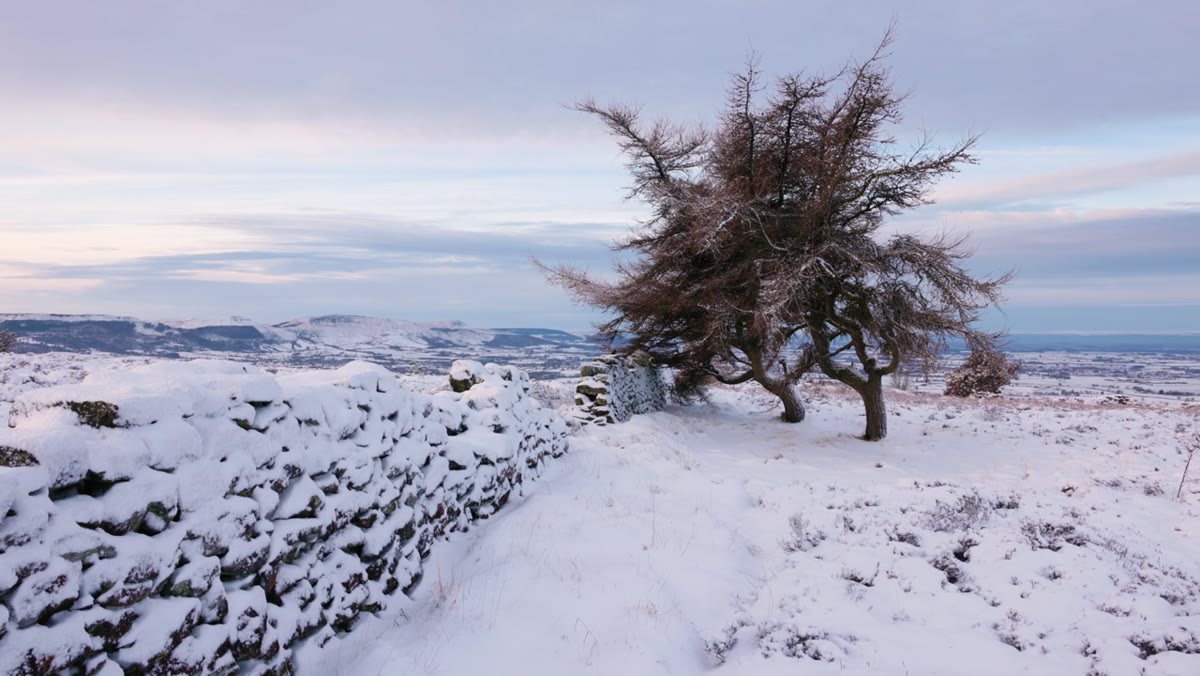 Viewfinder framing with tree on upper right third, wall as diagonal leading line
Adam places the tree on the top right corner of the rule-of-thirds grid and uses the wall as a diagonal leading line from the bottom left. The composition works well on three sides. He’s honest about the fourth: the bottom right of the frame isn’t strong, and it isn’t completing a line the way the other corners are.
His solution is practical rather than precious: he flags it as something to address in post-processing, possibly by reducing the luminance in that corner to draw the eye away from it. Not every corner of a frame needs to be active. But knowing which corners are weak before you press the shutter means you can make a conscious choice about how to handle them, rather than discovering the problem at your desk later.
Step 6: Dial In Your Settings for Bright Snow in Direct Light
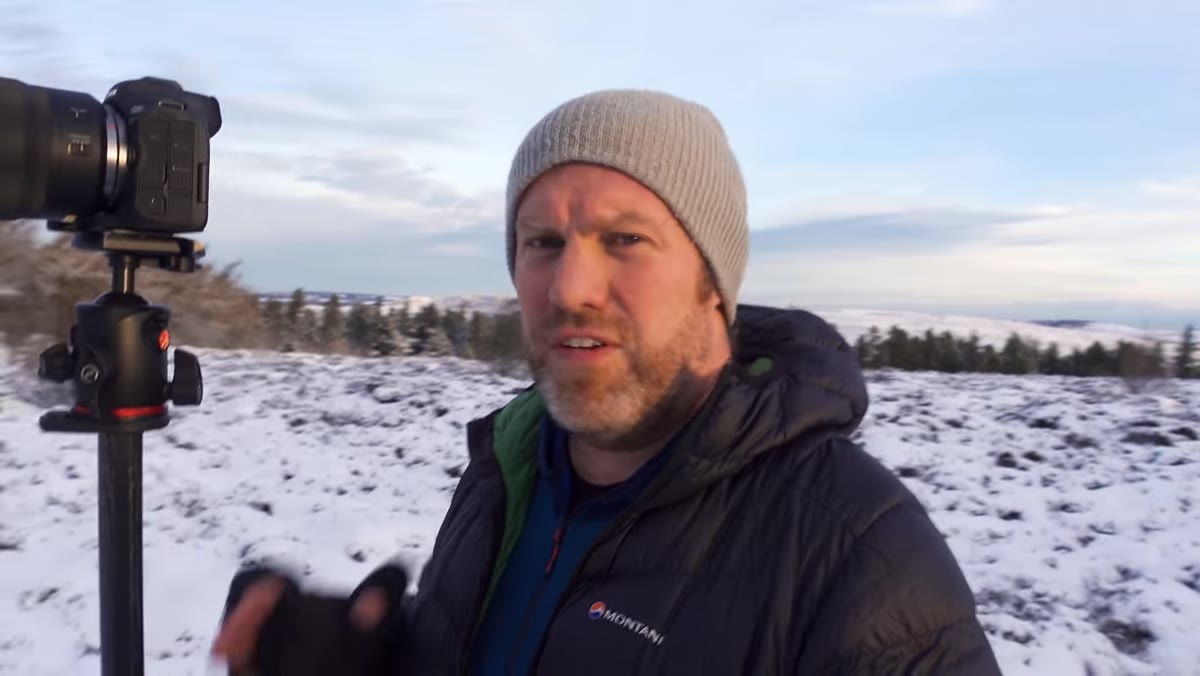 Camera settings visible: f/11, ISO 100, 1/140th second during golden hour sun
Adam keeps this clean and direct. He’s at f/11 for depth of field, ISO 100 for maximum image quality on the 50-megapixel sensor, and 1/140th of a second as the sun strengthens. He’s focusing on the tree, not the foreground.
Snow in direct early-morning sun is tricky for exposure because it’s reflective enough to fool a meter into underexposing. If you’re shooting in conditions like this, check your histogram and protect the highlights in the snow on those sunlit branches. At ISO 100 with a base exposure like Adam’s, you’re in a range where the sensor can hold good shadow detail in the wall and trunk while keeping the snow from blowing out.
What I’d Add: The Shot You Almost Walk Past
The thing about snowy golden-hour light is that it rewards peripheral vision. Adam’s main composition is the tree and wall, which he’s locked in on. But he also notices the pheasants sitting on the wall and captures that element too. The energy of a fresh snow shoot can narrow your focus so hard on the pre-planned shot that you stop seeing what’s actually in front of you.
I’ve made this mistake more times than I want to count. I’ll hike to a location I’ve scouted, plant the tripod exactly where I planned, and not look left or right for an hour. Some of my best prints came from the shot I took while walking back to the car. Keep looking, even after you’ve got the frame you came for.
The single most important thing Adam demonstrates in this video is the cost-benefit math of winter shooting: harder access, narrow timing, physical discomfort, and in return, light and conditions you simply cannot manufacture in any other season. That trade is worth it every time the conditions align. The photographers who make it out consistently are the ones who’ve already solved the logistics – the vehicle, the scouting, the layering system – so that when the snow falls overnight, the only thing left to think about is the picture.
Watch the full tutorial on YouTube and pay close attention to how Adam talks through his composition decisions in real time. That live problem-solving is where most of the real instruction lives.
Comments (2)
I tried this on a client project yesterday and the results were way better than expected.
Couldn't agree more. I've seen this make a huge difference in gear work specifically.
Leave a Comment