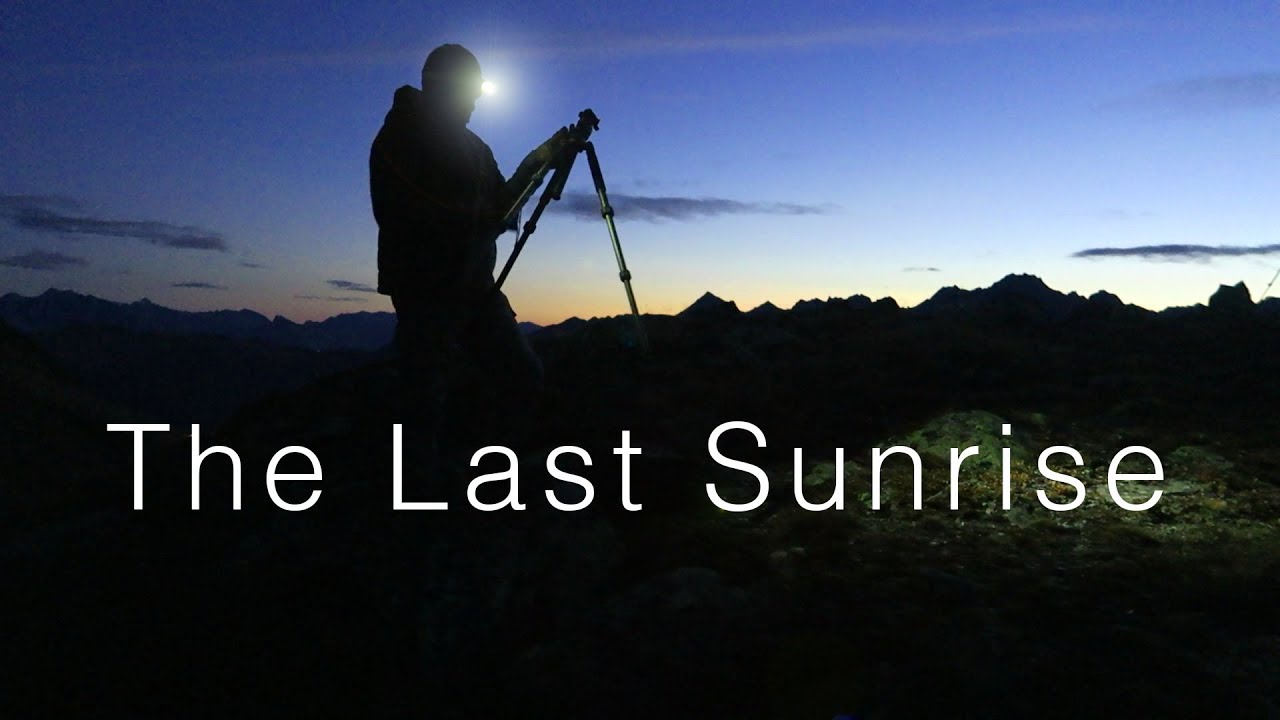
There’s a particular kind of exhaustion that sets in at the end of a long multi-day shoot in the mountains. Your legs are done. Your decision-making is slower than you’d like. And yet the light doesn’t care. It keeps doing what it does, indifferent to whether you’re rested or wrecked. I’ve stood in that exact fog of fatigue more times than I can count, usually asking myself the same question: do I still have enough in the tank to make something worth keeping? That question is exactly what Thomas Heaton’s final video from this alpine trip is built around. Watch the full tutorial on YouTube
In this Thomas Heaton tutorial, he wraps up a multi-day guided mountain photography trip with a sunset session and a redemption-shot sunrise the following morning. What makes it genuinely useful, beyond the stunning scenery, is watching how he makes compositional calls and technical adjustments when he’s tired, working with unfamiliar gear, and dealing with conditions he can’t control. That’s real field photography. That’s the stuff no perfectly controlled studio tutorial can teach you.
What I keep coming back to is his willingness to call a shot “good enough for now” and consciously save his energy and eye for the more important image in the morning. That’s a kind of discipline that takes years to develop. My mentor once told me that the mountain doesn’t care about your schedule, and he was right. What he didn’t say is that sometimes you have to care a little less too, so you can show up fresh when it counts.
Step 1: Scout Your Next Location During the Current Shoot
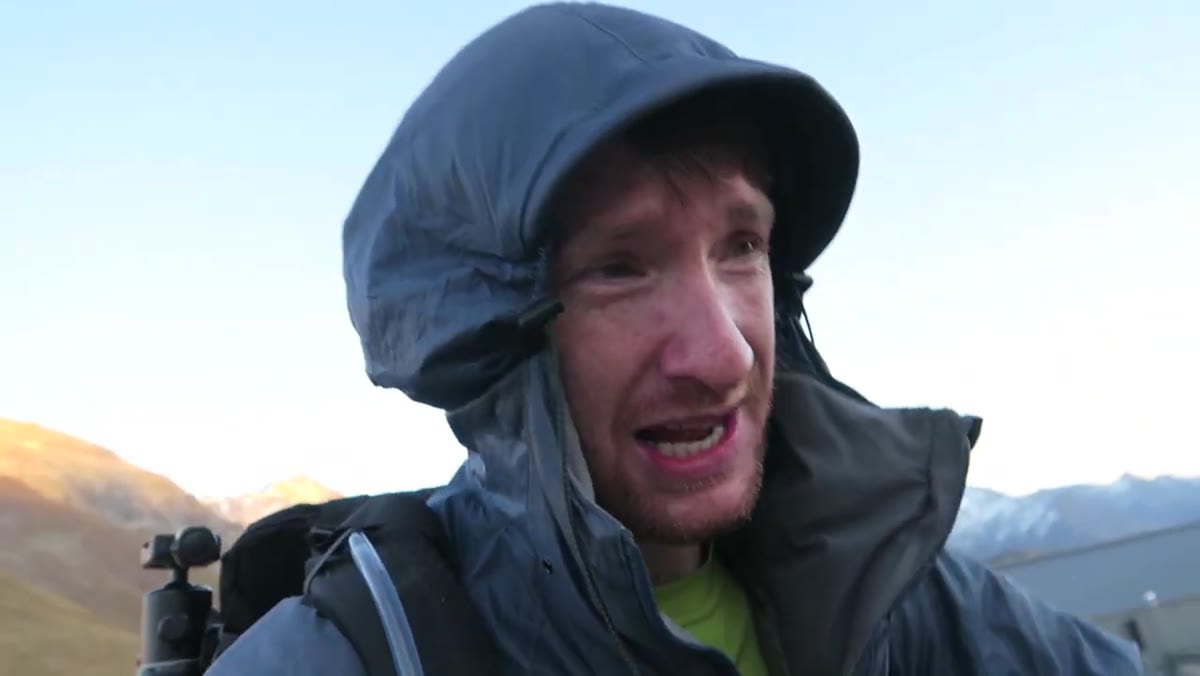 Heaton pointing toward mountain range behind the hut at dusk
Don’t wait until morning to figure out where you’re going. At the end of his sunset session, Heaton takes a deliberate look at the mountain range behind the hut and explicitly identifies it as his composition for the following sunrise. He’s not just enjoying the view. He’s pre-visualizing the shot: where the sun will rise, how the light will hit the peaks, what angle will give him the geometry he wants. Use every moment in the field as reconnaissance for the next one. Walk the ridge, note where the shadows fall, and mark your position mentally or physically before you leave.
Step 2: Work With What the Light Gives You, Not What You Hoped For
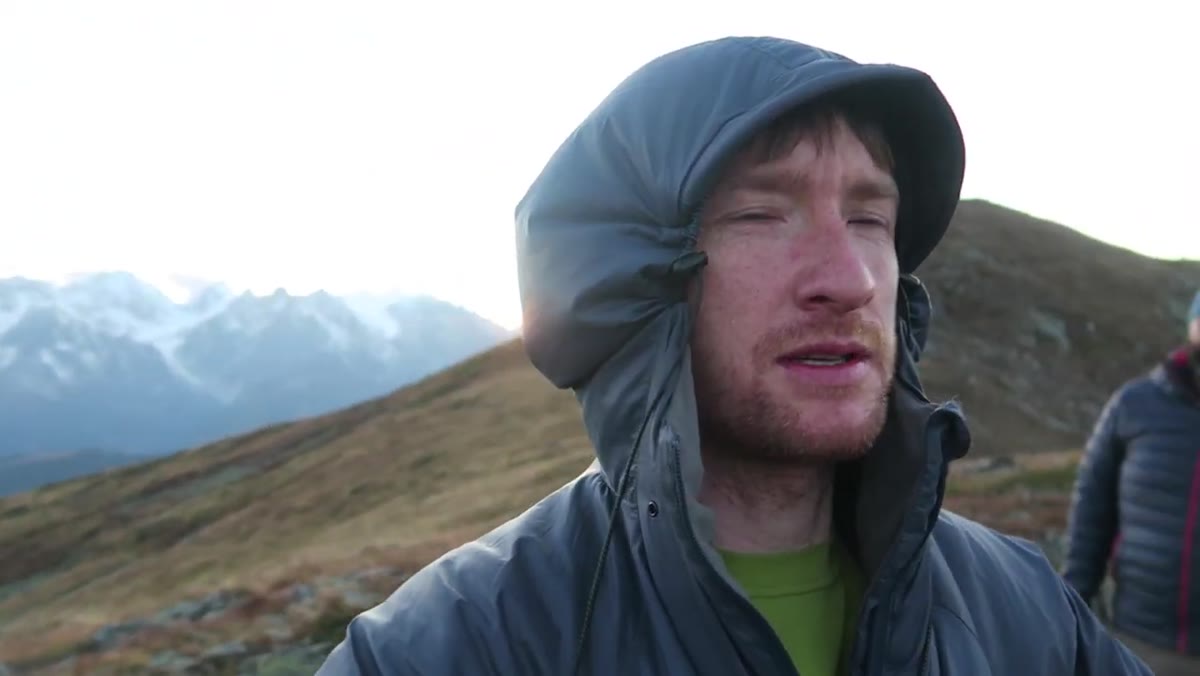 Heaton scanning 360-degree view from the peak at golden hour
When Heaton reaches the summit behind the hut at sunset, he has 360-degree options and limited time. He doesn’t freeze up. He looks for the element that earns his attention fastest: a mountain peak catching the last pink light of the day, with clean ridgeline shapes and a strong directional hit at the summit. The lesson is to identify your strongest anchor point quickly and build your frame from there. This is not the moment for second-guessing. Trust your first reaction to the light and move.
Step 3: Use a Polarizer and Shoot on a Timer to Maximize Sharpness
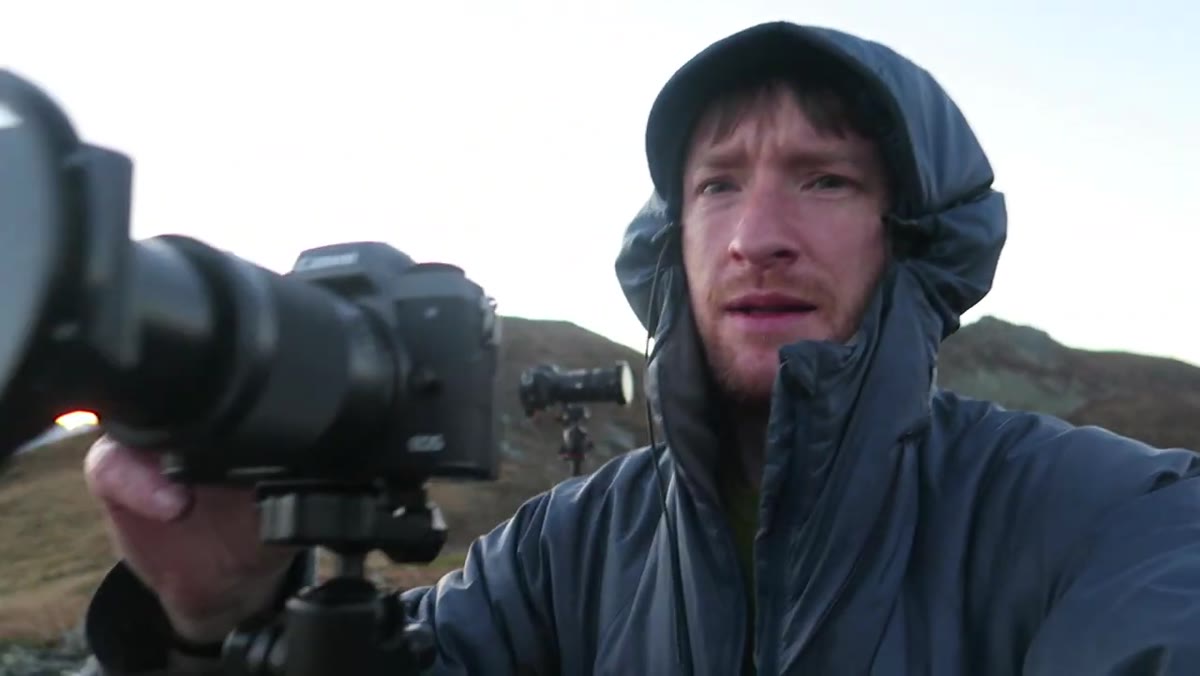 Heaton checking camera settings with polarizer attached at sunset
Heaton shoots the sunset scene at f/9 with a two-second self-timer. These two decisions work together and both matter. A polarizer cuts haze and deepens color saturation in the sky and on the lit peaks, especially in alpine environments where you have a lot of open sky and reflective rock. Shooting at f/9 gives you enough depth of field to keep foreground and background crisp without diffraction softening things at f/16 or beyond. The two-second timer means your hands are off the camera when the shutter fires, eliminating the micro-vibration that ruins otherwise technically solid images. These are not glamorous adjustments. They’re the kind of habits that separate sharp files from soft disappointments.
Step 4: Know When a Shot Is Worth Taking Versus Worth Saving
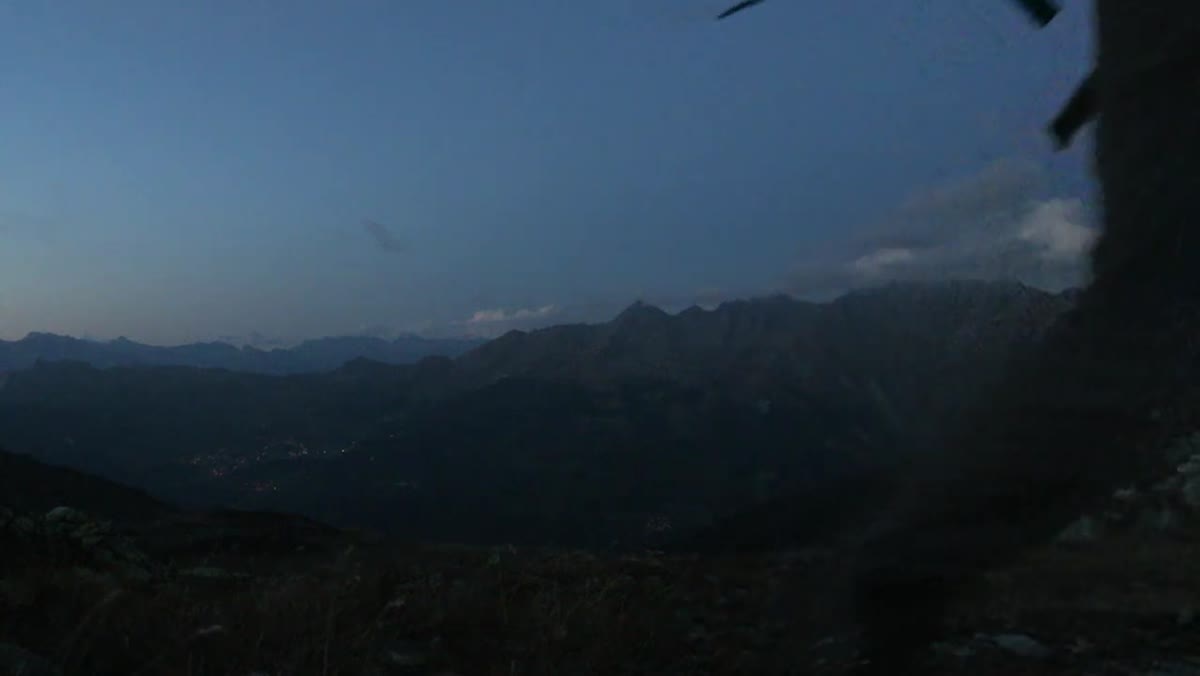 Heaton looking back at mountain range, mentally filing it for morning
After capturing the sunset, Heaton is straightforward about his thinking. The evening light was nice. Worth shooting. But the main subject, the larger mountain range to the west, is the shot he’s saving for first light. He doesn’t try to force a great image out of a scene that isn’t fully cooperating at that moment. This is a discipline I had to learn the slow way. I used to burn through energy and card space trying to squeeze greatness out of every session, and I’d arrive at sunrise too depleted to make clear decisions. Sometimes the most professional thing you can do is acknowledge a scene is a B-plus and move on.
Step 5: Return to a Failed Shot and Fix What Went Wrong
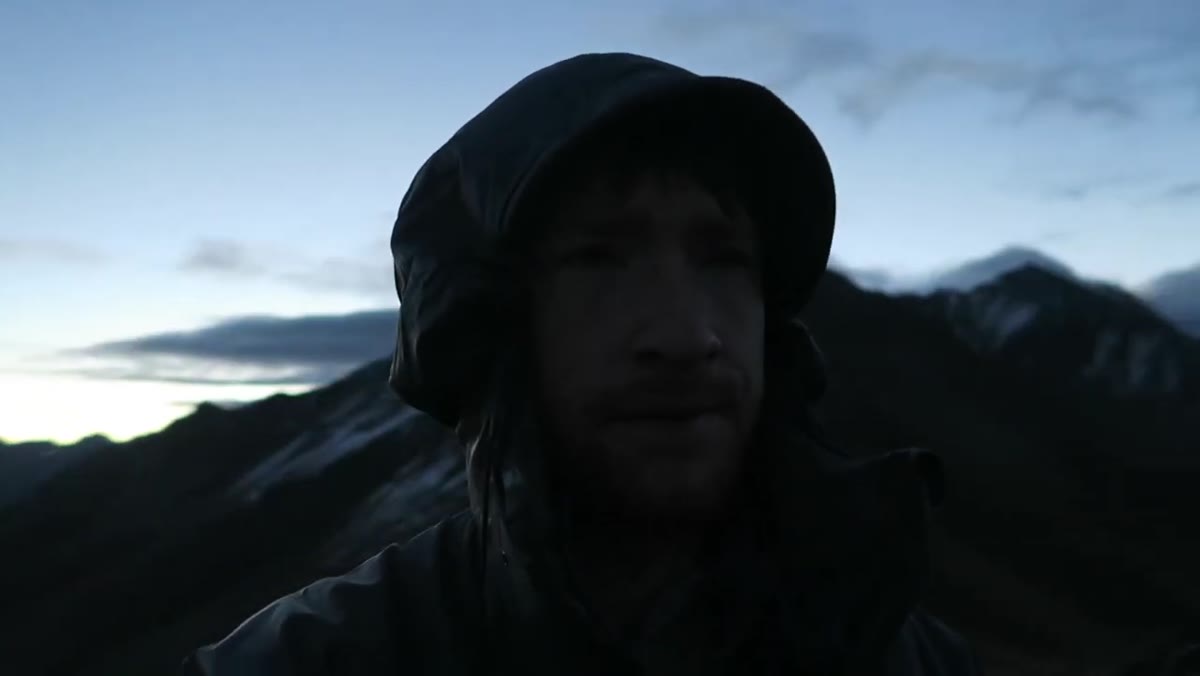 Heaton setting up panoramic on the same peak he shot previously
The sunrise session is partly a redemption shoot. Heaton had photographed this same scene before but came away with soft panoramic images because extreme wind at a long focal length introduced camera movement during the multi-shot stitch. He’s back to solve that specific technical problem. This kind of intentional revisiting is underrated. I still shoot film occasionally because it forces me to think hard before pressing the shutter, and that same discipline applies here. When you know why an image failed, you can design the conditions for the retry. Heaton knows the problem was wind plus focal length plus exposure time, so he’s factoring all three into his approach.
Step 6: Shoot a Panoramic Without an L-Bracket by Tilting the Ball Head
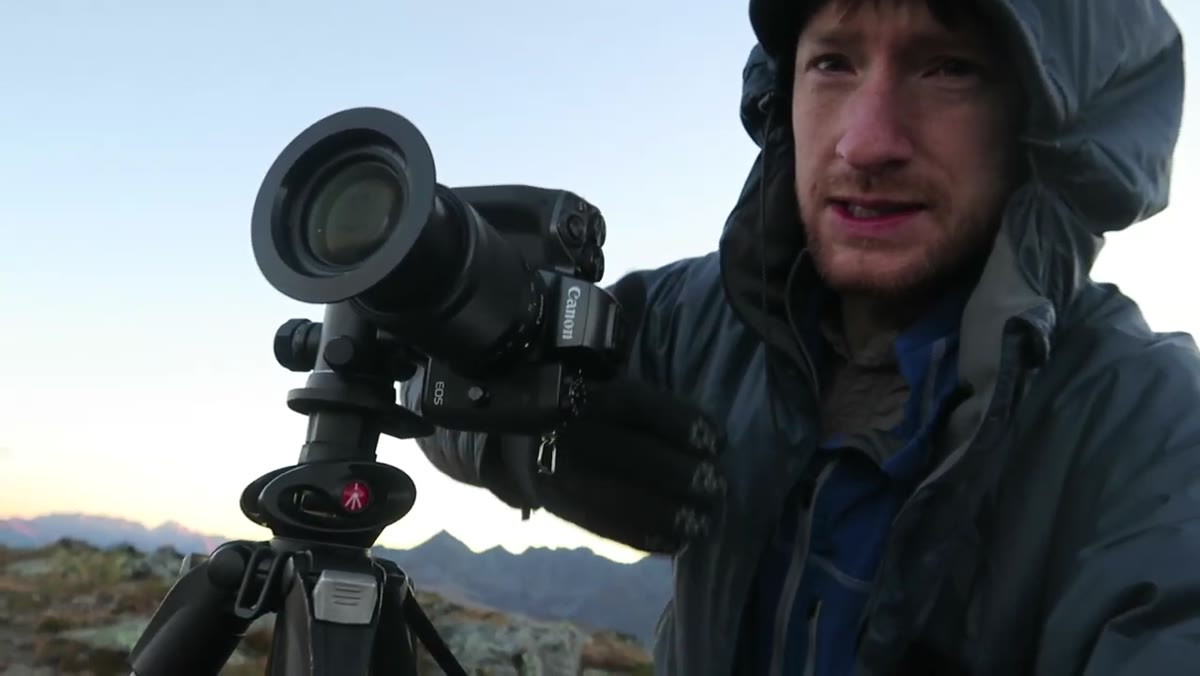 Heaton tilting camera sideways on ball head to simulate portrait orientation for panoramic
Without an L-bracket, rotating the camera to portrait orientation for a panoramic stitch normally means the camera is no longer balanced over the tripod head, which causes parallax problems in the final stitch. Heaton’s workaround is to tilt the ball head itself to put the camera on its side. It’s not the textbook method, but it works in the field when you’re not carrying every piece of kit. The practical takeaway: a panoramic in portrait orientation gives you significantly more vertical resolution when stitched, which is what you want for large prints of a horizontal mountain scene. Even with a crop sensor camera, as Heaton notes he’s working with here, a well-executed panoramic can yield enough resolution for a strong final image.
A Note From My Own Kit Bag
The moment in this video that rang most true to me was Heaton standing at the summit in the cold, slightly tired, saying he wouldn’t rather be anywhere else. I wake up at 4am without an alarm on shoot days, not because I trained myself to, but because I genuinely cannot sleep when I know something might happen at first light. That feeling never goes away. But experience does teach you to work smarter inside it. One thing I’d add to Heaton’s panoramic approach: if conditions are even slightly windy, increase your overlap between frames to 50 percent or more. Stitching software handles movement better when it has more redundant data to work with, and you lose nothing by taking a few extra frames.
The clearest thing this video demonstrates is that the best photographers in the field are constantly making quiet micro-decisions based on accumulated knowledge: when to shoot, what to skip, how to solve a technical problem with what’s in the bag, and when to rest so the morning shot gets the best version of you. Those decisions don’t happen automatically. They’re built from exactly the kind of reflection Heaton does openly throughout this video.
Watch the full tutorial on YouTube to see the light conditions, camera handling, and final panoramic result for yourself.
Comments
Leave a Comment