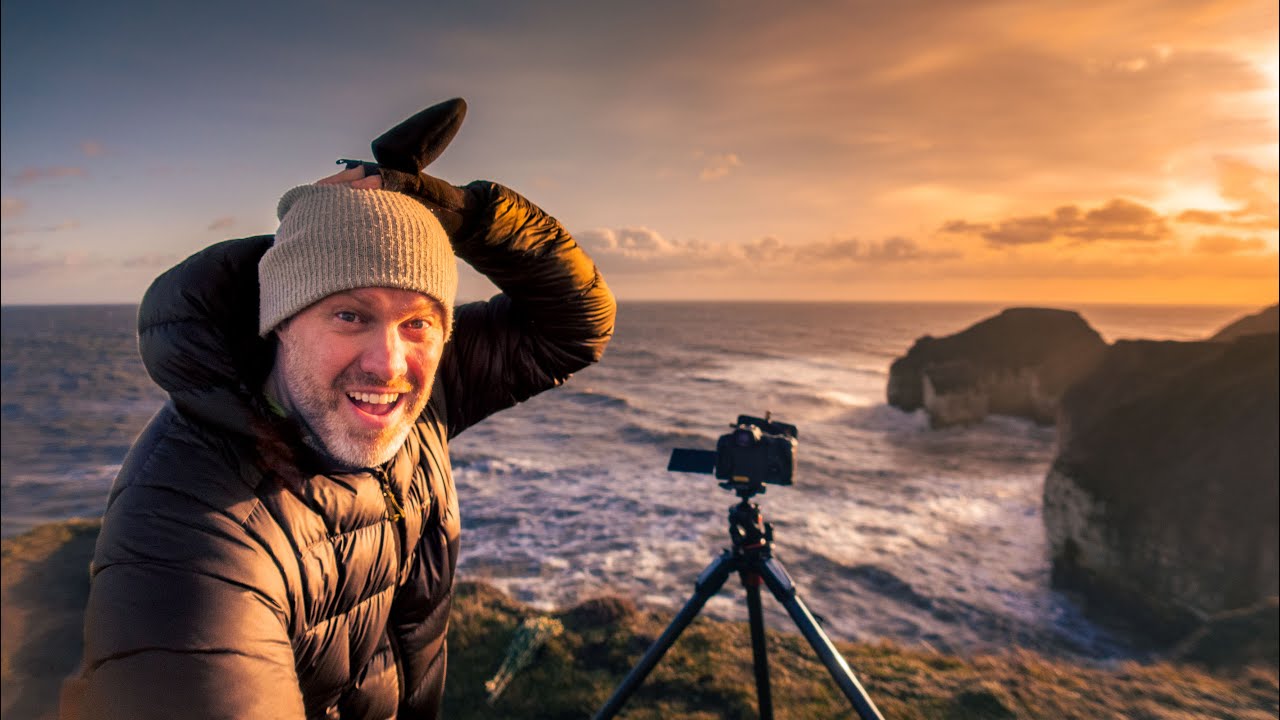
There’s a version of landscape photography that happens on perfect mornings, golden light sliding in at a low angle, no wind, tripod planted firm in soft sand. I’ve had those days. They’re wonderful. But some of my most technically interesting work has come from exactly the opposite conditions, days where I had to solve problems in real time, where the weather was doing something I couldn’t predict and the light was changing faster than I could meter. That’s the scenario Adam from First Man Photography dropped himself into recently, and it’s worth studying closely. Watch the full tutorial on YouTube before or after reading, depending on how you like to learn.
In this First Man Photography tutorial, Adam heads out during Storm Pia, with gusts hitting 60 to 70 mph, to shoot a coastline experiencing a storm surge. The tutorial is not about chasing drama for drama’s sake. What makes it useful for working photographers is watching someone think through every technical decision in real time, with cold hands and a tripod that keeps wanting to leave without them. These are exactly the conditions where your gear choices and your compositional instincts get tested, and where you learn things a calm morning just won’t teach you.
I’ve stood on enough cliff edges in enough wind to know that the temptation is always to rush the shot, grab something, get back to the car. What Adam does instead is slow down and think. That discipline is the whole lesson.
Step 1: Read the Conditions Before You Unpack the Bag
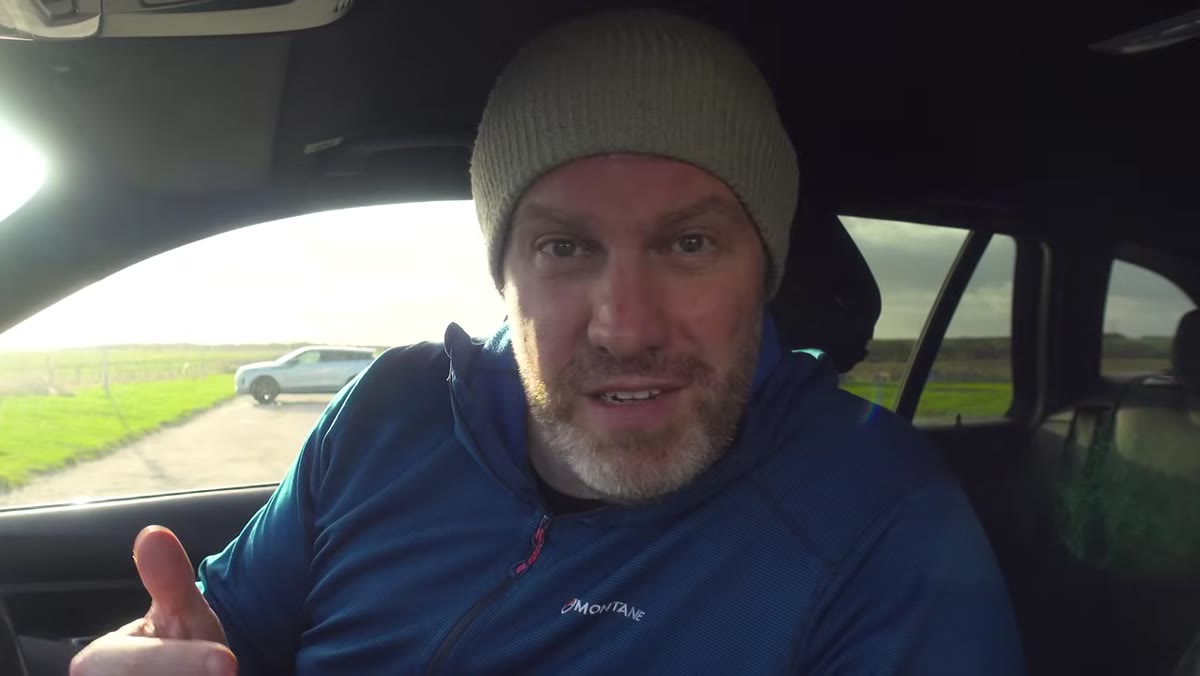 Adam in car assessing wind and tide conditions
Adam starts the session from inside his car, deliberate about not rushing into the scene. He notes the tide is fully in, which means the beach itself isn’t accessible yet, so he pivots to the cliffs. This is a habit worth building: assess what the location is actually doing before you commit to a composition. Wind speed, tide timing, light direction, cloud movement. All of it changes what’s possible.
On storm days especially, your original plan is probably wrong the moment you arrive. The photographers who come home with something usable are the ones who read the scene first and adapt, not the ones who had a Pinterest shot saved on their phone and tried to recreate it in a gale.
Step 2: Follow the Light Before You Follow the View
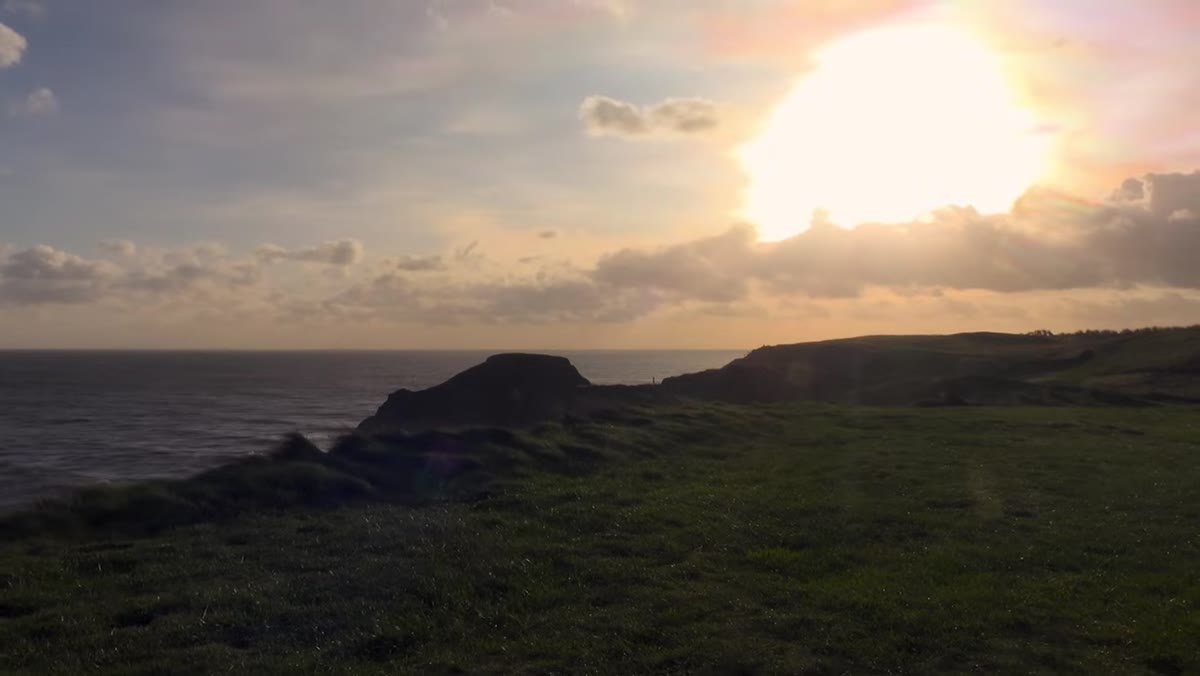 Low warm light hitting lighthouse and cliff edge
The quality of light Adam is working with here is rare. Low sun angle, storm clouds acting as a giant diffuser and reflector at the same time, warm tones pushing into orange and yellow across the cliff faces and water. He comments on the light before he comments on anything else, and that’s the right order.
When I’m scouting a difficult location, light quality always comes first. A mediocre composition in spectacular light will beat a perfect composition in flat light almost every time. Here, the storm itself is generating the light conditions. That’s worth noting: bad weather and good light often arrive together, and chasing storms specifically for the light is a legitimate and underused strategy.
Step 3: Use a Six-Stop ND Filter to Manage Chaotic Water
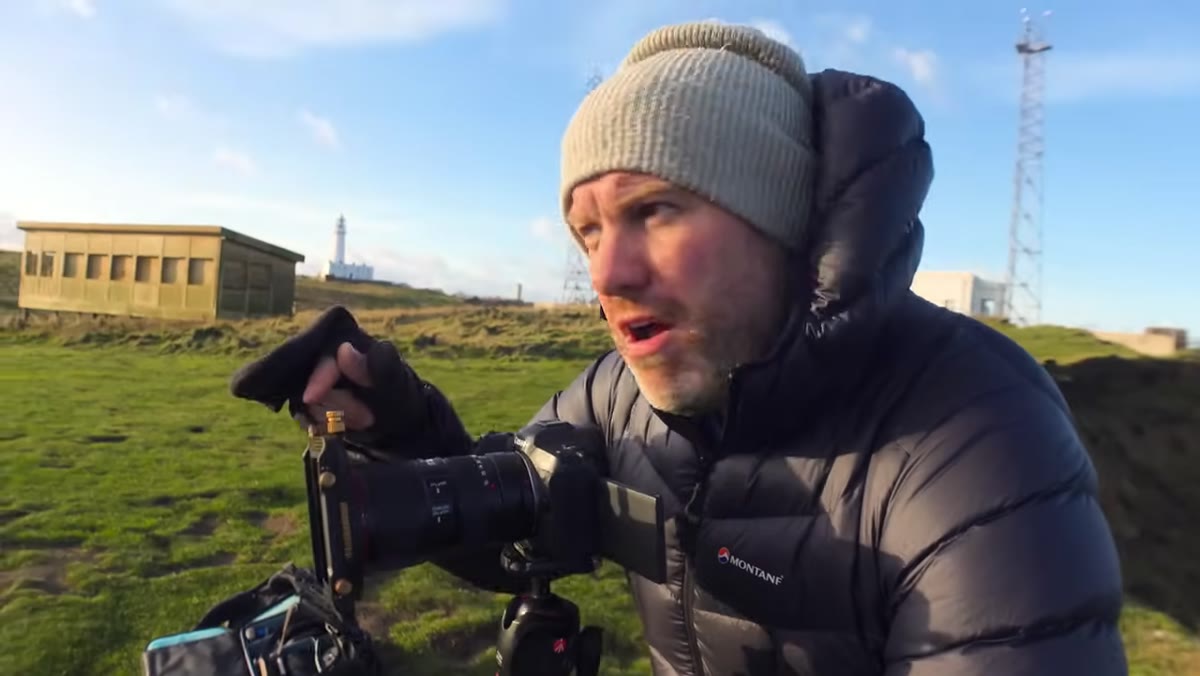 Adam attaches six-stop ND filter at cliff edge
The sea during a storm surge is visually violent. Foam, spray, broken wave patterns, whitewater moving in every direction at once. Left unfiltered, that chaos competes with everything else in the frame and flattens the image. Adam’s solution is a six-stop neutral density filter, which extends his shutter speed long enough to smooth the water surface without erasing it entirely.
The goal isn’t to turn the ocean into glass. It’s to reduce the contrast and visual noise in the water so the cliffs and sky can read clearly. At around one second, there’s still visible motion and texture, but the most distracting high-contrast chop gets averaged out. This is the difference between a document of what the sea looked like and a photograph of what it felt like.
Step 4: Bracket Your Exposures in High-Contrast Scenes
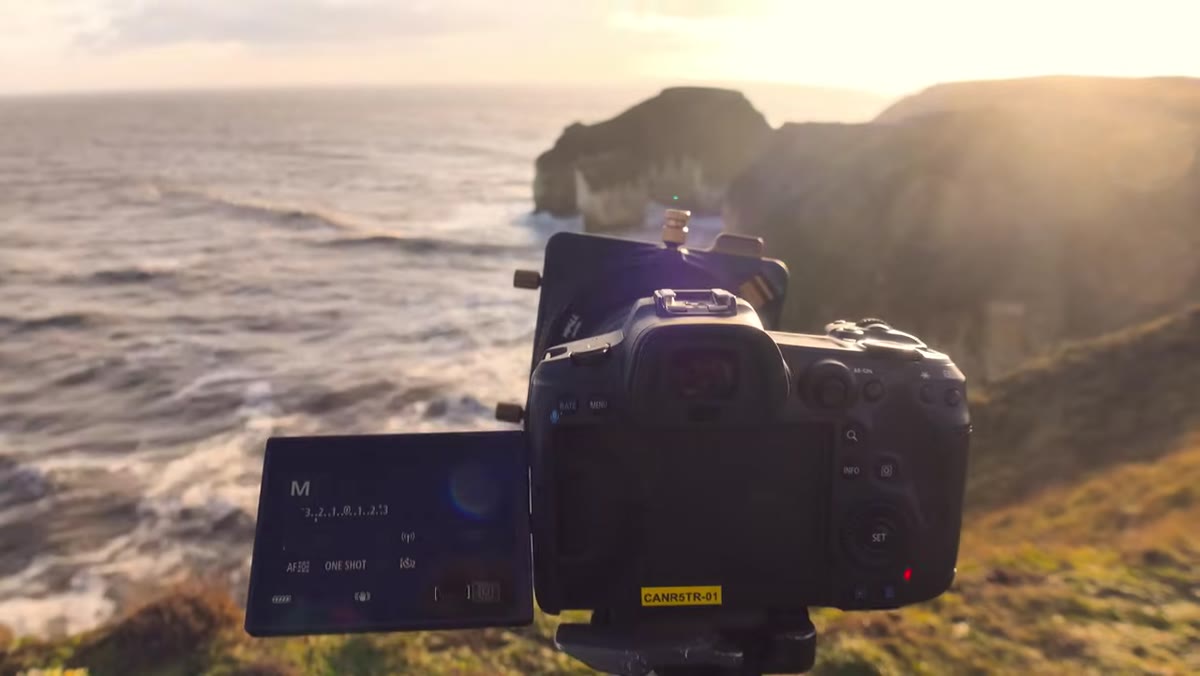 Adam dials in f/11 and discusses bracketing two stops
Adam is shooting at f/11, approximately one second shutter speed with the six-stop filter in place, and bracketing two stops in either direction. Storm light is dynamic. In the time between shots, the sun can move behind a cloud, the sky can shift from orange to grey, the reflections on the water completely change character. Bracketing gives you insurance and options without slowing down your session significantly.
Two stops either side is a sensible range for this kind of scene. You’re not HDR blending here, you’re just making sure you have a correctly exposed frame when the light does exactly what you wanted it to do, even if that moment is two seconds after you expected it.
Step 5: Use the Cliffs as a Leading Line Into the Frame
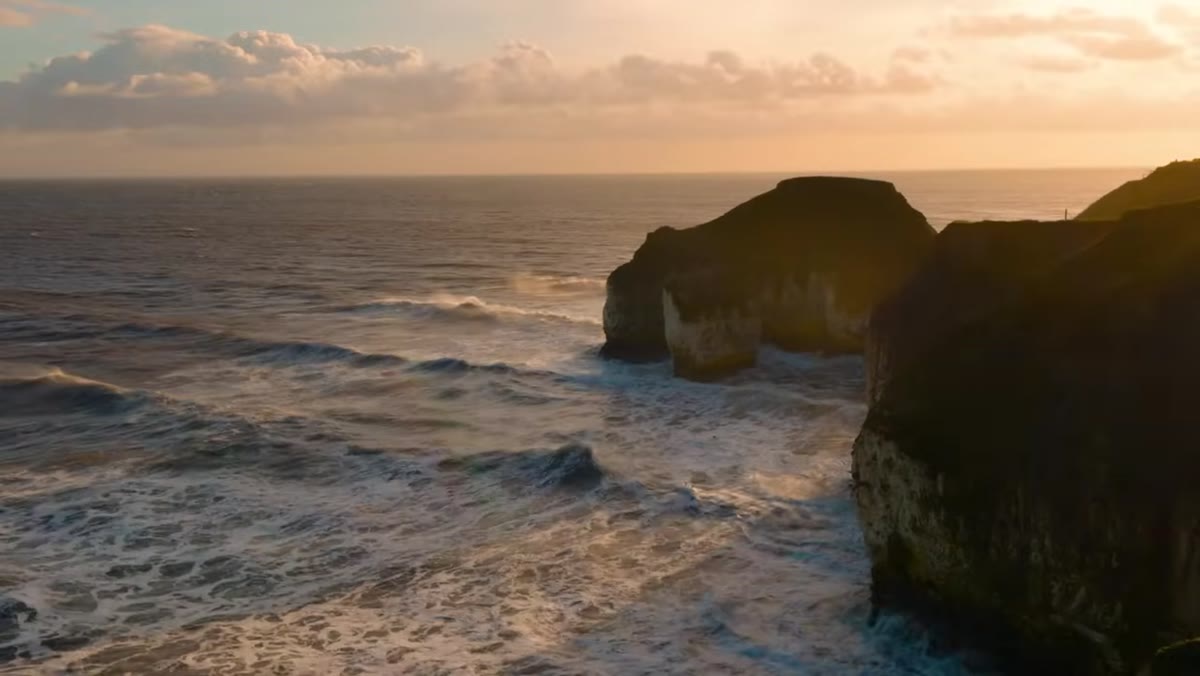
 Cliff line guiding viewer eye toward lit water below
The composition Adam builds here relies on the cliff edge as a leading line pulling the eye from the foreground down toward the water and the lit horizon. Storm shots of coastlines can easily become formless if there’s no structural element anchoring the frame. The cliffs solve that problem. They give the image direction and scale.
Look for hard geometry in natural scenes whenever the main subject (in this case, the sea) is visually complex. Rock edges, cliff lines, headlands, jetties. These elements bring order to a frame that might otherwise feel like it’s just pointing at chaos and hoping for the best.
Step 6: Hold the Tripod, Keep the Sun Out of Frame
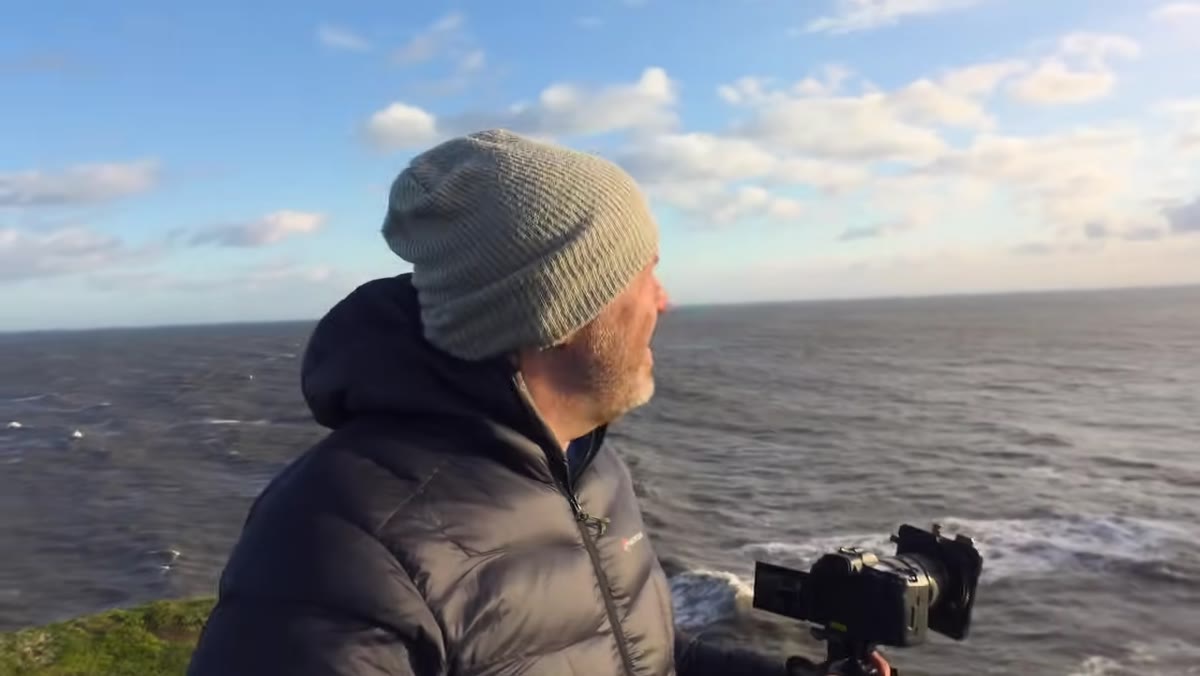
 Adam physically steadying tripod in gusting wind
Two practical points that matter in conditions like these. First, Adam keeps his hand on the tripod during gusts because the camera-and-filter combination is acting like a small sail. Even a carbon fiber tripod with legs spread wide can walk or tip in sustained 60 mph gusts. Your hand on the head during the exposure is not ideal for image sharpness, but losing the rig to a cliff face is worse.
Second, he positions his shot to keep the sun just out of the top-right of the frame. This preserves the warm light and atmosphere without blowing out a bright disc that would dominate the image. That edge-of-frame sun position also creates directional light on the water that wouldn’t exist if the sun were directly overhead.
What I’d Add From My Own Experience
Storm shooting creates a specific adrenaline that works against patient photography. I know this personally. I’ve stood on Oregon coast headlands in conditions similar to what Adam is describing, and the urge to grab a quick shot and retreat is powerful and usually wrong. The images that come from that impulse are almost always technically sound and creatively empty.
What I’ve learned to do is set up deliberately, like there’s no weather at all, and then wait inside the conditions rather than reacting to them. The long exposure approach Adam uses is partly technical (managing the chaotic water) but it’s also psychological. A one-second shutter speed forces you to slow down. You can’t fire off twenty frames in a second. You have to commit, and that commitment tends to produce better images.
The single most useful thing in this tutorial is the core idea: extreme conditions don’t just test your gear, they test whether you’ve developed a clear enough vision to know what you’re trying to say with a photograph before you press the shutter. Adam knew he wanted power and serenity in the same frame. The technical choices all followed from that.
Watch the full tutorial on YouTube to see Adam work through these decisions in real time, in real conditions. It’s worth your hour.
Comments (3)
My workflow just got 10x faster. Not even kidding.
Solid advice. Especially the part about taking your time with it.
This is fantastic. I've been recommending this approach to my readers too.
Leave a Comment