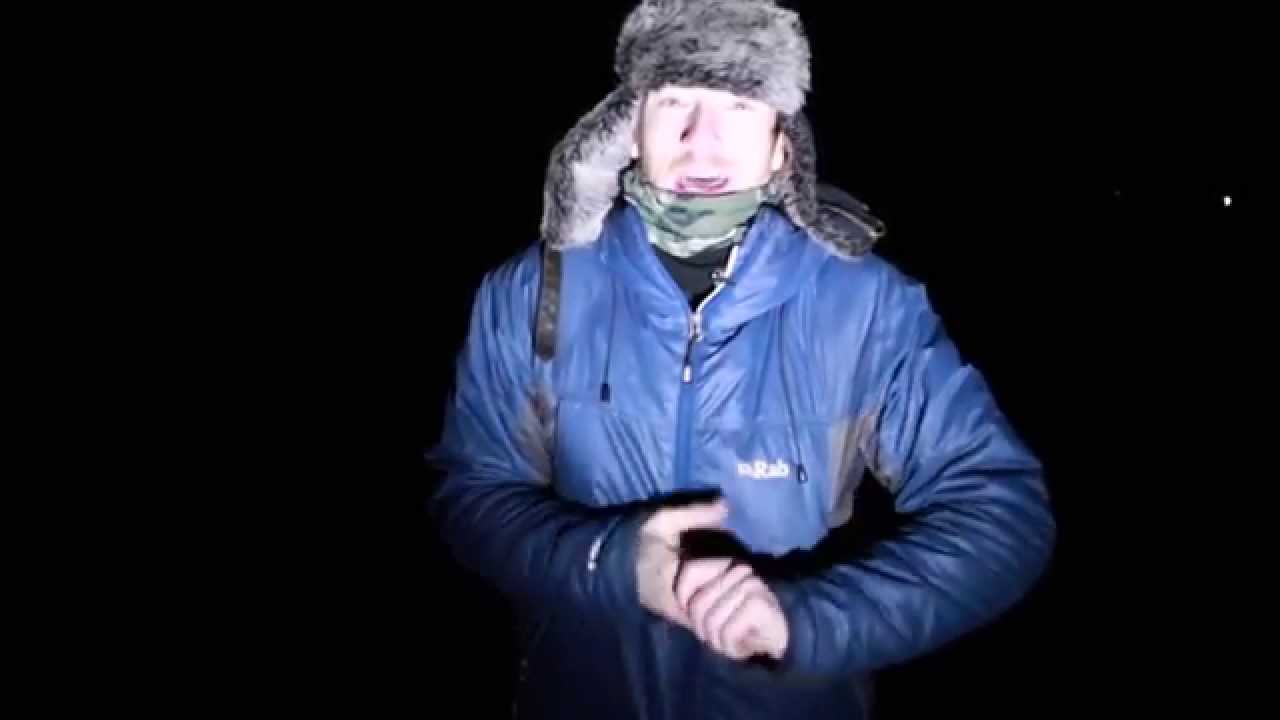
Meteor showers sit in a strange category for me. They’re one of those events where the window is fixed, the weather is indifferent, and luck plays a bigger role than I’d like to admit. I’ve stood in fields at 2am watching the sky deliver nothing, and I’ve also caught a streak of light I nearly missed because I was pouring coffee from a thermos. The challenge has always been reducing the luck and increasing the odds through better preparation and smarter technique. That’s exactly why Thomas Heaton’s tutorial on photographing the Geminid meteor shower caught my attention. He approaches it the way most working photographers think about it — not as a magical event you just show up for, but as a problem to solve with the right decisions made before you leave the house.
Watch the full tutorial on YouTube
In this Thomas Heaton tutorial, he goes out for the Geminids on a night that isn’t even the peak, because the forecast for peak night is rain and cloud. That decision alone is worth taking seriously. He picks a clear-but-early night over a perfect-but-impossible one. It’s the kind of pragmatic field thinking that doesn’t get talked about enough in astrophotography content, which tends to focus on gear and settings while glossing over the judgment calls that actually determine whether you come home with anything.
Step 1: Check the Weather and Pick Your Night Strategically
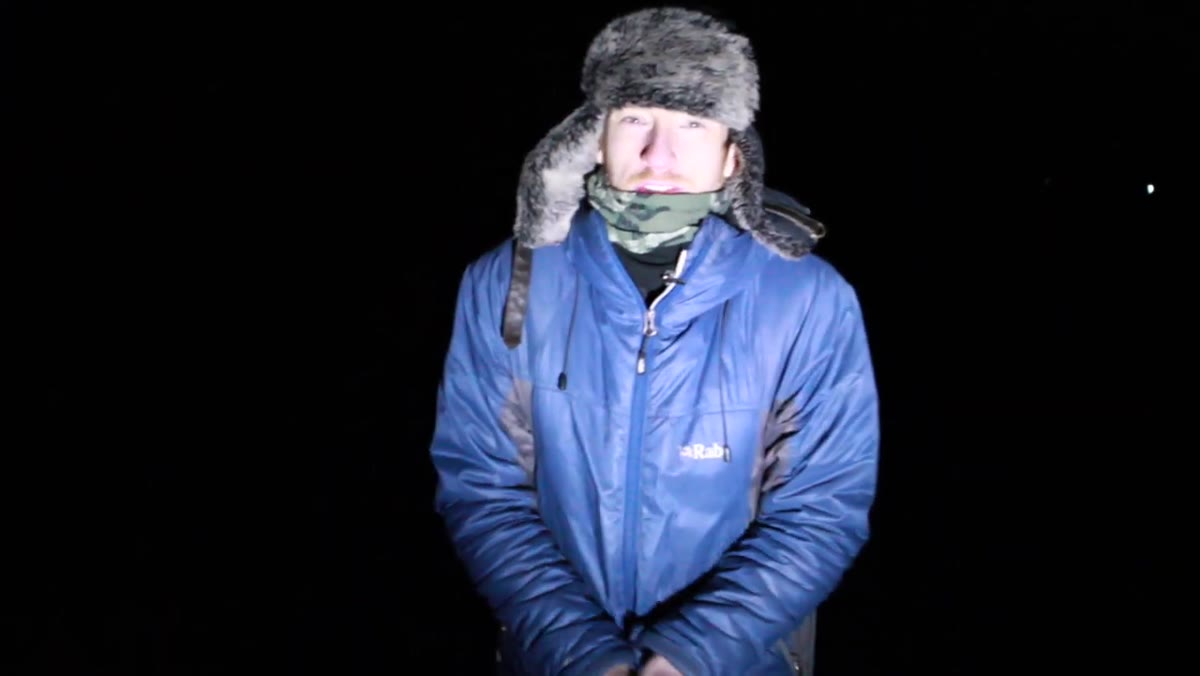
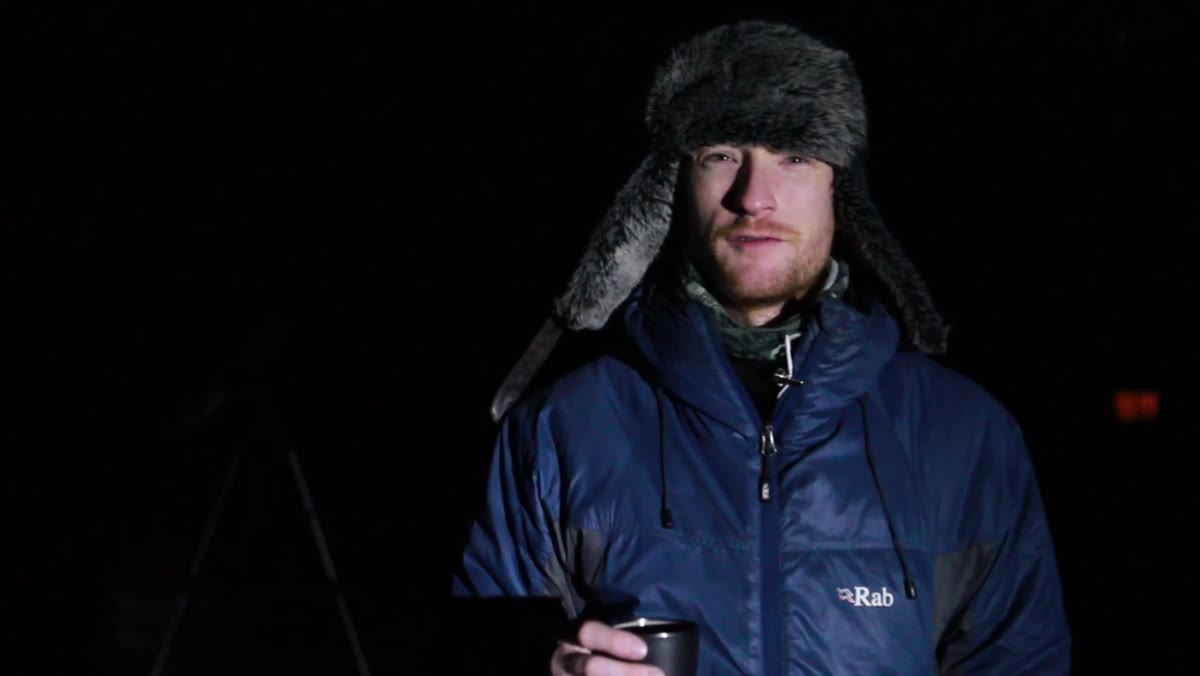 Thomas speaking to camera, nighttime coastal location visible behind him
Don’t chase the peak date if the sky is going to be closed. A meteor shower runs for several nights, and an off-peak night with clear skies will outperform a peak night buried under cloud cover every single time. When I’m planning a meteor shoot, I check multiple forecast sources at least a week out, then narrow down as the window approaches. Look for the clearest window within the shower’s active period, even if it’s a night or two before or after maximum activity. A few fewer meteors per hour is a worthwhile trade for a sky you can actually see.
Thomas speaking to camera, nighttime coastal location visible behind him
Don’t chase the peak date if the sky is going to be closed. A meteor shower runs for several nights, and an off-peak night with clear skies will outperform a peak night buried under cloud cover every single time. When I’m planning a meteor shoot, I check multiple forecast sources at least a week out, then narrow down as the window approaches. Look for the clearest window within the shower’s active period, even if it’s a night or two before or after maximum activity. A few fewer meteors per hour is a worthwhile trade for a sky you can actually see.
Step 2: Choose Your Location and Plan Your Foreground
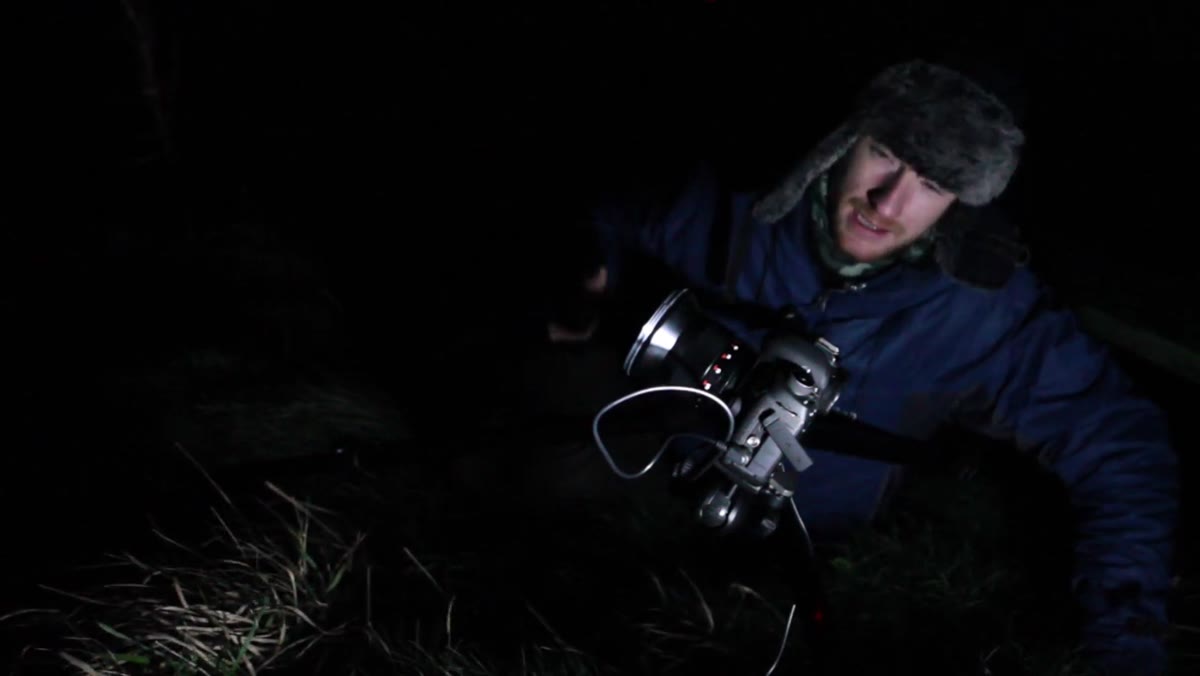
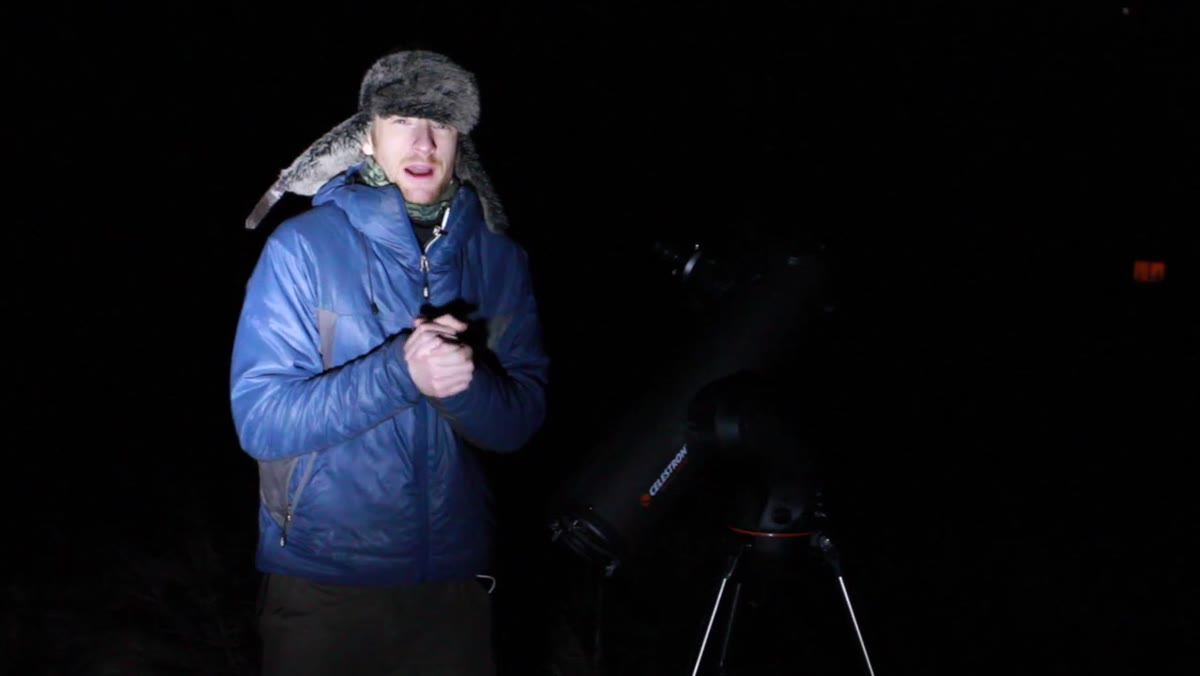 Thomas low to the ground, telescope visible as foreground element
A sky full of stars with nothing in the foreground is a screensaver, not a photograph. For night shoots, you want an anchor in the frame that gives the viewer somewhere to land. Thomas brought a telescope to a coastal location specifically because the shoreline offered little else in terms of natural foreground interest. It’s a smart prop choice because it’s contextually relevant to the subject. Trees, standing stones, mountain ridgelines, old structures, all of these work depending on what’s accessible to you.
Thomas low to the ground, telescope visible as foreground element
A sky full of stars with nothing in the foreground is a screensaver, not a photograph. For night shoots, you want an anchor in the frame that gives the viewer somewhere to land. Thomas brought a telescope to a coastal location specifically because the shoreline offered little else in terms of natural foreground interest. It’s a smart prop choice because it’s contextually relevant to the subject. Trees, standing stones, mountain ridgelines, old structures, all of these work depending on what’s accessible to you.
The other thing worth noting is his camera position. He shoots very low to the ground so the telescope reads tall against the sky, maximizing how much of it sits above the horizon. Think about the geometry of your foreground element before you set up. Getting low can completely change the relationship between your subject and the stars behind it.
Step 3: Apply the Rule of 600 to Set Your Shutter Speed
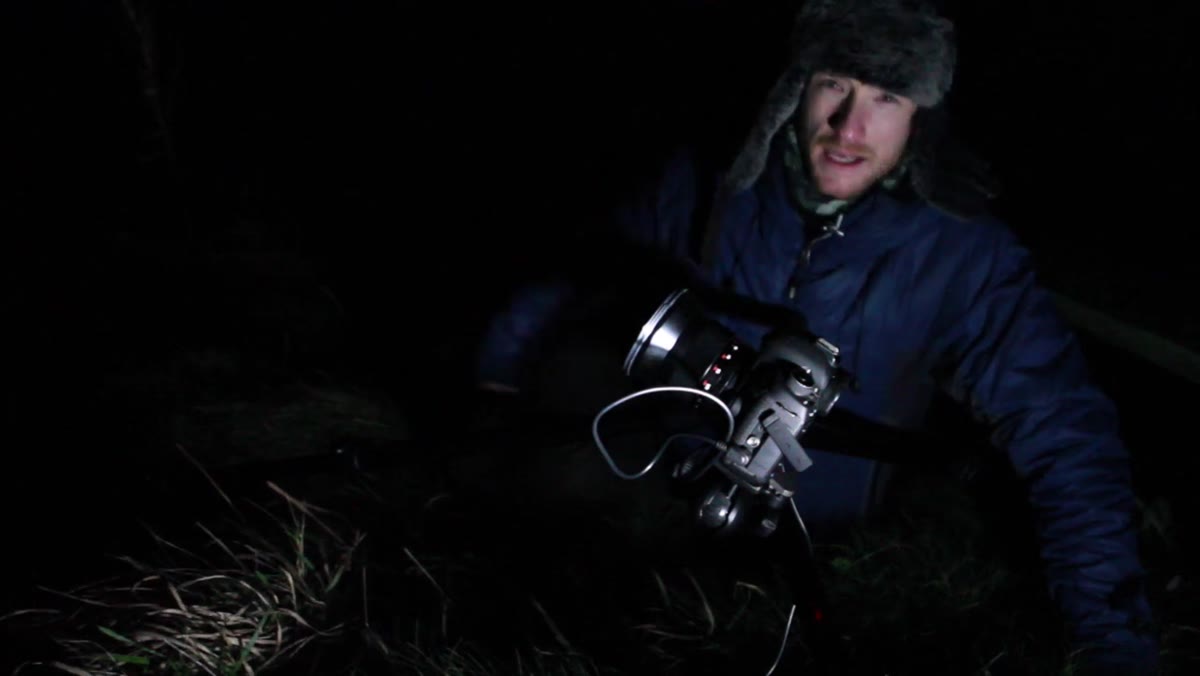 Thomas explaining the rule of 600 with his lens mounted on camera
Stars move, and if your shutter stays open too long, they’ll trail. For most purposes, trailing is the enemy. The rule of 600 gives you a quick field calculation: divide 600 by your focal length and the result is the maximum number of seconds you can expose before stars start to blur. On a 10mm lens that’s 60 seconds. On a 21mm lens it drops to around 30 seconds. On a 50mm you’re looking at 12 seconds.
Thomas explaining the rule of 600 with his lens mounted on camera
Stars move, and if your shutter stays open too long, they’ll trail. For most purposes, trailing is the enemy. The rule of 600 gives you a quick field calculation: divide 600 by your focal length and the result is the maximum number of seconds you can expose before stars start to blur. On a 10mm lens that’s 60 seconds. On a 21mm lens it drops to around 30 seconds. On a 50mm you’re looking at 12 seconds.
In practice, I treat this as a ceiling rather than a target. I’ll often come in a few seconds under the maximum to give myself a margin, especially if I’m on a crop sensor camera rather than full frame, where you’d use the 500 rule instead of 600. Get this calculation done before dark, write it on your hand if you need to, and don’t second-guess it when you’re out in the field at midnight with numb fingers.
Step 4: Set Up Continuous Shooting and Let the Camera Work
 Shutter release cable connected to camera, firing in continuous mode
This is the part that trips up photographers who are used to making deliberate single exposures. With meteor photography, you’re not waiting to see a meteor and then pressing the shutter. You almost certainly won’t react fast enough. Instead, you connect a remote shutter release, set it to continuous mode, and let the camera fire frame after frame after frame while you sit and watch the sky. Meteors are gone in a second or less. The only reliable way to capture one is to have the shutter cycling constantly so you’re recording every moment whether you’re watching the camera or not.
Shutter release cable connected to camera, firing in continuous mode
This is the part that trips up photographers who are used to making deliberate single exposures. With meteor photography, you’re not waiting to see a meteor and then pressing the shutter. You almost certainly won’t react fast enough. Instead, you connect a remote shutter release, set it to continuous mode, and let the camera fire frame after frame after frame while you sit and watch the sky. Meteors are gone in a second or less. The only reliable way to capture one is to have the shutter cycling constantly so you’re recording every moment whether you’re watching the camera or not.
This approach means you’ll end up with hundreds of frames of empty sky for every one frame with a meteor. That’s not failure, that’s the process. Storage is cheap. Clear your cards before you go out and let the camera do its job without interruption.
Step 5: Stay Put, Stay Patient, and Watch the Sky Anyway
 Thomas waiting at the location, describing watching for meteors visually
A mentor of mine told me once that the mountain doesn’t care about your schedule, and he was right. Meteor photography demands the same surrender. Once the camera is running, your job shifts entirely. You’re not operating equipment anymore. You’re observing. Watch the sky with your eyes, not through a viewfinder. When you see a meteor, note where it was in the frame’s general direction and whether the camera likely caught it. Then check the images after, not during, the shooting session.
Thomas waiting at the location, describing watching for meteors visually
A mentor of mine told me once that the mountain doesn’t care about your schedule, and he was right. Meteor photography demands the same surrender. Once the camera is running, your job shifts entirely. You’re not operating equipment anymore. You’re observing. Watch the sky with your eyes, not through a viewfinder. When you see a meteor, note where it was in the frame’s general direction and whether the camera likely caught it. Then check the images after, not during, the shooting session.
Thomas spots a meteor during his session and immediately goes to his images to see if the camera caught it. That anticipation is real. After a quiet hour of nothing, a single streak across the sky makes the whole night feel alive. Stay warm, bring something to drink, and resist the urge to constantly chimp your screen. The camera is working. Trust it.
One Thing I’d Add From My Own Experience
Scouting your location in daylight changes everything about a night shoot. I never walk into a dark coastal site or a mountain field without having visited it during the day first. You need to know where you’re putting your feet, where the tripod legs will sit level, and roughly where the celestial north or radiant point of the shower will sit in relation to your composition. Arriving at 11pm to an unfamiliar location costs you setup time and, more importantly, costs you the mental calm you need to make good decisions when you’re tired and cold.
If you can’t visit in daylight, use PhotoPills or a similar planning app to visualize where the shower’s radiant will rise and how it will move through your frame over the course of the night. Go in with a plan so your brain isn’t solving problems it could have solved from your kitchen table the week before.
The single most important thing this tutorial reinforces is something that experience keeps teaching me anyway: preparation and persistence matter more than perfect conditions. Pick the best available night, plan a foreground worth shooting, do the math on your shutter speed, let the camera run, and then simply wait.
Watch the full tutorial on YouTube
Comments
Leave a Comment