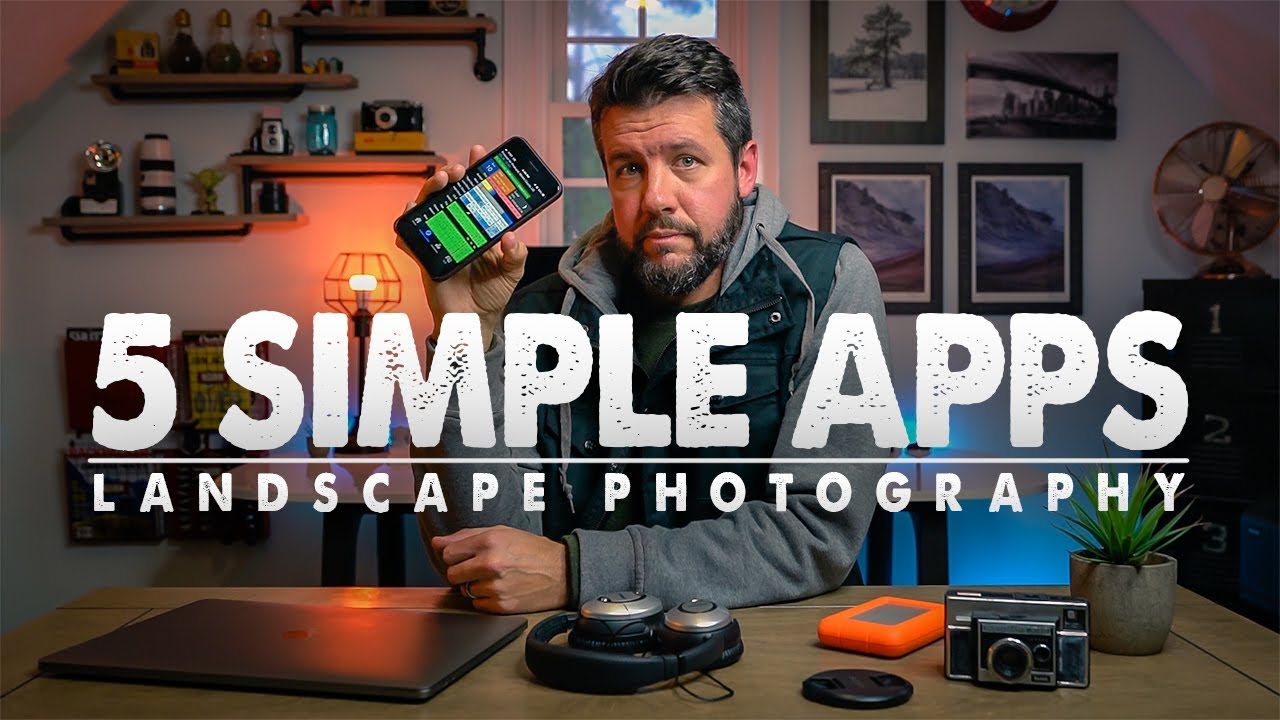
There’s a particular kind of frustration that comes from standing at a location you drove hours to reach, watching a flat gray sky do absolutely nothing. I’ve done it more times than I care to count. Over two decades of early mornings, I’ve learned that the difference between a transcendent shot and a wasted pre-dawn alarm isn’t just the location or the gear. It’s the preparation you do the night before on your phone. The problem is that most photographers, myself included, overcomplicate that research phase. We download the most powerful apps available, get lost in augmented reality overlays and data-dense dashboards, and burn 45 minutes trying to extract three useful numbers.
Watch the full tutorial on YouTube
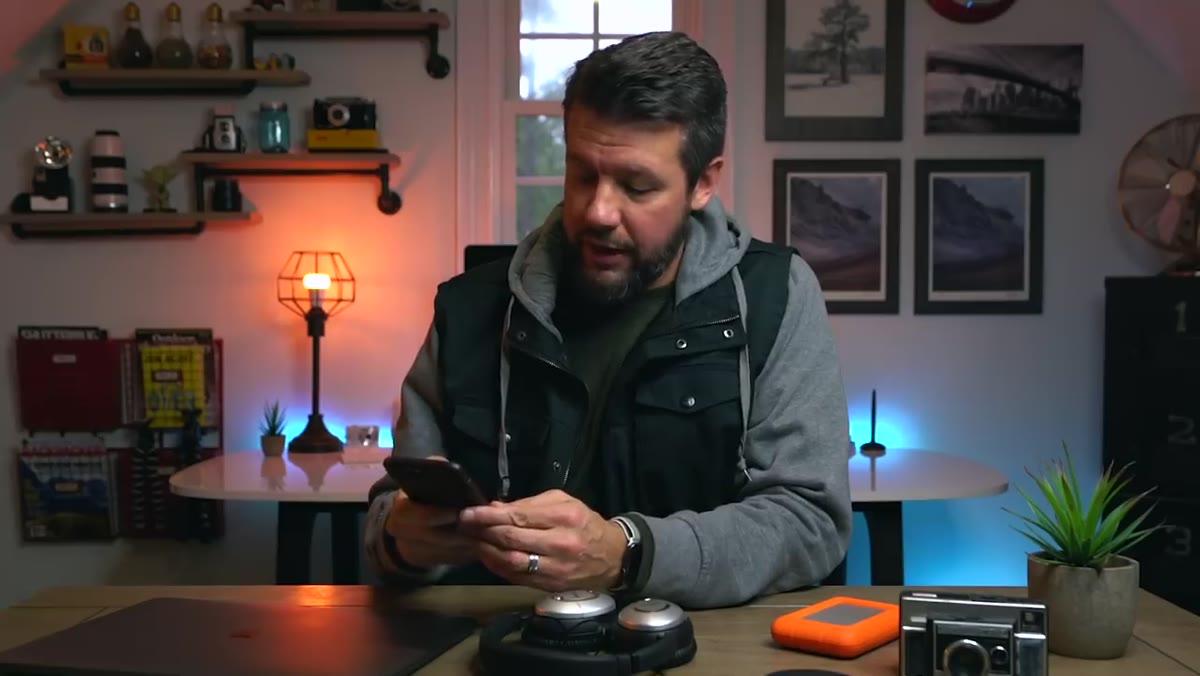
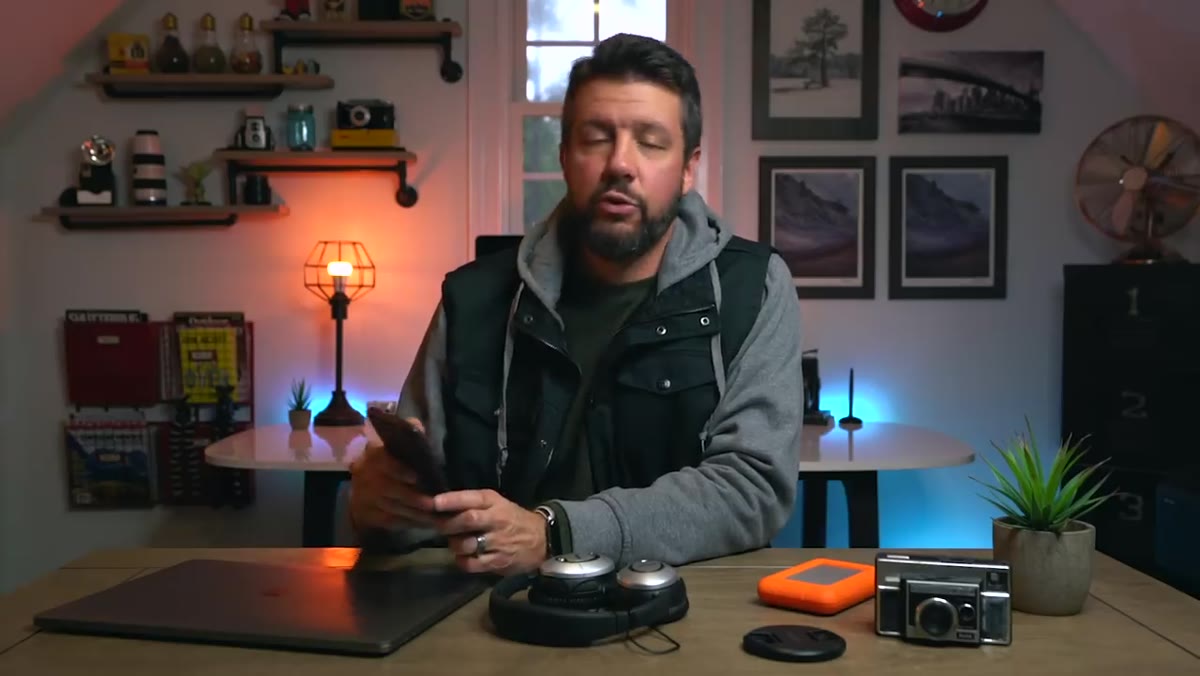
In this Mark Denney tutorial, he cuts straight to what actually matters: five apps, each doing one job cleanly and quickly. Mark makes no apologies for preferring simple tools over powerful ones, and after watching I found myself nodding along. A streamlined workflow the night before the shoot means more mental energy for the moment you’re actually in the field. Here’s how each app works and how I’ve folded them into my own routine.
Step 1: Check the Sky Layers With Clear Outside
 Clear Outside app showing cloud layer breakdown by hour
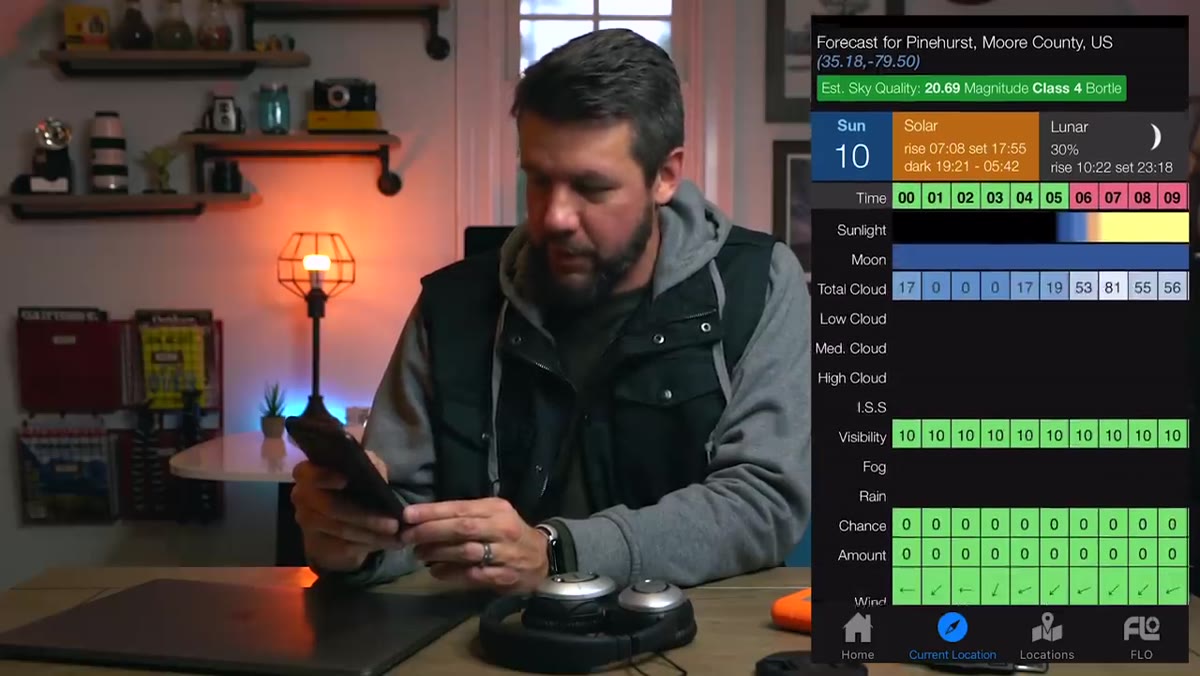
Clear Outside is a weather app built specifically for astronomers and photographers, and the detail it provides on cloud behavior is unlike anything in a general forecast. When you open it and search your location, the most important read is the horizontal bar across the top of the screen. Each hour is color-coded, green for clear and red for heavy cloud cover, so you can spot a promising golden-hour window at a single glance without digging through anything.
Clear Outside app showing cloud layer breakdown by hour
Clear Outside is a weather app built specifically for astronomers and photographers, and the detail it provides on cloud behavior is unlike anything in a general forecast. When you open it and search your location, the most important read is the horizontal bar across the top of the screen. Each hour is color-coded, green for clear and red for heavy cloud cover, so you can spot a promising golden-hour window at a single glance without digging through anything.
The real power, though, is the breakdown beneath that bar. Clear Outside separates cloud coverage into three altitude bands: low, medium, and high. For a sunrise or sunset worth photographing, you want low and medium cloud values near zero, and high cloud coverage somewhere in the 30 to 60 percent range. Those thin, high-altitude clouds - typically above 20,000 feet - are what catch the undersides of the rising or setting sun and hold that burning color across the sky. A sky that’s 100 percent total cloud cover is usually a wash unless you’re deliberately hunting fog or drama.
Step 2: Find the Sun’s Exact Position With Sun Surveyor
 Sun Surveyor map view showing sun arc over a landscape location
Knowing the weather is only useful if you also know where the light is going to land. Sun Surveyor lets you drop a pin on any location and see the sun’s arc overlaid directly on a map or a live camera view of the scene. You can scrub through any date and watch the sunrise and sunset angles shift with the seasons, which matters enormously when you’re trying to place a foreground element in direct light.
Sun Surveyor map view showing sun arc over a landscape location
Knowing the weather is only useful if you also know where the light is going to land. Sun Surveyor lets you drop a pin on any location and see the sun’s arc overlaid directly on a map or a live camera view of the scene. You can scrub through any date and watch the sunrise and sunset angles shift with the seasons, which matters enormously when you’re trying to place a foreground element in direct light.
I use this most often during location scouting from home. Before I’ve ever set foot somewhere, I can rotate through the calendar and find the one week in October when the sunrise angle aligns with a ridge line or the sunset punches straight down a canyon. This kind of forward planning is what separates a deliberate composition from a lucky one. It also saves you from the frustration of arriving at a perfect spot six weeks too early or too late.
Step 3: Dial In the Moon With Moon Seeker
 Moon Seeker showing moonrise direction overlaid on map
The moon is one of the most underused compositional elements in landscape photography, partly because most photographers only look for it when it’s already in the sky. Moon Seeker works the same way Sun Surveyor does but for lunar position and phase. You can plan a shoot around a full moon rising just as the last blue light fades from the sky, or find a crescent that will sit above a specific ridgeline on a specific evening three weeks from now.
Moon Seeker showing moonrise direction overlaid on map
The moon is one of the most underused compositional elements in landscape photography, partly because most photographers only look for it when it’s already in the sky. Moon Seeker works the same way Sun Surveyor does but for lunar position and phase. You can plan a shoot around a full moon rising just as the last blue light fades from the sky, or find a crescent that will sit above a specific ridgeline on a specific evening three weeks from now.
The augmented reality view is useful here in a way it isn’t for me with some other apps - because the moon’s position relative to your actual scene is genuinely hard to visualize from a flat map. Hold the phone up and you can see exactly where it will rise or set against the terrain in front of you. That’s worth the extra screen time.
Step 4: Read the Water With Windy
 Windy app showing wind and wave forecast over coastal location
If you photograph coastlines, rivers, or any moving water, Windy earns its place immediately. It visualizes wind speed and direction as animated flow lines across a map, and it layers in wave height and swell period for coastal forecasts. The difference between a five-second swell and a twelve-second swell completely changes how water behaves in a long exposure, and Windy gives you that number days in advance.
Windy app showing wind and wave forecast over coastal location
If you photograph coastlines, rivers, or any moving water, Windy earns its place immediately. It visualizes wind speed and direction as animated flow lines across a map, and it layers in wave height and swell period for coastal forecasts. The difference between a five-second swell and a twelve-second swell completely changes how water behaves in a long exposure, and Windy gives you that number days in advance.
I also use it to anticipate where fog is likely to form and move. Wind direction through a valley on a cold morning tells you a great deal about whether that low mist will linger or burn off fast. It’s become part of my standard the-night-before check, right alongside Clear Outside.
Step 5: Tie It All Together With Photo Pills
 Photo Pills planner showing sun position and depth of field calculator
Photo Pills is the one app on this list that resists a quick summary because it does so many things well. The planner tool lets you combine sun position, moon phase, and location data on a single map, which is useful when you’re coordinating a complex shot. The depth of field and hyperfocal distance calculators are ones I use regularly in the field, particularly when I’m working with a wide lens close to an interesting foreground and need to confirm my focus distance before the light peaks and disappears.
Photo Pills planner showing sun position and depth of field calculator
Photo Pills is the one app on this list that resists a quick summary because it does so many things well. The planner tool lets you combine sun position, moon phase, and location data on a single map, which is useful when you’re coordinating a complex shot. The depth of field and hyperfocal distance calculators are ones I use regularly in the field, particularly when I’m working with a wide lens close to an interesting foreground and need to confirm my focus distance before the light peaks and disappears.
The pill-shaped interface takes a few sessions to navigate fluently, but unlike some of the more complex AR-heavy apps out there, the information you need is never more than two taps away once you know where to look.
A Note From My Own Workflow
I’d add one honest caveat here. These apps work best when you’ve already done the slower, less quantifiable work of knowing a location. Numbers on a screen don’t replace standing in a field at dusk and watching how light actually moves across it. My mentor once told me that the mountain doesn’t care about your schedule, and he was right. I’ve had perfect forecast conditions produce mediocre shots, and I’ve had chaotic, unpredictable mornings produce the images that now pay the bills.
Use these tools to eliminate the obvious bad days and to find the genuinely promising windows. Then leave the phone in your bag and pay attention to what’s in front of you. The app got you there. The rest is yours to figure out.
The single most important shift these apps enable isn’t efficiency for its own sake. It’s confidence. When I arrive somewhere at 4:30 in the morning and I already know the cloud layers, the sun angle, and the wind direction, I can focus entirely on the scene rather than second-guessing whether I should have stayed home. That mental clarity shows up in the work.
Watch the full tutorial on YouTube to see Mark walk through each app on screen with his own location as the example. It’s a short, practical watch that will change how you spend the hour before every shoot.
Comments (5)
This is exactly what I needed today. Been struggling with this for weeks.
The tip about the 5 apps i actually use befo was the missing piece for me. Thank you.
Love this. I referenced a similar technique in one of my recent posts. Always good to see other perspectives.
Wow, I had no idea you could do this. Mind blown.
Simple but effective. Sometimes that's all you need.
Leave a Comment