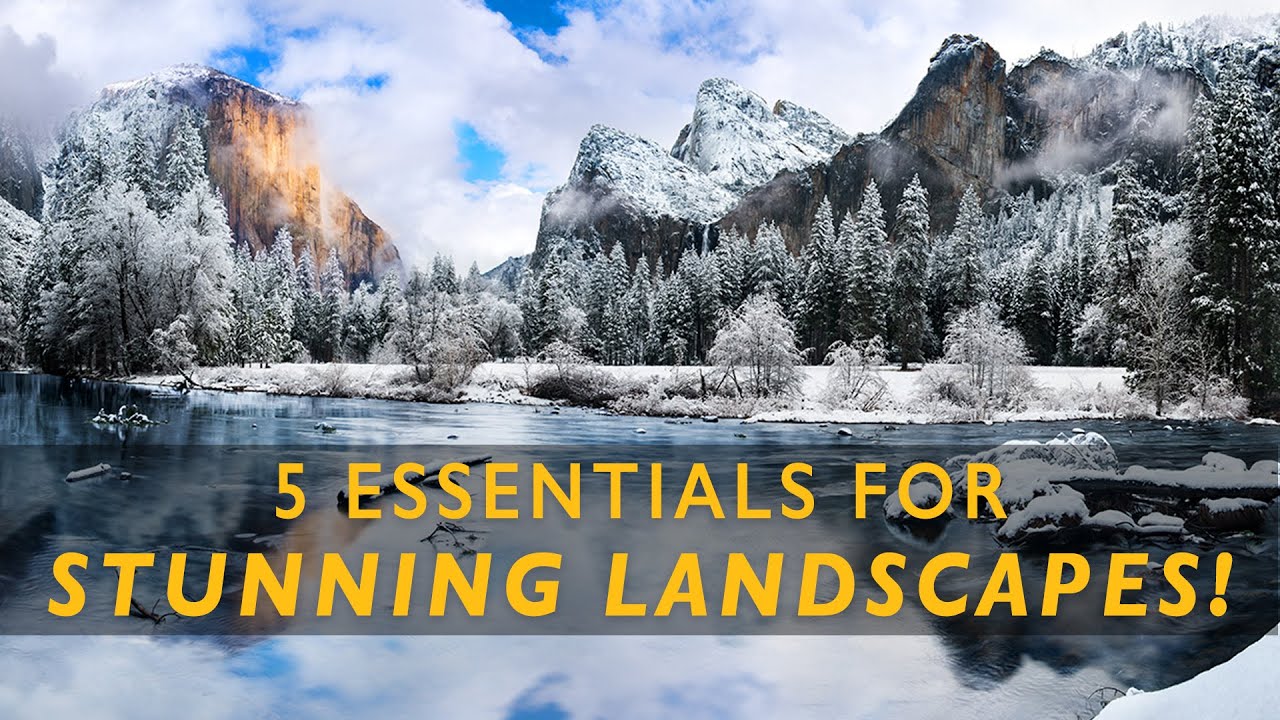
I have a drawer in my studio full of gear I bought, used twice, and forgot about. But there’s another short list of tools that goes into the bag every single time, no exceptions, whether I’m hiking into the Cascades before dawn or driving two hours to catch light on a canyon wall. What surprised me, watching JP Morgan and landscape photographer Shane Walls work through their essential kit in Zion National Park, was how closely their list matched mine. Not because great minds think alike, but because this particular set of tools is the product of hard lessons most outdoor photographers eventually learn the same way: by leaving something behind once and ruining a shot they can’t get back.
In this The Slanted Lens tutorial, Shane, an award-winning photographer with a gallery in Laguna Beach, walks through five pieces of equipment he considers non-negotiable. Watch the full tutorial on YouTube before or after reading this, but what follows is my working interpretation of each item, expanded with the kind of field context that only comes from doing this full time for two decades.
The list isn’t about expensive gear. It’s about the difference between hoping your camera figures things out and actually controlling your image from exposure to final print.
Step 1: Carry a Tripod. Every Time. No Exceptions.
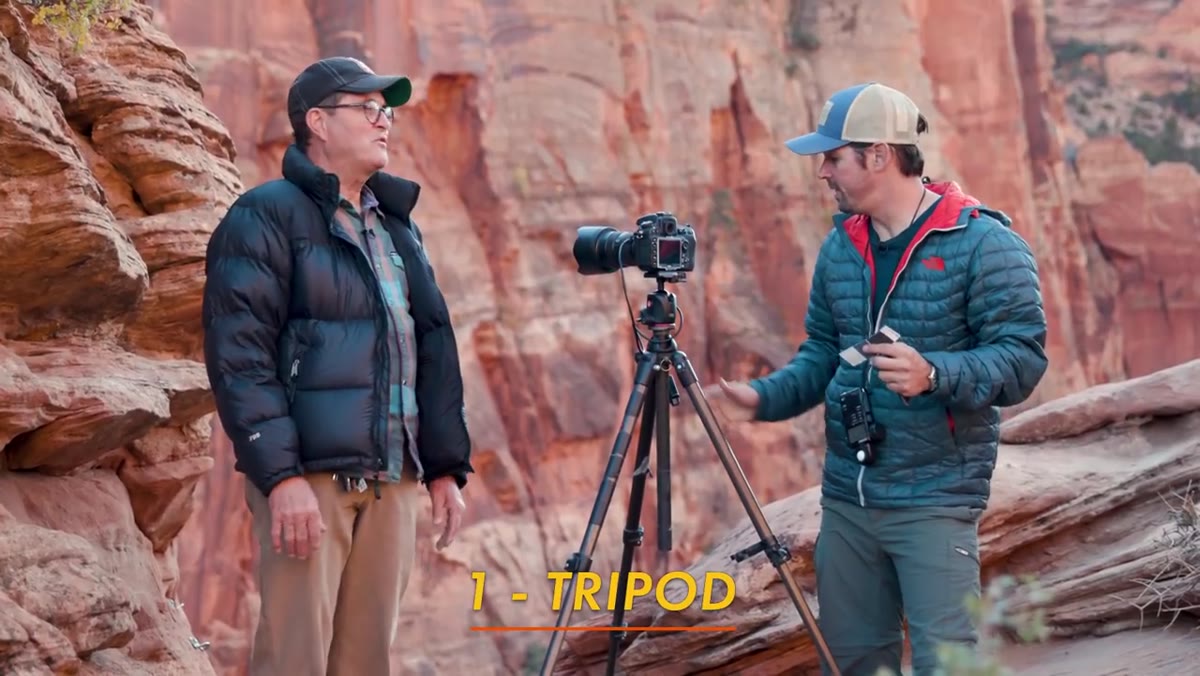 Shane and JP discussing tripod use on Zion trail
Most hikers Shane and JP passed on the trail weren’t carrying tripods. That’s the norm, and it’s also why most trail photography looks like snapshots rather than photographs. Shane’s work almost never involves a shutter speed faster than a second. More often it’s two, four, or longer, well into territory where even the steadiest hands introduce enough camera shake to destroy fine detail.
Shane and JP discussing tripod use on Zion trail
Most hikers Shane and JP passed on the trail weren’t carrying tripods. That’s the norm, and it’s also why most trail photography looks like snapshots rather than photographs. Shane’s work almost never involves a shutter speed faster than a second. More often it’s two, four, or longer, well into territory where even the steadiest hands introduce enough camera shake to destroy fine detail.
A tripod is the foundation of serious landscape work. Lock your composition down before you think about exposure. Shoot on a sturdy head that doesn’t creep under the weight of your lens. Carbon fiber saves your spine on long approaches. If you’ve been skipping the tripod because it slows you down, that slowness is the point. It forces you to commit to a frame instead of machine-gunning hope.
Step 2: Use a Cable Release to Eliminate the Last Point of Contact
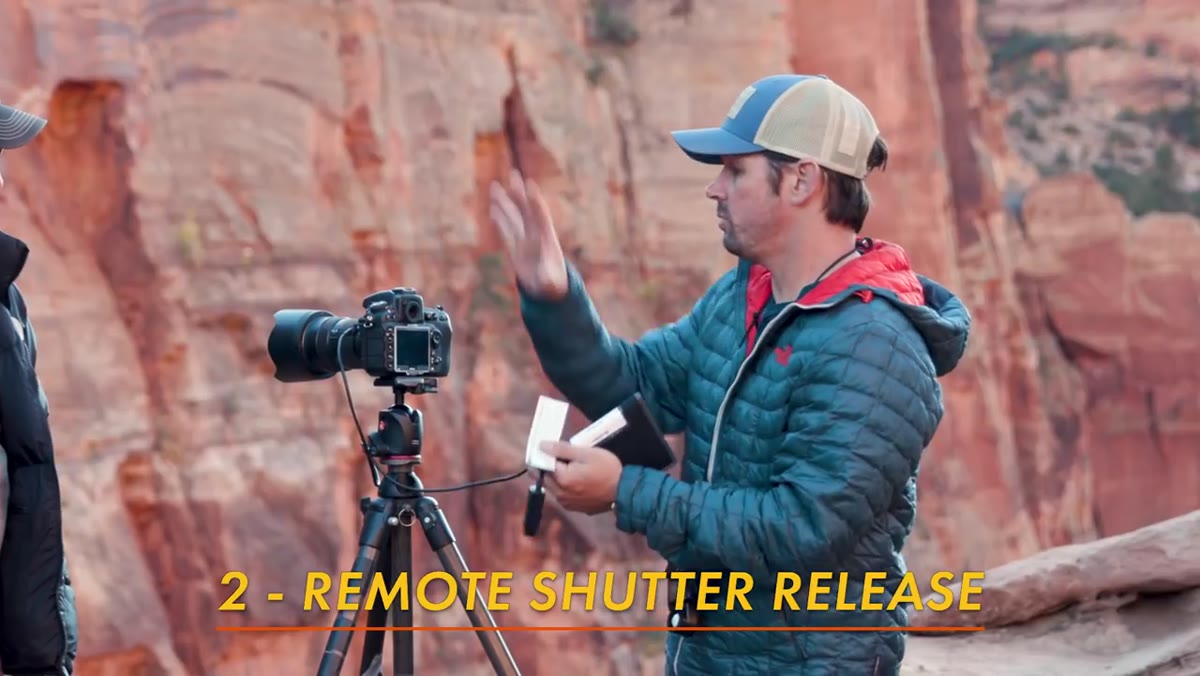 Demonstrating cable release connected to camera on tripod
You’ve got the camera locked to the tripod. You’ve framed the shot. Then you press the shutter button with your finger, and you’ve just introduced the only remaining source of vibration in the system. At a four-second exposure, that tiny push translates to a soft image, sometimes visibly, sometimes just enough to undercut the sharpness you’re selling in a print.
Demonstrating cable release connected to camera on tripod
You’ve got the camera locked to the tripod. You’ve framed the shot. Then you press the shutter button with your finger, and you’ve just introduced the only remaining source of vibration in the system. At a four-second exposure, that tiny push translates to a soft image, sometimes visibly, sometimes just enough to undercut the sharpness you’re selling in a print.
A cable release, or a wireless remote if you prefer, removes your hand from the equation entirely. Pair it with your camera’s mirror lock-up function if you’re shooting with a DSLR, and you’ve essentially built a system with zero mechanical vibration between tripod contact and final exposure. This is the kind of detail that separates a good landscape file from one that holds up at 40 inches wide on a gallery wall. The cable release is cheap. The clarity it protects is not.
Step 3: Use a Graduated Neutral Density Filter to Balance Your Exposure in the Field
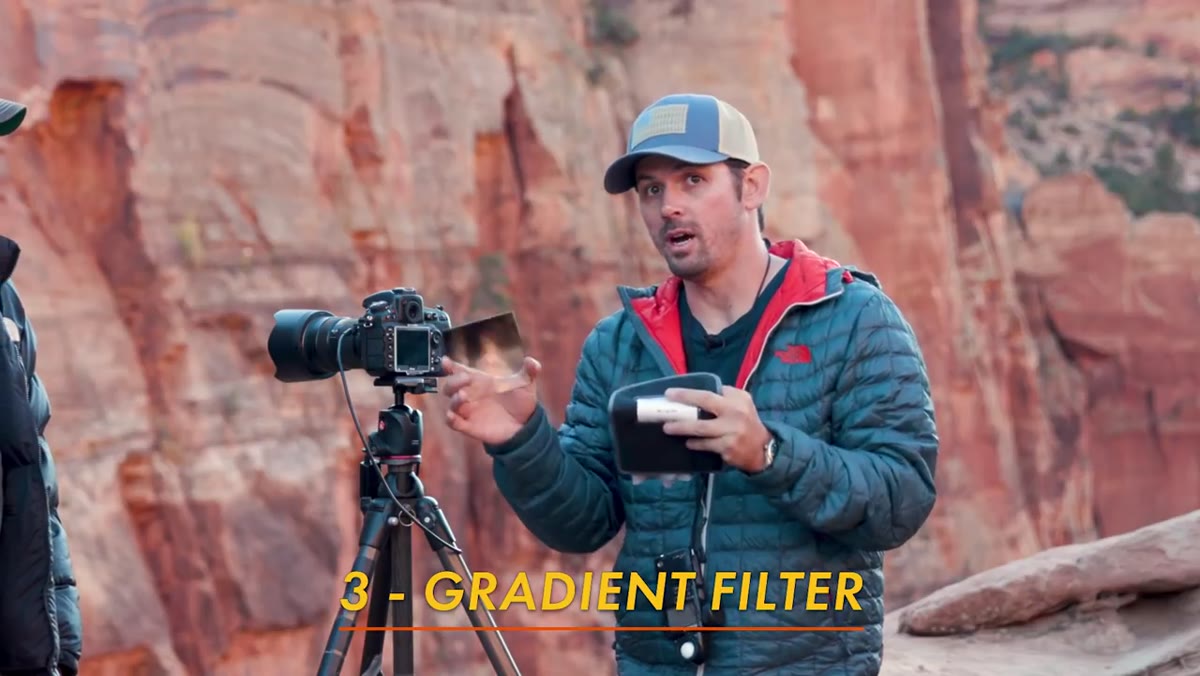 Shane holding graduated ND filter up in front of lens outdoors
Here’s a scenario every landscape shooter knows. The sky is glowing, the foreground is in shadow, and your camera’s sensor cannot record both ends of that tonal range in a single exposure. You either blow the highlights or block up the shadows. The standard answer these days is to bracket and blend in post, but that solution falls apart the moment anything in the frame is moving. Grass, water, branches in wind: blending multiple exposures with motion in them is tedious at best and unconvincing at worst.
Shane holding graduated ND filter up in front of lens outdoors
Here’s a scenario every landscape shooter knows. The sky is glowing, the foreground is in shadow, and your camera’s sensor cannot record both ends of that tonal range in a single exposure. You either blow the highlights or block up the shadows. The standard answer these days is to bracket and blend in post, but that solution falls apart the moment anything in the frame is moving. Grass, water, branches in wind: blending multiple exposures with motion in them is tedious at best and unconvincing at worst.
A graduated ND filter is a sheet of optical glass or resin that’s dark on one half and clear on the other, with a gradual transition in between. You position the dark half over the sky, slide it up or down to align with your horizon, and suddenly the sky and foreground fall within a stop or two of each other. One exposure. No compositing. Ready to print. Shane’s point about working efficiency is one I’ve come to value deeply. Time spent in front of the computer is time not spent in the field. Getting the exposure right on location means the image is finished when you pack up the tripod.
Step 4: Bring a Handheld Light Meter and Stop Trusting Your Camera to Guess
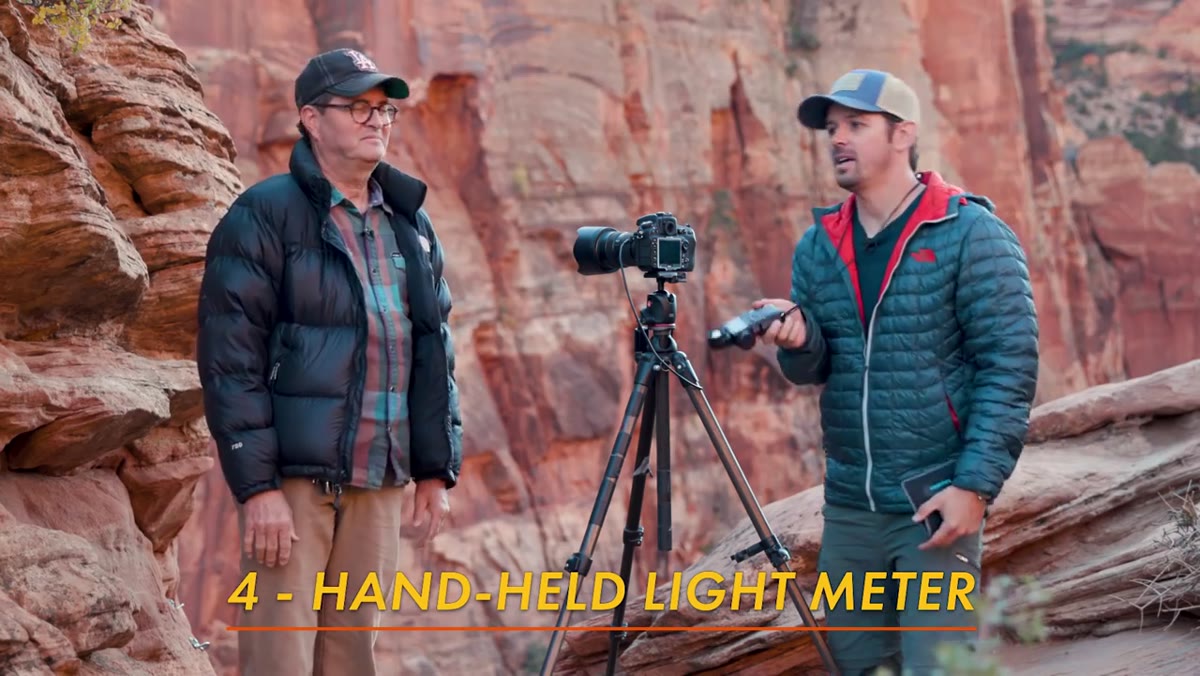 Shane using a handheld incident light meter on location
Camera meters are reflective meters. They read the light bouncing off your subject and make an educated guess about the correct exposure. That guess gets fooled by bright snow, dark forests, backlit subjects, and just about any high-contrast scene you’ll encounter doing landscape work at the edges of the day. A handheld incident light meter reads the light actually falling on the scene, pointed back toward the camera from the subject position. It doesn’t care what color the subject is or how bright the background is. It gives you a ground-truth exposure reading.
Shane using a handheld incident light meter on location
Camera meters are reflective meters. They read the light bouncing off your subject and make an educated guess about the correct exposure. That guess gets fooled by bright snow, dark forests, backlit subjects, and just about any high-contrast scene you’ll encounter doing landscape work at the edges of the day. A handheld incident light meter reads the light actually falling on the scene, pointed back toward the camera from the subject position. It doesn’t care what color the subject is or how bright the background is. It gives you a ground-truth exposure reading.
Beyond accuracy, there’s a practical battery argument here. Taking repeated test exposures and chimping the histogram to dial in your settings burns through your camera battery fast, and in cold weather your battery life is already cut by a third. A handheld meter runs on standard double-A batteries that last for years of field use. Click the button, read the number, dial it in, shoot. The deliberateness of that workflow also connects to something I value more as I get older: it makes you slow down and think before you press the shutter.
Step 5: Understand That These Tools Work as a System, Not Individually
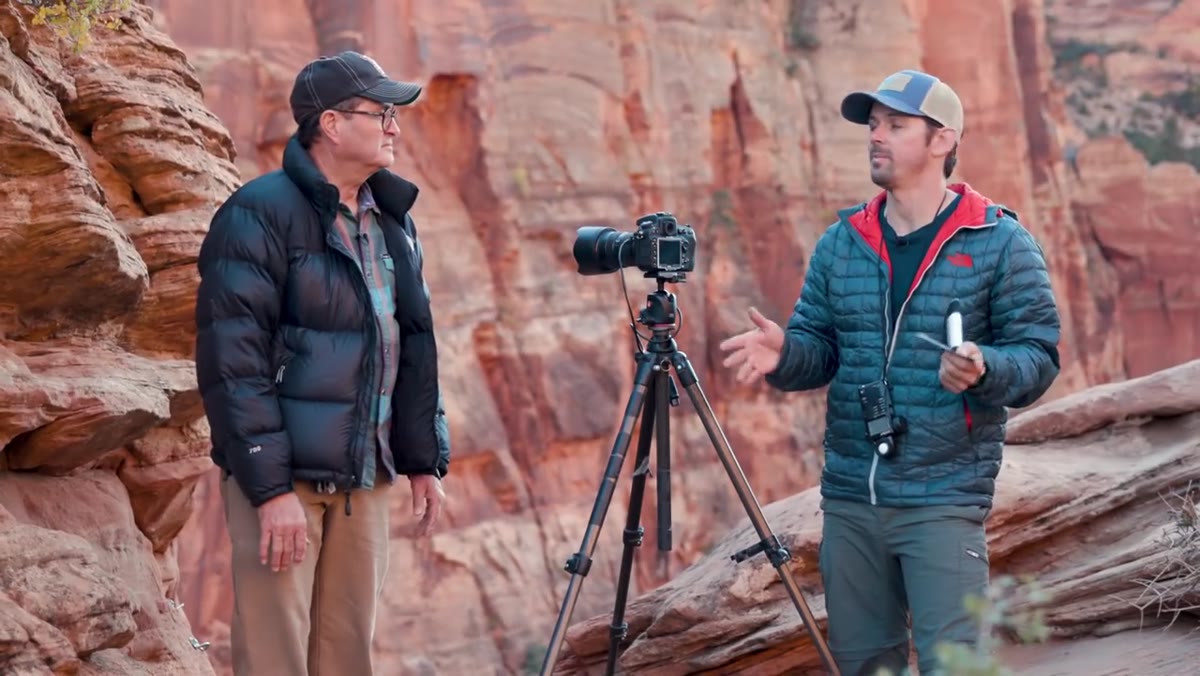 Wide shot of both photographers with full kit set up in Zion
Each of these five essentials reinforces the others. The tripod enables long exposures. The cable release protects the sharpness the tripod creates. The graduated filter makes it possible to expose correctly in a single frame. The light meter tells you what that correct exposure actually is before you commit to it. Pull any one of these out of the workflow and the others become less effective.
Wide shot of both photographers with full kit set up in Zion
Each of these five essentials reinforces the others. The tripod enables long exposures. The cable release protects the sharpness the tripod creates. The graduated filter makes it possible to expose correctly in a single frame. The light meter tells you what that correct exposure actually is before you commit to it. Pull any one of these out of the workflow and the others become less effective.
This is the part most gear lists miss. It’s not about accumulating tools. It’s about building a repeatable process that gets you to a clean, printable file efficiently and consistently, no matter what the light is doing.
What Twenty Years in the Field Adds to This List
Shane’s five essentials are solid, and I carry all of them. But after twenty years and more dawns than I can count, I’d add one principle underneath all of it: patience is the gear that actually makes the difference. My mentor once told me the mountain doesn’t care about your schedule, and I’ve never forgotten it. I’ve driven six hours to a location, sat in fog for two days, and come home with one usable shot. That shot became my best-selling print.
No cable release or graduated filter saves a bad decision about when to be somewhere. The tools extend your technical reach. Knowing when to use them, and being willing to wait for the right light to arrive, is what separates a technically sharp photograph from one that stops people in a gallery.
The single most transferable idea in this tutorial is that every piece of gear Shane recommends is in service of one goal: control. Control over motion, over vibration, over dynamic range, over exposure accuracy. The more deliberately you build that control into your field process, the less you leave to chance, and the more consistently you come home with work you’re proud of.
Watch the full tutorial on YouTube to see Shane and JP work through each essential on location in Zion, including a closer look at how Shane positions and adjusts the graduated filter in a real shooting scenario.
Comments
Leave a Comment