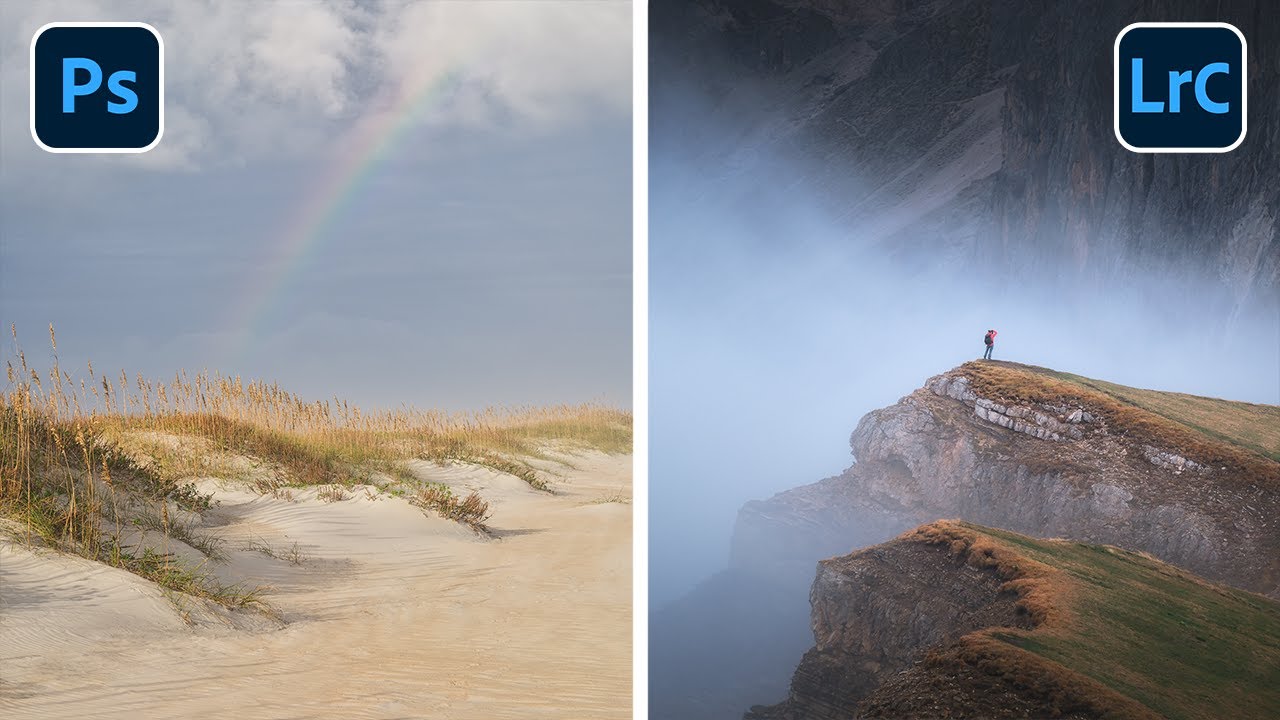
There’s a particular kind of frustration that comes from finishing an edit, stepping away, and coming back an hour later to find the photo still doesn’t feel done. The tones are right. The exposure is dialed. But something is missing — some quality that separates a processed file from a finished photograph. I spent years chalking that up to a problem in the field. Wrong light, wrong lens, wrong timing. It took a long time to understand it was almost always a problem at the end of my editing workflow, not the beginning.
Watch the full tutorial on YouTube
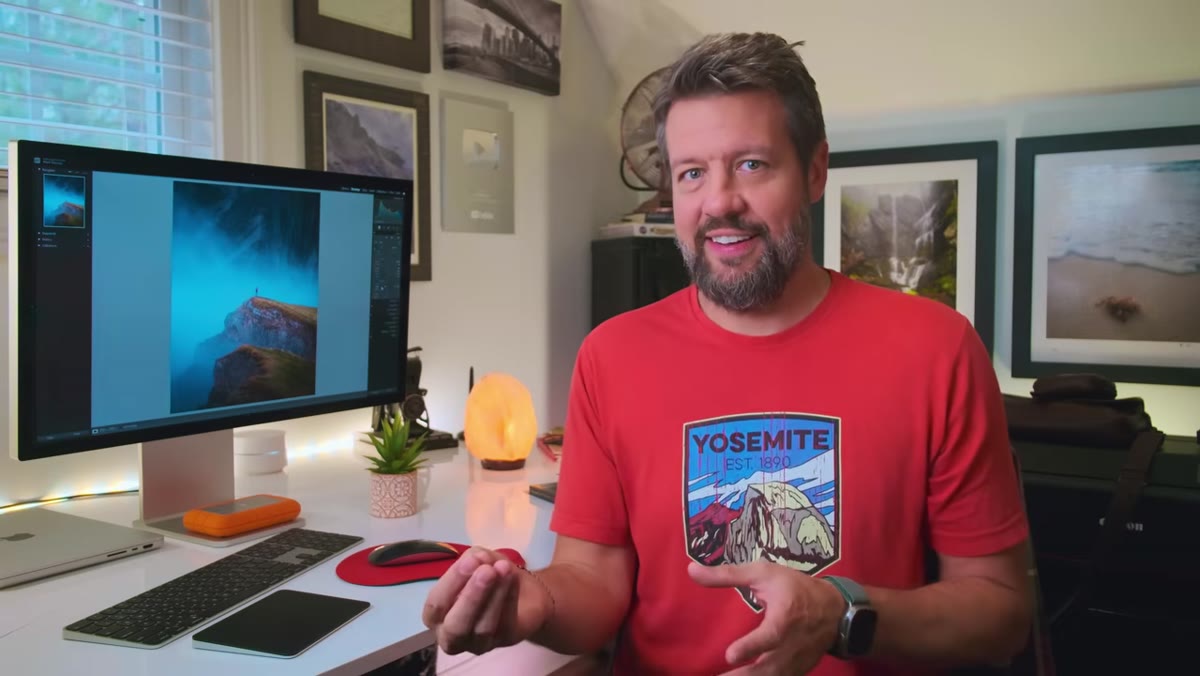
In this Mark Denney tutorial, he walks through the seven finishing moves he applies to every single landscape photo he edits — consistently, regardless of the subject or the initial raw file. What makes this video worth studying isn’t just the steps themselves, but Denney’s honest admission that he’s been doing a poor job explaining why he does them. He fixes that here. These aren’t arbitrary stylistic choices. Each move serves a specific purpose, and once you understand the reasoning, you’ll start seeing its absence in your own work.
Step 1: Begin With the Basics Already Done
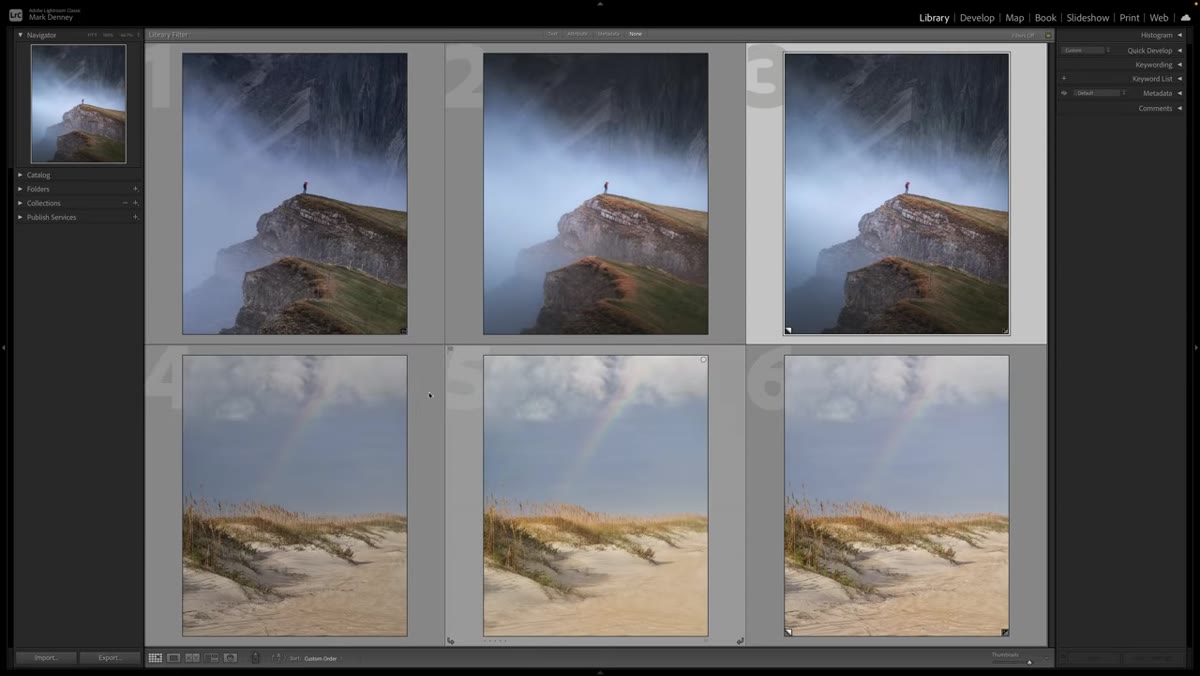 Raw file compared to basic panel adjustments side by side
Before the seven finishing moves begin, Denney shows his photo with the foundational editing already in place: basic panel adjustments, a reduction in the blue channel saturation, calibration tweaks, and a vignette. He’s clear that these finishing steps aren’t meant to fix a broken edit. They’re a final layer applied on top of a photo that’s already mostly working. If you’re jumping straight to finishing moves to rescue a flat raw file, you’re using them wrong. Get the fundamentals solid first, then treat these seven steps as your closing ritual.
Raw file compared to basic panel adjustments side by side
Before the seven finishing moves begin, Denney shows his photo with the foundational editing already in place: basic panel adjustments, a reduction in the blue channel saturation, calibration tweaks, and a vignette. He’s clear that these finishing steps aren’t meant to fix a broken edit. They’re a final layer applied on top of a photo that’s already mostly working. If you’re jumping straight to finishing moves to rescue a flat raw file, you’re using them wrong. Get the fundamentals solid first, then treat these seven steps as your closing ritual.
Step 2: Soften the Larger Detail
 Texture or detail slider being reduced in the Lightroom panel
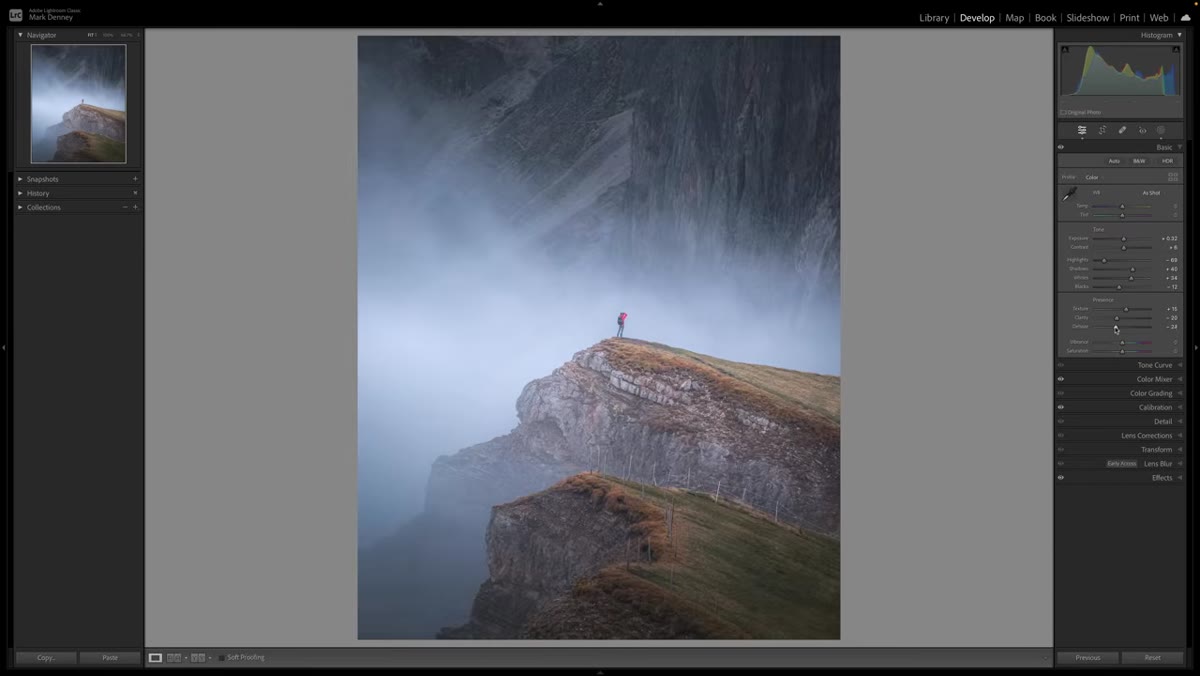
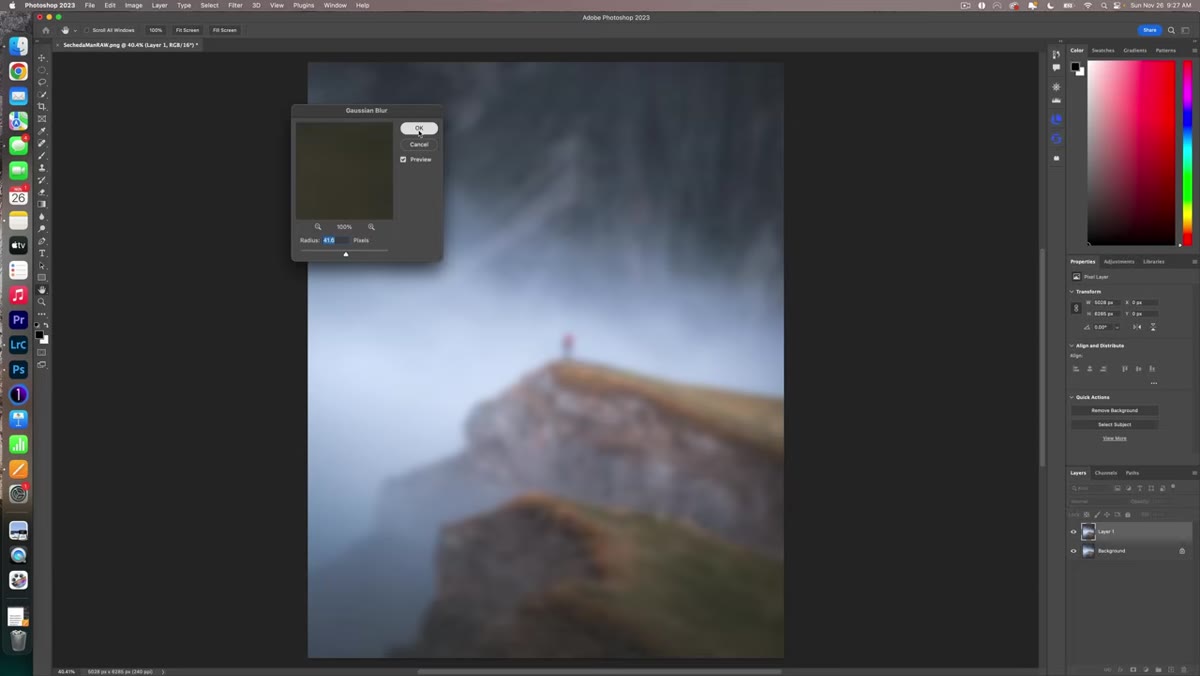
The first finishing move is one that surprises most photographers: deliberately softening the larger-scale detail in the image. Denney shoots medium format and addresses the obvious question head-on. High megapixel counts aren’t about sharpness for sharpness’s sake. The real value of a larger sensor is its ability to capture a wider tonal range and a broader color gamut. When you soften overall detail slightly, you’re not throwing away resolution. You’re allowing the tonal depth of the image to breathe rather than letting razor-sharp texture dominate the viewer’s attention.
Texture or detail slider being reduced in the Lightroom panel
The first finishing move is one that surprises most photographers: deliberately softening the larger-scale detail in the image. Denney shoots medium format and addresses the obvious question head-on. High megapixel counts aren’t about sharpness for sharpness’s sake. The real value of a larger sensor is its ability to capture a wider tonal range and a broader color gamut. When you soften overall detail slightly, you’re not throwing away resolution. You’re allowing the tonal depth of the image to breathe rather than letting razor-sharp texture dominate the viewer’s attention.
In practical terms, this means pulling back on the Texture slider in Lightroom’s Detail panel or the Basic panel, depending on how pronounced the effect needs to be. The goal is subtle. You’re not creating a soft-focus look. You’re reducing the visual noise that comes from extreme micro-contrast so the broader tones and colors can read more cleanly. Try reducing Texture by somewhere in the range of -20 to -40 and toggle it on and off to see whether the image feels more cohesive with it applied.
Step 3: Work the Tone Curve for Depth
 Tone curve panel open with a gentle S-curve applied
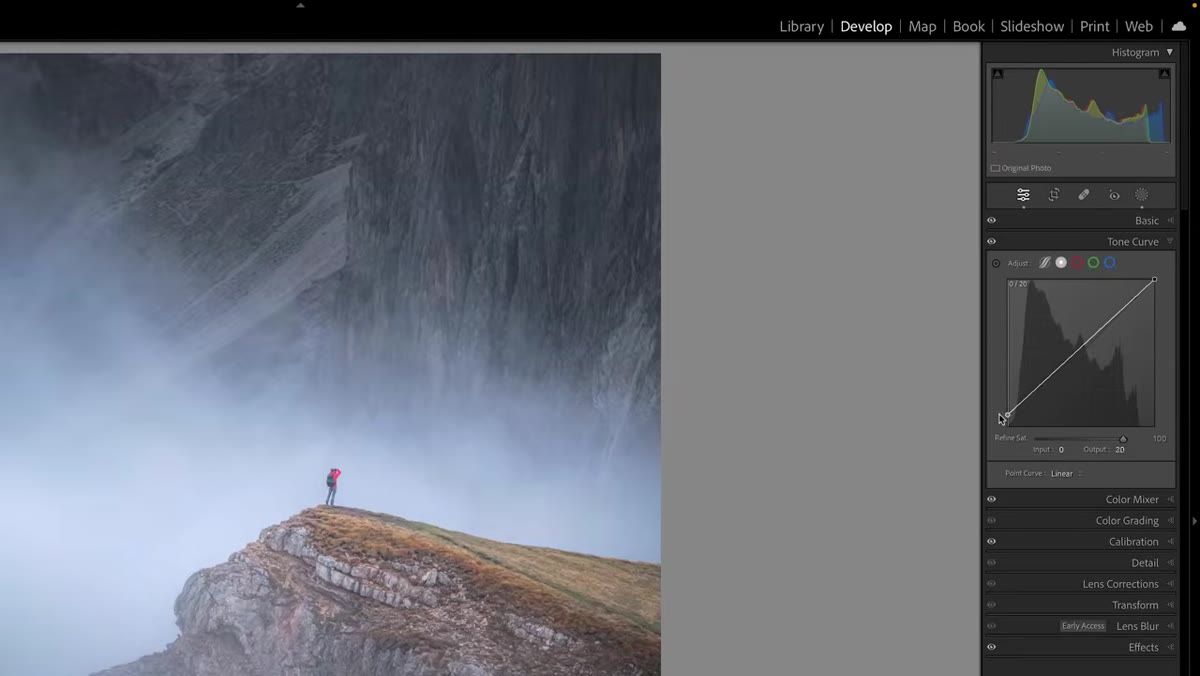
After managing detail, Denney moves to the tone curve to refine the contrast and depth of the image in a way the basic panel alone can’t achieve. The basic panel controls are broad and blunt. The tone curve lets you push mid-tone contrast independently from the highlights and shadows, which means you can add a sense of dimensionality without blowing out the sky or crushing the foreground shadows.
Tone curve panel open with a gentle S-curve applied
After managing detail, Denney moves to the tone curve to refine the contrast and depth of the image in a way the basic panel alone can’t achieve. The basic panel controls are broad and blunt. The tone curve lets you push mid-tone contrast independently from the highlights and shadows, which means you can add a sense of dimensionality without blowing out the sky or crushing the foreground shadows.
A gentle S-curve is the standard approach here: a small lift in the upper-mid tones and a slight dip in the lower-mid tones. What matters more than the exact shape is the intention. You’re looking for the image to feel three-dimensional rather than flat, with a clear separation between the light and dark zones of the scene. Small moves go a long way. If the curve looks dramatic when you zoom out to see the full panel, you’ve probably overdone it.
Step 4: Address Color with the HSL Panel
 HSL panel open with Hue and Luminance sliders being adjusted
Color at this stage isn’t about making things look vivid. It’s about accuracy and harmony. Denney uses the HSL panel to fine-tune the hue, saturation, and luminance of individual color channels. In landscape work this most often means adjusting the greens so they read as natural rather than radioactive, pulling back on overly electric blues in the sky, and making sure the warmth in the highlights feels earned rather than pushed.
HSL panel open with Hue and Luminance sliders being adjusted
Color at this stage isn’t about making things look vivid. It’s about accuracy and harmony. Denney uses the HSL panel to fine-tune the hue, saturation, and luminance of individual color channels. In landscape work this most often means adjusting the greens so they read as natural rather than radioactive, pulling back on overly electric blues in the sky, and making sure the warmth in the highlights feels earned rather than pushed.
One approach I’ve found useful here, which aligns with what Denney demonstrates, is targeting the luminance of individual channels rather than the saturation. Reducing the luminance of a color darkens it without making it more intense, which can give the image a more grounded, weighted quality. Lifting the luminance of the same color does the opposite. Play with the Aqua and Blue luminance values in particular if your image has water or sky, since these often read too bright in a raw file.
Step 5: Refine the Vignette
 Effects panel showing vignette controls with feathering and midpoint sliders
A vignette was already part of Denney’s base edit, but at this finishing stage he revisits it to make sure it’s working in context with everything else. The common mistake is to set a vignette early and forget it. Once you’ve adjusted tone, color, and detail, the relationship between the edges and the center of the frame has changed, and the vignette may need to be pulled back or pushed slightly to remain proportional.
Effects panel showing vignette controls with feathering and midpoint sliders
A vignette was already part of Denney’s base edit, but at this finishing stage he revisits it to make sure it’s working in context with everything else. The common mistake is to set a vignette early and forget it. Once you’ve adjusted tone, color, and detail, the relationship between the edges and the center of the frame has changed, and the vignette may need to be pulled back or pushed slightly to remain proportional.
Keep the midpoint value high enough that the darkening starts well away from the subject, and use enough feathering that the transition is invisible. A vignette that’s visible as a shape is working against you. It should only be perceived as a sense of the eye being drawn inward.
Step 6: Add a White Border
 Print or export settings showing white border being added around the image
This is one of the most frequently asked questions in Denney’s comments. He adds a white border around some of his finished photos, and the effect is more intentional than purely decorative. The border creates visual breathing room between the image and whatever background it’s displayed against, whether that’s a website, a social feed, or a print mat. It’s a presentation choice, not an editing choice, but it belongs in the finishing workflow because it changes how the image reads as a complete object.
Print or export settings showing white border being added around the image
This is one of the most frequently asked questions in Denney’s comments. He adds a white border around some of his finished photos, and the effect is more intentional than purely decorative. The border creates visual breathing room between the image and whatever background it’s displayed against, whether that’s a website, a social feed, or a print mat. It’s a presentation choice, not an editing choice, but it belongs in the finishing workflow because it changes how the image reads as a complete object.
The method depends on your output. In Lightroom’s Print module you can add a border using the Page Background Color and Identity Plate settings. For export, many photographers add the border in Photoshop by increasing the canvas size with a white background. Denney explains his specific approach in detail in the video. The key point is that this step should be intentional and sized proportionally to the image rather than applied at a fixed pixel width regardless of output size.
Step 7: Final Toggle Review
 Before and after toggle view showing the complete edit versus the raw file
The last move is the simplest and the easiest to skip: toggling the full edit off and on to compare the finished photo against the raw file. This isn’t about second-guessing yourself. It’s about confirming that every decision you made actually added something. If the edit looks worse than the raw in any single area, that’s information. Fix it or remove it before you export.
Before and after toggle view showing the complete edit versus the raw file
The last move is the simplest and the easiest to skip: toggling the full edit off and on to compare the finished photo against the raw file. This isn’t about second-guessing yourself. It’s about confirming that every decision you made actually added something. If the edit looks worse than the raw in any single area, that’s information. Fix it or remove it before you export.
A Note From the Field
I’ll add one thing Denney doesn’t address directly, because it’s specific to the way I work. I try to do this entire finishing sequence in one sitting without interruption. Not because it requires speed, but because your eye calibrates to a monitor over time. If you walk away mid-workflow and come back, your perception of color and contrast shifts, and what felt balanced before may suddenly look wrong. The seven moves above work as a sequence. Running through them in a single focused session keeps your judgment consistent from first move to last.
The single most important idea from this tutorial is that finishing an edit is a phase in its own right, not just a few extra slider nudges before you hit export. Treating it as a defined workflow with a consistent order changes the quality and consistency of your output.
Watch the full tutorial on YouTube to see Denney walk through all seven steps on two different images from raw file to final photo.
Comments
Leave a Comment