I’ve spent twenty years chasing light as a landscape photographer, which means I’ve also spent twenty years cursing the absence of it. Flat, overcast mornings that turn a fern into a gray smudge. Primary forest so dense the canopy swallows every photon before it reaches the forest floor. The desperate, slightly embarrassing move of holding my phone flashlight up to a subject with one hand while trying to fire the shutter with the other. These are not glamorous moments. They’re the unglamorous middle of this work, and most photographers don’t talk about them enough.
When I came across this Matt Kloskowski tutorial filmed at Crocodile Bay in Costa Rica, I recognized the problem immediately. Matt is shooting workshops in a rainforest, doing macro work on gray mornings, photographing frogs in near-total darkness, and reaching for something small and controllable to add light without hauling studio gear into the jungle. The tool he landed on is the LumeCube, a compact LED light designed to be taken into exactly these situations. I’ve started using one myself, and what follows is a breakdown of how Matt introduces and applies it, with notes from my own time in the field.
Watch the full tutorial on YouTube
Step 1: Understand What Problem This Light Actually Solves
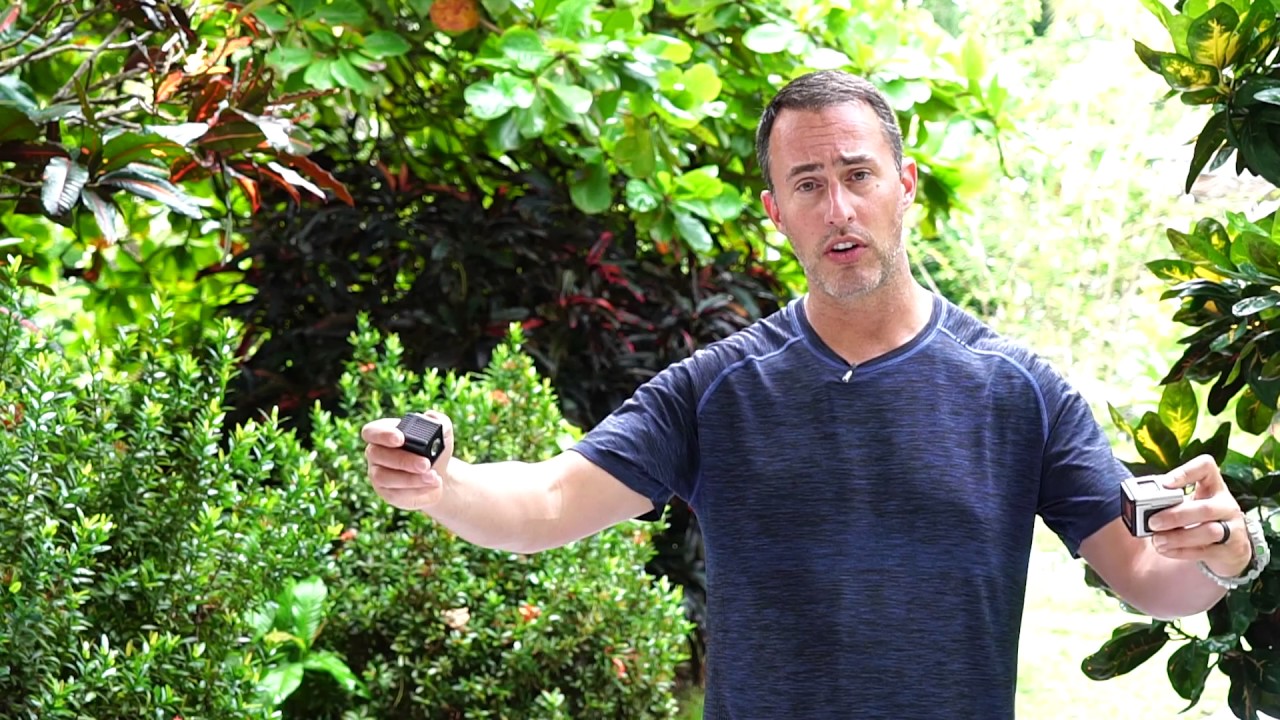
 Matt describing situations where portable light becomes necessary
Before buying any piece of gear, you need an honest answer to one question: what specific situation does this fix? Matt is clear about this from the start. He is not a studio photographer. He doesn’t work with flash rigs or lighting setups. His world is landscape, nature, outdoor work, and the times when a little supplemental light would make a real difference. A canopy of old-growth trees, a macro subject on a dull morning, a nocturnal animal in a dark hollow. These are the situations where you need something brighter than your phone’s screen but smaller than anything with a battery pack and a light stand.
Matt describing situations where portable light becomes necessary
Before buying any piece of gear, you need an honest answer to one question: what specific situation does this fix? Matt is clear about this from the start. He is not a studio photographer. He doesn’t work with flash rigs or lighting setups. His world is landscape, nature, outdoor work, and the times when a little supplemental light would make a real difference. A canopy of old-growth trees, a macro subject on a dull morning, a nocturnal animal in a dark hollow. These are the situations where you need something brighter than your phone’s screen but smaller than anything with a battery pack and a light stand.
If your shooting is similar, this is a problem worth solving. If you spend most of your time in open golden-hour light, you may not need it. Know your use case before you commit.
Step 2: Get Familiar With the Hardware Before You’re In the Field
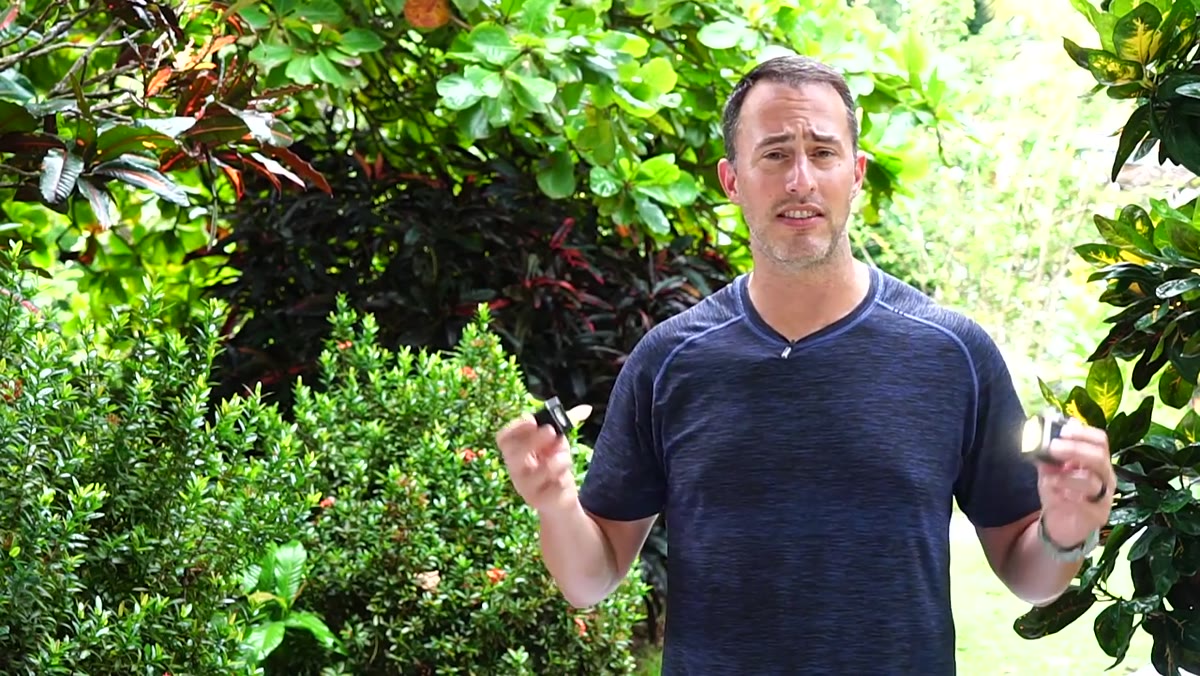
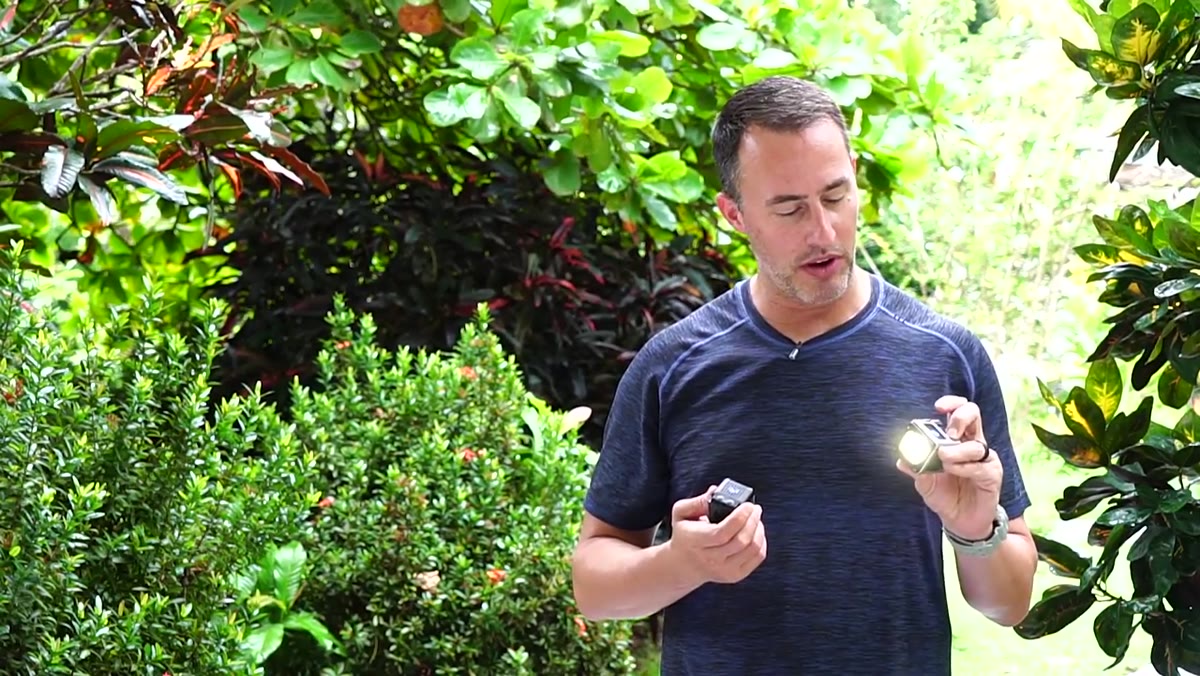 Matt holding the LumeCube and demonstrating the button on top
The LumeCube is a small cube-shaped LED light with a single button on top that cycles through nine brightness levels. Matt’s advice here is implicit but worth stating directly: test the thing before you’re standing in a dark forest with a frog in front of you and no time to learn the controls. Press through all nine levels at home. Note how the output changes. The jump from mid-range to full power is significant, and at full brightness this light is genuinely intense. Matt mentions looking directly into it out of curiosity and immediately regretting it. Don’t do that.
Matt holding the LumeCube and demonstrating the button on top
The LumeCube is a small cube-shaped LED light with a single button on top that cycles through nine brightness levels. Matt’s advice here is implicit but worth stating directly: test the thing before you’re standing in a dark forest with a frog in front of you and no time to learn the controls. Press through all nine levels at home. Note how the output changes. The jump from mid-range to full power is significant, and at full brightness this light is genuinely intense. Matt mentions looking directly into it out of curiosity and immediately regretting it. Don’t do that.
Charge it fully before any outing, and if you’re going somewhere remote, bring two. Battery life on small LEDs can be shorter than you expect when you’re running at higher power settings.
Step 3: Connect It to the App for Real Control
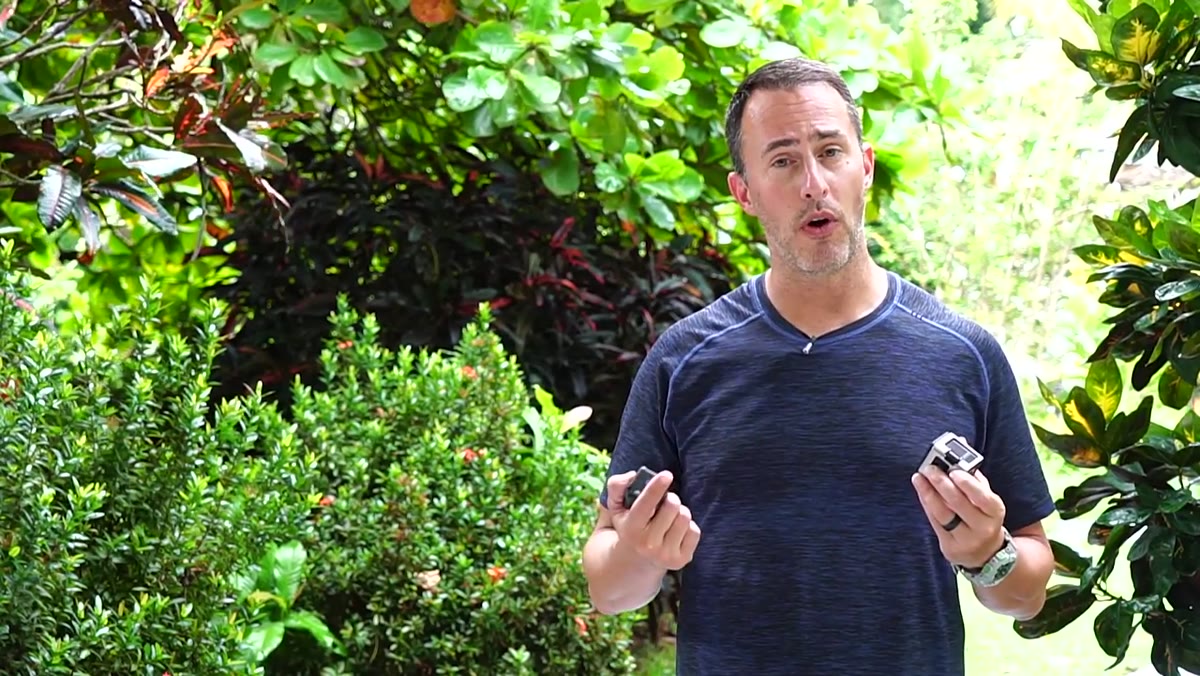 Matt explaining the Bluetooth app connection and flash mode
The physical button gives you quick access to brightness levels, but the real flexibility comes from pairing the LumeCube to your phone via Bluetooth and using the companion app. Through the app, you can dial in precise power levels rather than stepping through presets. You can also configure the light to fire as a flash synced to your phone’s camera, bypassing the weak built-in flash entirely. This is worth taking seriously. Positioning a separate light source off-axis from your lens, even just a few inches, gives you directional light and shadow that the on-camera flash completely eliminates.
Matt explaining the Bluetooth app connection and flash mode
The physical button gives you quick access to brightness levels, but the real flexibility comes from pairing the LumeCube to your phone via Bluetooth and using the companion app. Through the app, you can dial in precise power levels rather than stepping through presets. You can also configure the light to fire as a flash synced to your phone’s camera, bypassing the weak built-in flash entirely. This is worth taking seriously. Positioning a separate light source off-axis from your lens, even just a few inches, gives you directional light and shadow that the on-camera flash completely eliminates.
Matt also points out that multiple LumeCubes can connect to the same app simultaneously. This opens up real creative options. Two lights at different angles. One for fill, one for rim light. For macro work especially, that kind of control over shadow and direction changes what the camera can record.
Step 4: Use It for Macro Work on Flat, Overcast Days
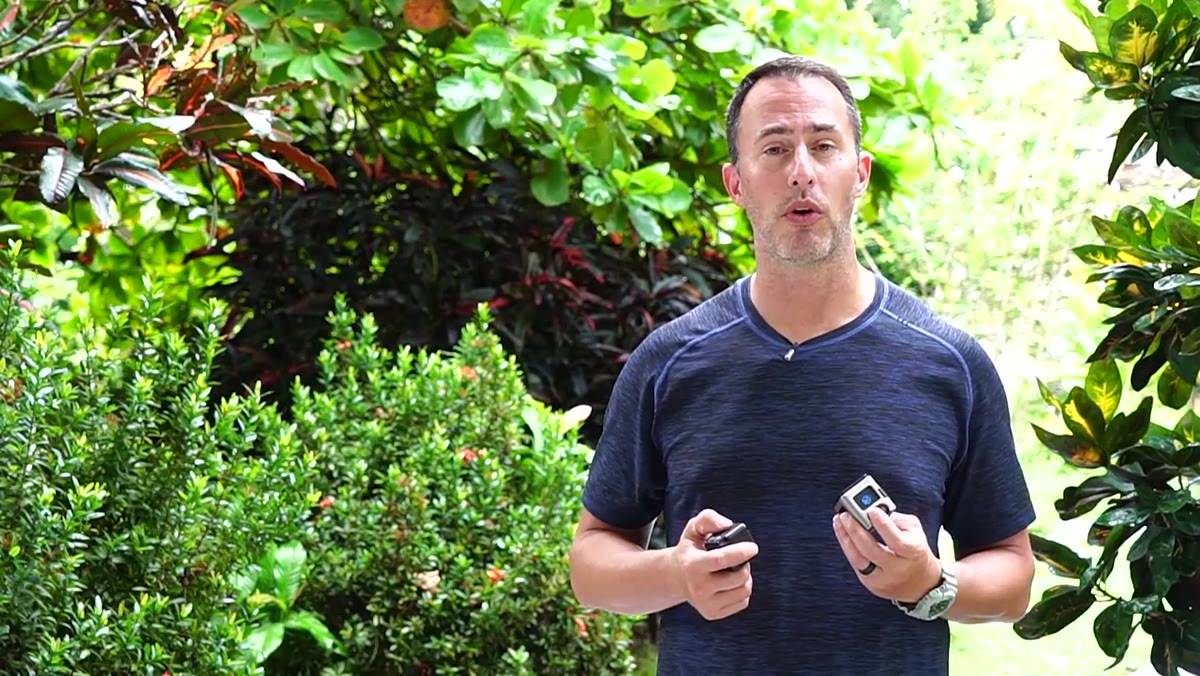 Matt describing the gray, flat macro morning during the workshop
Flat light is one of the most frustrating conditions in macro photography. Overcast skies diffuse everything equally, and small subjects lose all sense of dimension. Matt describes a workshop morning where the sky was completely gray, and introducing a LumeCube into the scene immediately restored depth and separation. The light creates a shadow relationship that the flat ambient light was erasing.
Matt describing the gray, flat macro morning during the workshop
Flat light is one of the most frustrating conditions in macro photography. Overcast skies diffuse everything equally, and small subjects lose all sense of dimension. Matt describes a workshop morning where the sky was completely gray, and introducing a LumeCube into the scene immediately restored depth and separation. The light creates a shadow relationship that the flat ambient light was erasing.
In practice, position the light at roughly 45 degrees to your subject, not directly from above or directly in front. Watch the shadow it creates on the surface beneath the subject. That shadow is doing the work. If it looks too harsh, move the light farther back or reduce power in the app. If it looks too soft to matter, bring it closer and increase output slightly.
Step 5: Use the Magnetic Diffuser and Warming Gel for Natural-Looking Results
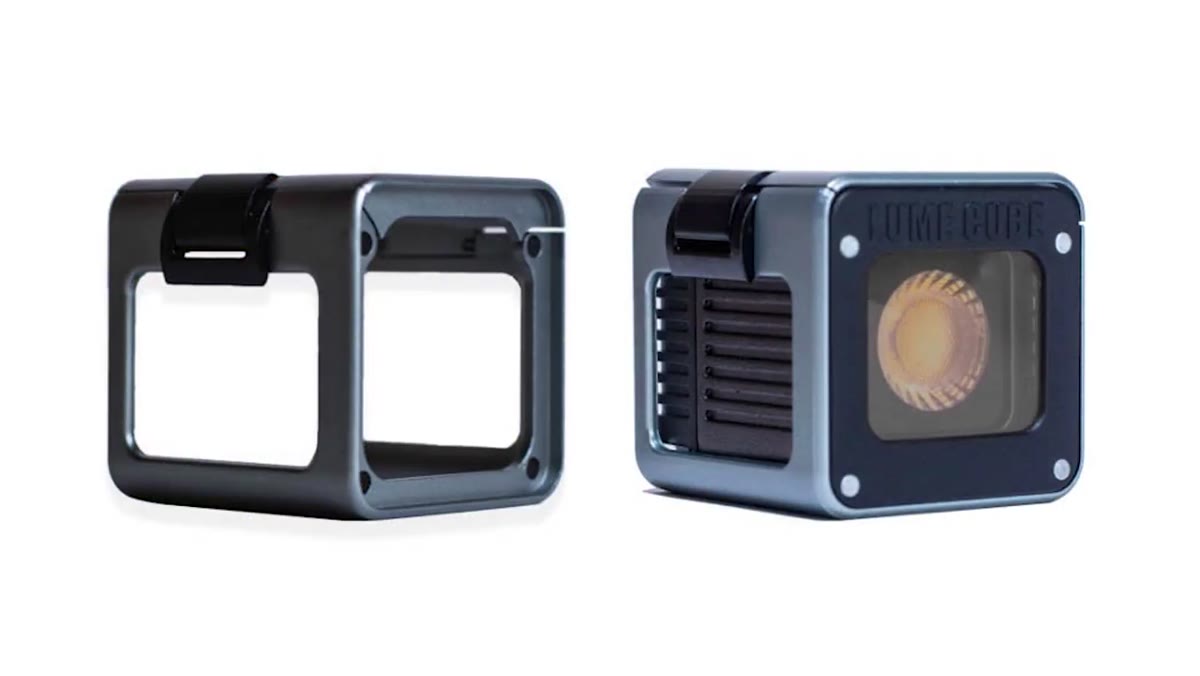 Matt demonstrating the magnetic diffuser and warming gel attachments
The newest LumeCube housing includes a magnetic front panel that accepts accessories, specifically a diffusion panel and a warming gel. The diffuser softens the output and makes the light wrap slightly around a small subject rather than hitting it with a hard point-source beam. For insects, fungi, or plant details, this is usually the setting you want. The direct light without diffusion can look artificial fast.
Matt demonstrating the magnetic diffuser and warming gel attachments
The newest LumeCube housing includes a magnetic front panel that accepts accessories, specifically a diffusion panel and a warming gel. The diffuser softens the output and makes the light wrap slightly around a small subject rather than hitting it with a hard point-source beam. For insects, fungi, or plant details, this is usually the setting you want. The direct light without diffusion can look artificial fast.
The warming gel shifts the color temperature toward the warm end, somewhere in the range of late afternoon sun. Matt used this during macro sessions to simulate directional sunlight coming through the canopy, which is exactly the light that canopy subjects are naturally lit by on clear days. Stacking the warming gel over the diffuser gives you soft, warm, directional light that reads as natural even though you placed it there intentionally.
Step 6: Place Multiple Lights Creatively in Low-Light Environments
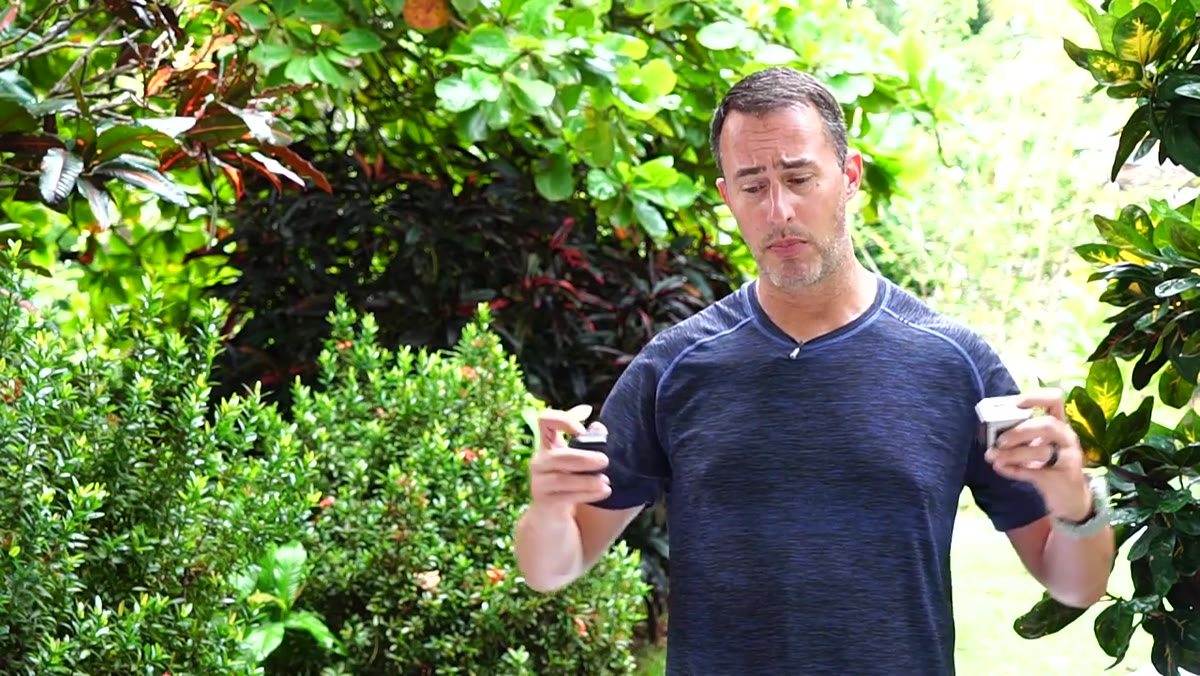 Matt describing frog photography in dark primary rainforest
When shooting in very dark environments, such as a primary rainforest interior, single-source light tends to create strong contrast that can look more like a crime scene photo than a nature image. Matt’s approach is to use multiple LumeCubes placed around the subject to bring ambient-feeling light into the scene from more than one direction. This fills shadows without flattening the image the way a single frontal light would.
Matt describing frog photography in dark primary rainforest
When shooting in very dark environments, such as a primary rainforest interior, single-source light tends to create strong contrast that can look more like a crime scene photo than a nature image. Matt’s approach is to use multiple LumeCubes placed around the subject to bring ambient-feeling light into the scene from more than one direction. This fills shadows without flattening the image the way a single frontal light would.
Think about the natural light logic of the environment. In a forest, light filters in from above and occasionally through gaps in the canopy at low angles. Place your lights to approximate that logic. One slightly above and to the side. One lower and opposite to fill the deepest shadow. The result should look like you found a particularly well-lit patch of forest, not like you brought your own.
A Note From My Own Kit
I tend to resist adding things to my bag. After twenty years I’ve stripped the kit down to what I genuinely use on every shoot, and I’m skeptical of anything that promises to solve problems I’ve been managing without it. But the flat-light macro problem is real, and I’ve tried enough workarounds to know none of them work as cleanly as this. I’ve started keeping one LumeCube in the front pocket of my pack alongside my filters. It’s small enough that it doesn’t feel like a compromise, and on the mornings when the light simply doesn’t cooperate, it gives me a way to keep working instead of packing up and waiting for conditions that may not come.
The single most important thing Matt demonstrates in this tutorial is not the brightness or the Bluetooth connectivity. It’s the idea that supplemental light in nature photography doesn’t have to mean big, expensive, or conspicuous. A small, controllable, portable light that you can place exactly where you need it, adjust in real time, and diffuse or warm to match natural conditions changes what you can bring back from the hard shoots.
Watch the full tutorial on YouTube to see Matt demonstrate this directly in the field.
Comments (1)
The tip about the tiny light that changed ho was the missing piece for me. Thank you.
Leave a Comment