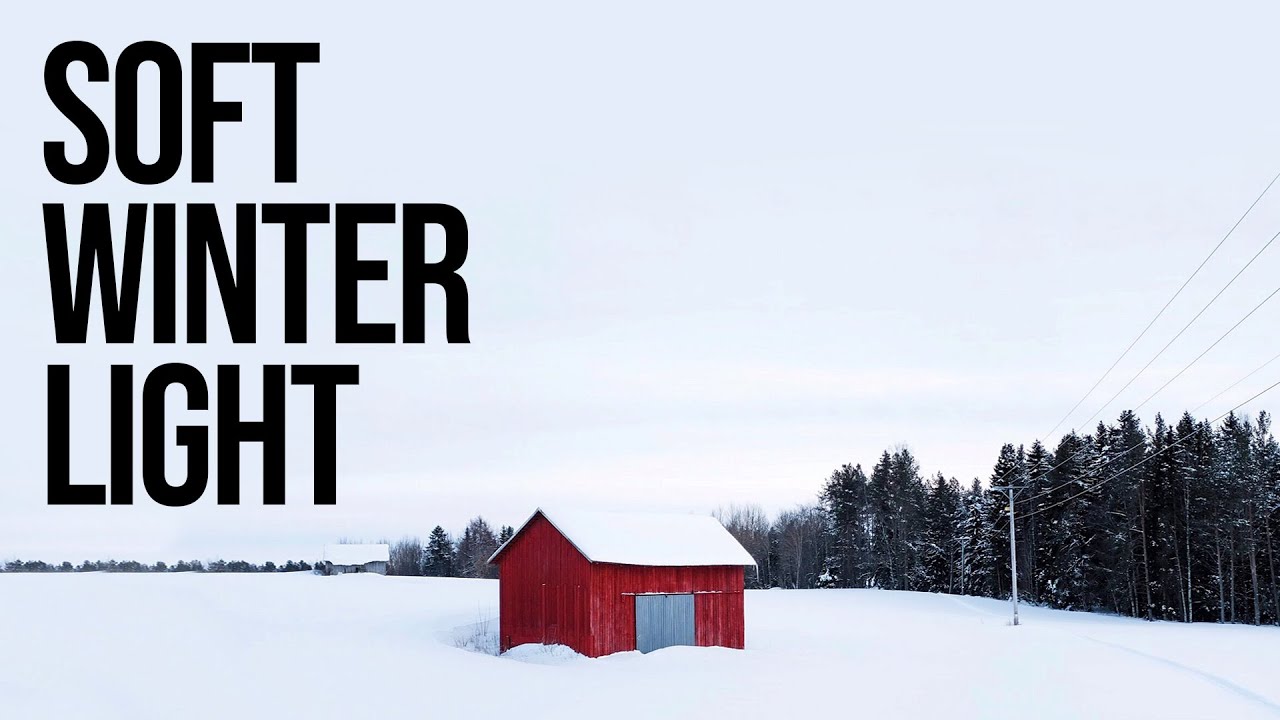
There’s a particular kind of photographer’s frustration I know well. You’ve driven hours to a location, the subject is right there in front of you, dramatic and beautiful, and then the sun cuts hard shadows across everything and turns your carefully composed frame into a visual argument between light and subject. I’ve stood in that situation more times than I can count, usually at some ungodly hour of the morning with cold coffee in a thermos and my lucky hat pulled down over my ears. The instinct is to wait it out, or worse, to pack up and leave. What I’ve been learning, slowly, is that sometimes the answer isn’t more dramatic light. Sometimes it’s softer.
In this Sean Tucker tutorial, Watch the full tutorial on YouTube, Tucker is working in Sweden in the middle of winter, shooting a scene that most photographers might walk past. A red barn. A snow field. Telephone wires cutting across the sky. It’s not the stuff of sweeping epic landscapes, and that’s exactly the point. What he does with that quiet, diffuse winter light is worth studying closely, because the principles apply everywhere from coastal Oregon fog to overcast autumn mornings anywhere in the northern hemisphere.
The core idea here isn’t about camera settings. It’s about learning to read a scene and understand what kind of light serves the subject, versus what kind of light becomes the subject. That distinction, once it clicks, changes how you shoot everything.
Step 1: Assess What the Light Is Actually Doing
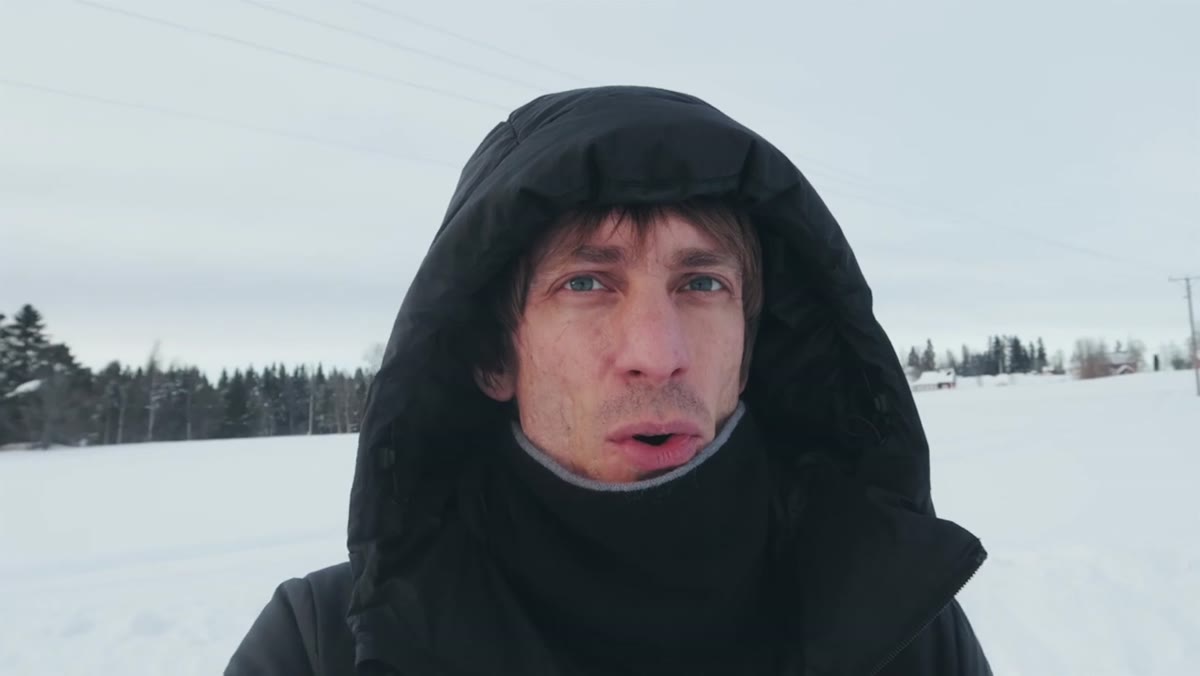 Tucker describing low winter sun cutting through atmosphere
Before you reach for your camera, stop and study the quality of light on the scene in front of you. In winter at high latitudes, the sun travels across the sky at a much lower angle than it does in summer. That low angle forces light to pass through a dramatically thicker slice of atmosphere before it ever reaches the ground. The result is natural diffusion. Shadows flatten out. Contrast drops. Colors shift toward cooler, softer pastels.
Tucker describing low winter sun cutting through atmosphere
Before you reach for your camera, stop and study the quality of light on the scene in front of you. In winter at high latitudes, the sun travels across the sky at a much lower angle than it does in summer. That low angle forces light to pass through a dramatically thicker slice of atmosphere before it ever reaches the ground. The result is natural diffusion. Shadows flatten out. Contrast drops. Colors shift toward cooler, softer pastels.
Tucker makes the point clearly: this kind of light doesn’t compete with your subject. In hard midday light, shadows from trees and buildings would cut across that snow field and create a whole secondary composition that fights for attention. In soft winter light, the barn simply sits there against a clean white canvas, and your eye goes straight to it. Ask yourself, on any given shoot, whether the light is the feature or the frame. That question alone will change your decisions.
Step 2: Work With Imperfect Elements Instead of Against Them
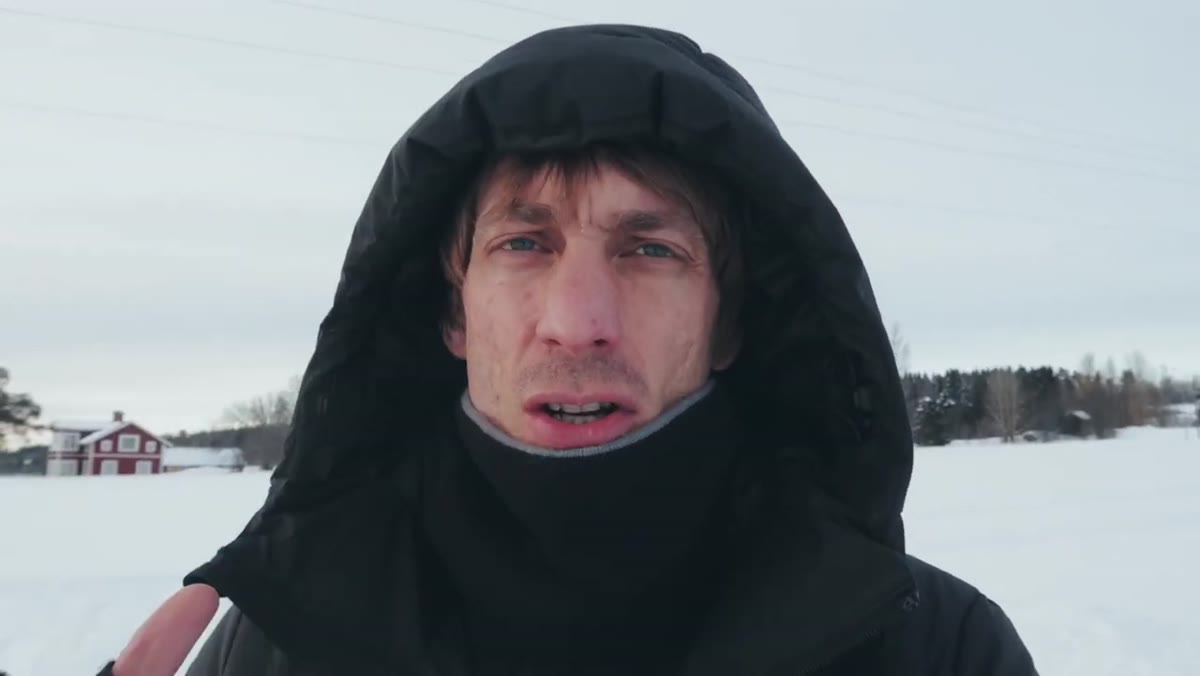 Tucker framing barn and telephone wires in snow field
Tucker looks at the telephone wires crossing his frame and makes a deliberate choice not to treat them as a problem to be cropped away. He decides to use them as a leading line, pulling the eye into the composition rather than letting them sit as visual clutter. This is a discipline worth building into your own field practice.
Tucker framing barn and telephone wires in snow field
Tucker looks at the telephone wires crossing his frame and makes a deliberate choice not to treat them as a problem to be cropped away. He decides to use them as a leading line, pulling the eye into the composition rather than letting them sit as visual clutter. This is a discipline worth building into your own field practice.
When you’re on location, your first job is to inventory the elements you’re working with, including the ones you didn’t plan on. A fence line, a road, a shadow edge, a wire. Any of these can either disrupt a composition or anchor it, depending on where you place them in the frame. Soft light helps here too, because without harsh shadows, those incidental elements carry less visual weight and are easier to fold into the composition rather than fight.
Step 3: Let Soft Light Simplify Your Palette
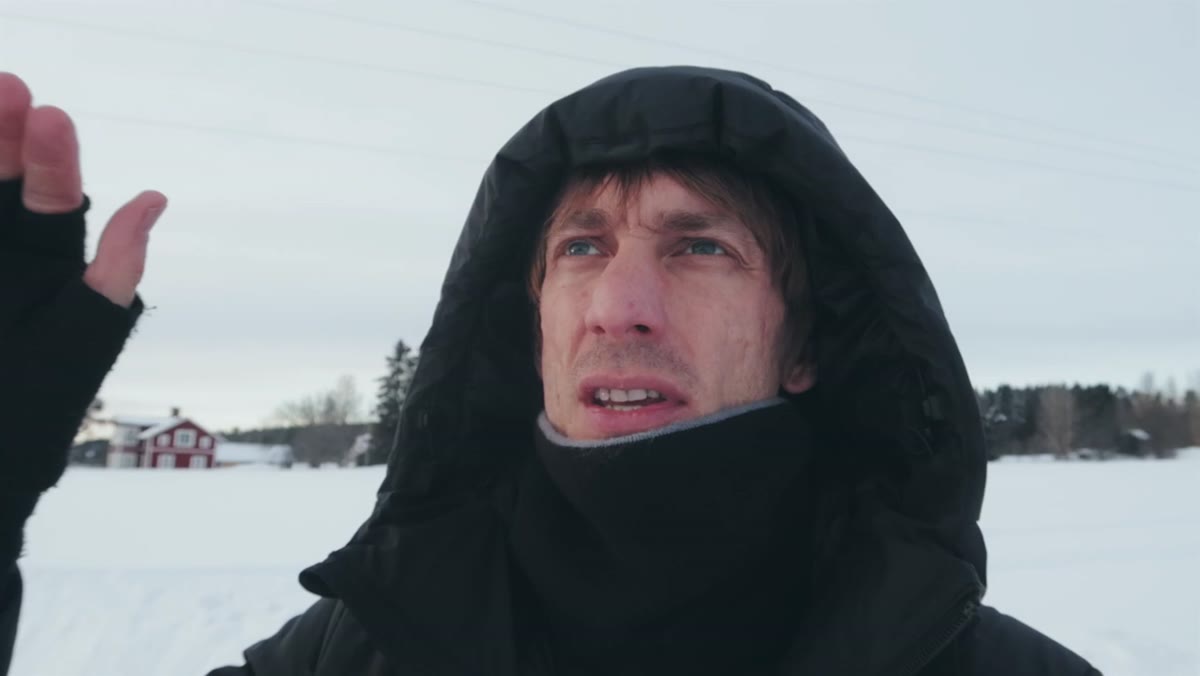 Tucker describing pastel tones and colors popping from frame
One of the things Tucker points out that I find genuinely useful is how diffused winter light shifts color. Hard sunlight creates saturated, high-contrast color relationships. Soft diffused light, especially with thin cloud cover, compresses the tonal range and nudges everything toward muted, almost pastel values. What that does compositionally is give isolated saturated elements, like a red barn, or a single tree holding autumn leaves, incredible visual pop against the muted background.
Tucker describing pastel tones and colors popping from frame
One of the things Tucker points out that I find genuinely useful is how diffused winter light shifts color. Hard sunlight creates saturated, high-contrast color relationships. Soft diffused light, especially with thin cloud cover, compresses the tonal range and nudges everything toward muted, almost pastel values. What that does compositionally is give isolated saturated elements, like a red barn, or a single tree holding autumn leaves, incredible visual pop against the muted background.
This is something I use constantly when shooting in the Columbia River Gorge on overcast mornings. The basalt walls go gray and cool, the water goes flat, and anything warm in the scene, a patch of lichen, a kayaker in a red jacket, leaps forward. You don’t need to manufacture drama when the light is doing this kind of work for you. Your job is to find the one warm or saturated element and give it room to breathe in the frame.
Step 4: Shoot Multiple Framings and Orientations
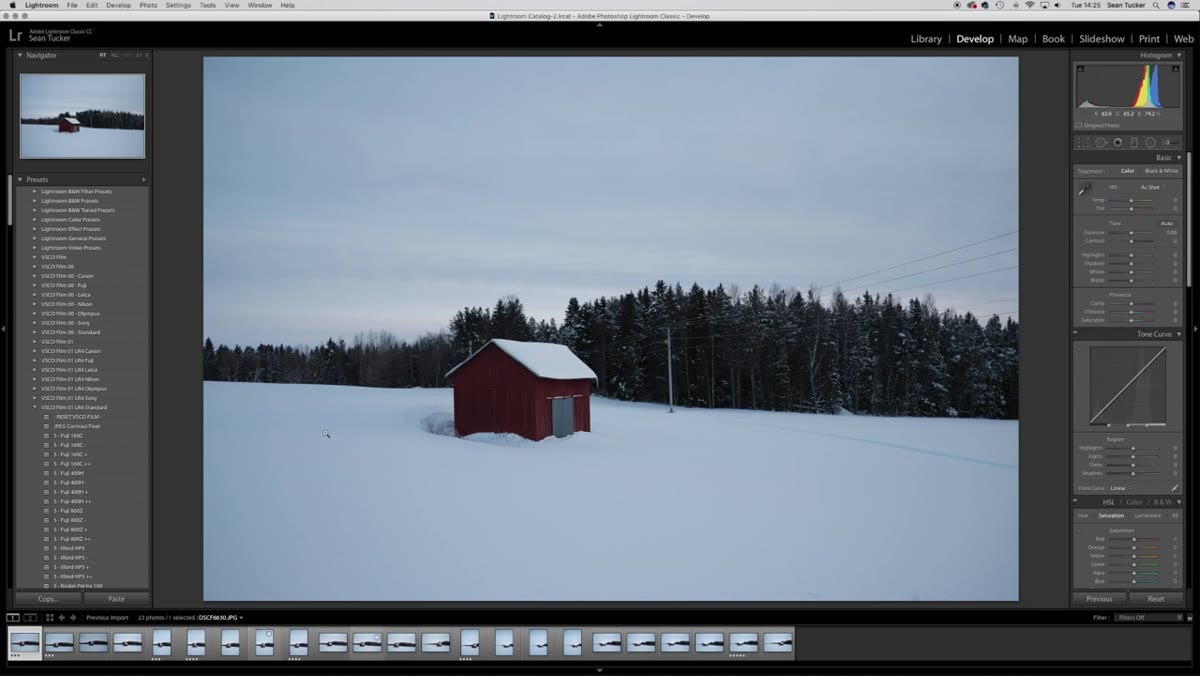 Tucker reviewing images from different framings and portrait versions
Tucker’s review of his contact sheet shows something that experienced photographers do almost automatically but beginners often skip: he worked the scene across multiple framings. He tried compositions with more foreground snow, then more sky. He tried pulling the barn lower in the frame and higher. He shot both horizontal and vertical orientations.
Tucker reviewing images from different framings and portrait versions
Tucker’s review of his contact sheet shows something that experienced photographers do almost automatically but beginners often skip: he worked the scene across multiple framings. He tried compositions with more foreground snow, then more sky. He tried pulling the barn lower in the frame and higher. He shot both horizontal and vertical orientations.
In soft flat light like this, you have time to explore. There’s no golden hour countdown, no fast-moving cloud break. The light is stable and forgiving, which means you can afford to be methodical. Walk the perimeter of your subject. Get closer. Get further. Shoot portrait orientation even if you’re not sure you want it. I often find that my strongest image from a quiet overcast session is one I almost didn’t bother with because the framing felt obvious in the moment.
Step 5: Dial In Settings to Preserve the Light’s Character
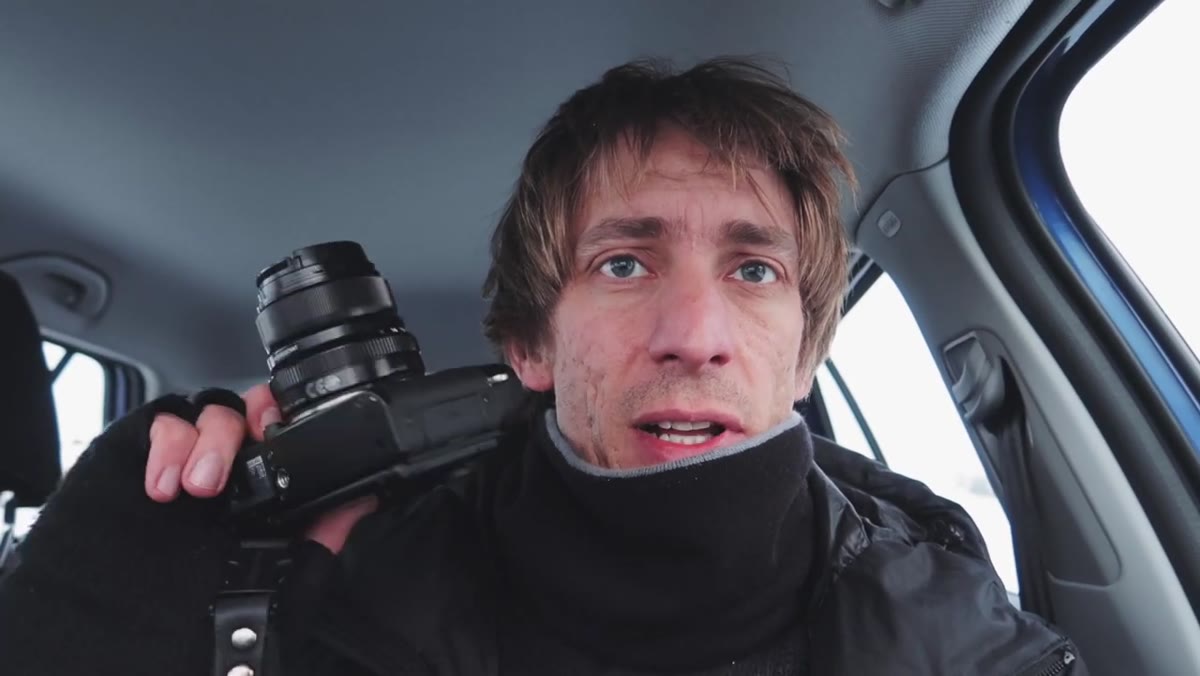 Tucker discussing camera settings in the car after the shoot
Tucker was shooting at f/2, 1/1000 second, and ISO 200 on a Fuji XT-20 with a 23mm lens (equivalent to roughly 35mm full-frame). The fast shutter speed wasn’t needed for motion, it was there to pair with that wide aperture and still keep the image clean and well-exposed in bright snow. The wide aperture at f/2 helps separate the barn from the background even in soft light, where contrast isn’t doing that work for you.
Tucker discussing camera settings in the car after the shoot
Tucker was shooting at f/2, 1/1000 second, and ISO 200 on a Fuji XT-20 with a 23mm lens (equivalent to roughly 35mm full-frame). The fast shutter speed wasn’t needed for motion, it was there to pair with that wide aperture and still keep the image clean and well-exposed in bright snow. The wide aperture at f/2 helps separate the barn from the background even in soft light, where contrast isn’t doing that work for you.
The principle transfers across systems. In soft flat light, you have enough ambient brightness to keep ISO low, and that’s worth protecting. Snow especially will blow out easily if you overexpose. Use your histogram rather than the LCD preview. Expose to the right of the histogram without clipping the highlights, and you’ll retain the delicate tonal gradations in the snow that give the image its quiet depth.
What I’d Add From Twenty Years in the Field
The one thing I’d push further than Tucker addresses in this particular video is patience with the moment before the shot. Soft light sessions don’t have the urgency of golden hour, and it’s easy to rush through them or underestimate what they can produce. Some of my best-selling prints came from mornings where I almost turned around. The light that feels undramatic to the eye often reads beautifully once you commit to the right subject and a clean composition. Bring a thermos. Don’t leave early.
The single idea I’d take away from Tucker’s tutorial is this: when the light is soft, let the subject carry the image. Your job shifts from chasing drama to simplifying the frame and trusting the scene. That’s harder than it sounds, and it’s also where the best winter landscapes live.
Watch the full tutorial on YouTube and pay close attention to how Tucker talks through his thinking in real time. That running commentary on what he sees and why he responds to it the way he does is worth more than any gear discussion.
Comments
Leave a Comment