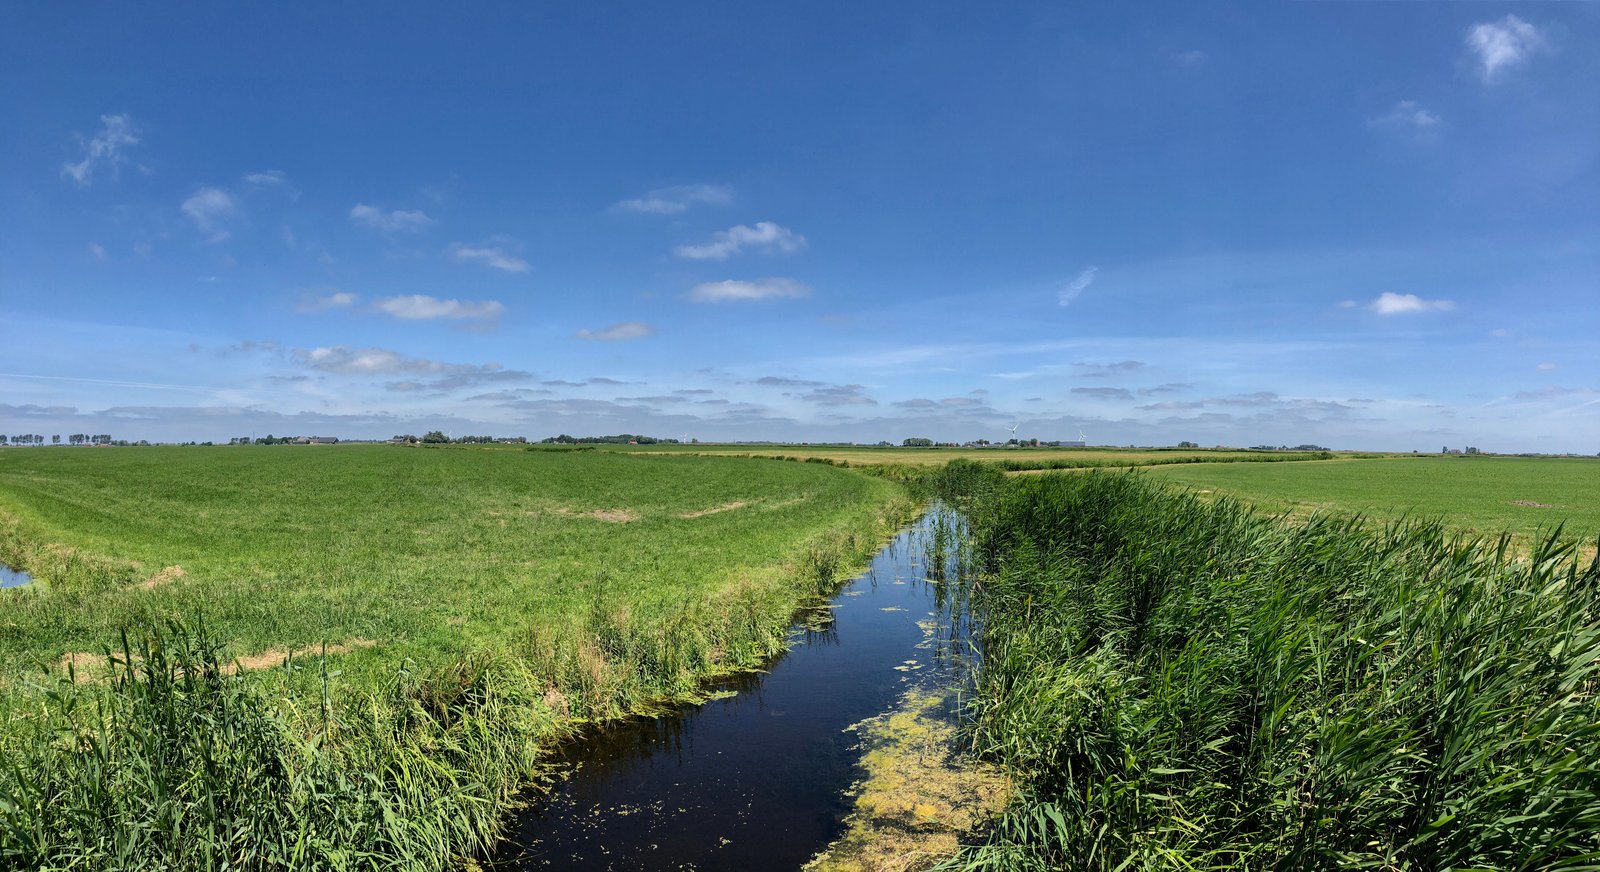
There’s a ridgeline I return to every few years above the Three Sisters wilderness area. The scene demands a panorama. The peaks spread across roughly 180 degrees of sky, and no single frame, even at 16mm, does justice to the spatial weight of standing up there in early light. The first time I shot it, I came home with eight beautifully exposed frames that stitched into a warped, horizon-bending disaster. The peaks looked like they were melting toward each other. I had made every mistake possible, and I made them confidently.
That was early in my career. Now I can troubleshoot a panoramic sequence in the field before I ever open Lightroom. Here’s what I’ve learned.
Why Stitching Software Can’t Save a Bad Sequence
Most panorama problems are baked in at capture. The software, whether Lightroom’s Merge to Panorama, PTGui, or Hugin, is doing computational geometry. It’s trying to reconcile a series of flat image planes into a curved or cylindrical projection. When you give it clean data, it performs near-miracles. When you give it inconsistent data, it fails loudly.
The two most common field errors are parallax and inconsistent exposure. Parallax happens when your lens rotates around the wrong point. Every lens has a nodal point, sometimes called the no-parallax point, where the light paths converge. If you’re rotating the camera around your tripod’s center column instead of that nodal point, near and far elements in the frame shift relative to each other between shots. The software sees objects that don’t line up, and it either warps the image or leaves visible seam lines.
Exposure inconsistency is subtler. If you’re shooting in aperture priority and the sky darkens between frames, each image has a slightly different tone. Even auto white balance drift across a sequence will produce seams that no amount of Lightroom masking will cleanly fix.
The Settings I Use Before I Fire a Single Frame
Manual mode, always. I set my aperture based on the depth of field I need, usually f/8 to f/11 for most landscapes, lock my ISO (typically 100 on my Sony A7R V, sometimes 400 in low light), and set shutter speed to expose for the midtones or slight right-side histogram bias. Then I don’t touch any of it until the sequence is done.
White balance goes to Kelvin. I pick a number, 5500K is a reasonable starting point in golden hour light, and I lock it. This alone eliminates about 40 percent of the stitching headaches I see in my workshop students’ work.
Overlap matters more than people think. The standard advice is 30 percent overlap between frames. I shoot 40 to 50 percent, especially in scenes with complex foreground elements like rocks, grass, or water. That extra overlap gives the software more matching data to work with, which means cleaner stitches and fewer geometry artifacts at the edges.
The Nodal Point Problem and How to Actually Solve It
If you’re shooting landscapes where your foreground subject is more than 20 feet away, parallax is largely a non-issue and you can skip a nodal rail entirely. Shoot from a standard ball head, rotate carefully, and you’ll be fine.
But if you’re shooting any scene with strong foreground interest within 10 feet of the lens, a nodal rail is worth the investment. The Really Right Stuff Pano Package runs around $500 and works with their ball heads. The Nodal Ninja 3 is a solid entry point at around $130. Setting the nodal point takes about 15 minutes when you first set up the system: you align two vertical objects in your frame, one near and one far, and adjust the rail until they don’t shift relative to each other as you pan.
Once it’s set for a given lens and focal length, mark the position on the rail with a paint pen. I have marks for my 24mm, 35mm, and 70mm on both my rail systems. It takes three seconds to dial in on location.
How I Actually Process a Panoramic Sequence
I import into Lightroom, select the sequence, and run Photo Merge with Boundary Warp set to around 70 percent. Boundary Warp is doing something genuinely useful here: it’s stretching the edges of the stitched image to fill a rectangular frame instead of leaving the curved or angled voids that panoramic projections create. It introduces some distortion, but at 70 percent it’s almost always invisible in the final print.
For complex scenes with sky and foreground needing different treatment, I’ll sometimes export as a 16-bit TIFF and finish in Photoshop. A stitched file from my 61-megapixel A7R V at 7 vertical frames with 40 percent overlap will land somewhere between 400 and 700 megabytes as a TIFF. That’s a file that prints cleanly at 60 inches wide. There’s no substitute for that data.
PTGui Pro at $109 is worth buying if you shoot panoramas regularly. Its ability to handle problem sequences, including ones with significant exposure variation or moving elements, is meaningfully better than Lightroom’s native merge. I reach for it any time Lightroom produces an obvious seam.
The Shot I Almost Didn’t Take
A few years ago I drove six hours to a location in eastern Oregon for a specific light I’d been watching in satellite imagery. I sat in fog for two days. Not the romantic low-lying fog that catches the light beautifully. Just gray, flat, cold nothing.
On the third morning, the fog lifted for twenty minutes. I had one sequence to shoot. I had my settings locked from the night before, my nodal rail dialed in from a test shot at dusk, and I knew exactly what I wanted. Seven frames, 40 percent overlap, f/9, ISO 100, 1/15 at 24mm. That single stitch became my best-selling print. The preparation that felt excessive in the fog felt exactly right in those twenty minutes.
The mountain doesn’t care about your schedule. But it does reward the photographer who showed up ready to work.
Comments (2)
Solid advice. Especially the part about taking your time with it.
Been doing this wrong for years apparently. Thanks for the wake-up call.
Leave a Comment